EVA foam is really cool! I grabbed some from Home Depot, and some poster board at Staples.
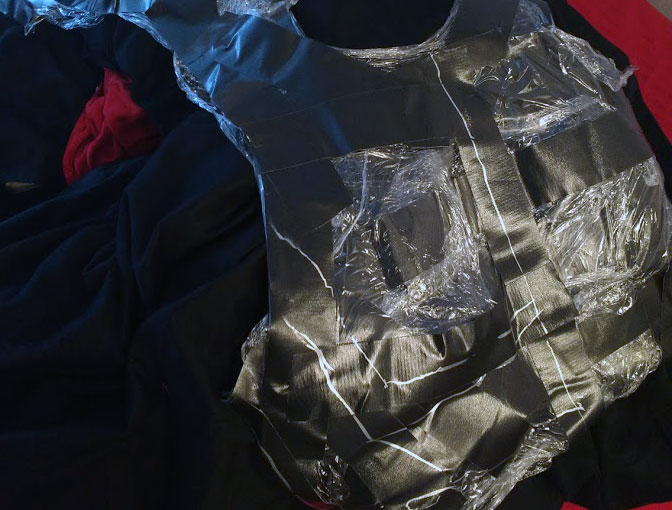
The first step was making the pattern. I went through a few iterations here. I started by writing down my various sizes (anything I thought would come in handy) using some dollar-store measuring tape. That wasn’t super useful, so I half-heartedly wrapped my upper torso in plastic wrap and duct tape. Which is really hard to do by yourself! (Also it gets quite warm.)
That, and I ran out of duct tape half way through. The role I’d bought from Safeway didn’t include much at all.
Oh well, I figured. It’d give me an idea — so I drew some demarcation lines on it with a silver sharpie, and cut it off. Once I cut it open I had a better idea of the shapes I’d need.
Pretty rough, but good enough!
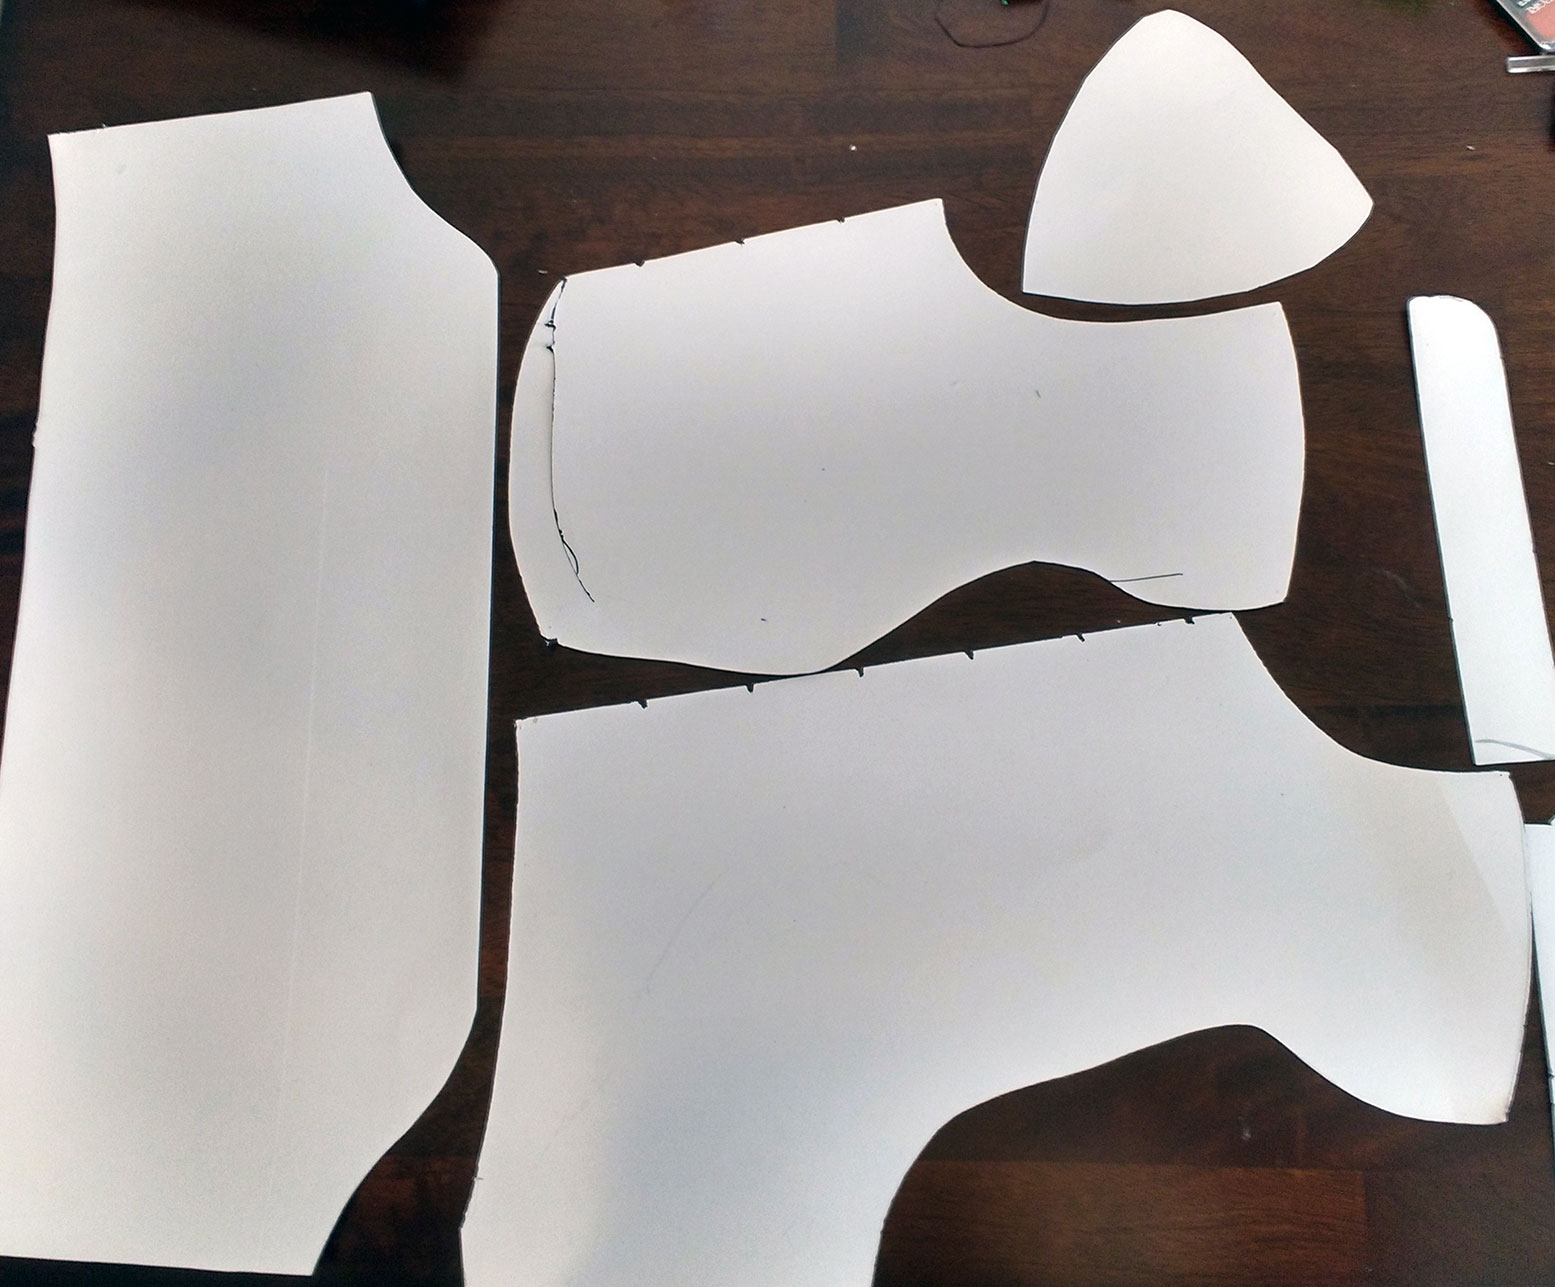
I drew those shapes onto poster board, and cut them out with an Exacto knife. Loosely taping them together, I donned my poster-board armour — just to get an idea how it looked.
I did this a few times, tracing and making small adjustments, until I was finally happy with the pattern. It looked something like this:
(Exactly like this)
Once I had the pattern, I pinned the pieces to the foam, traced them with a sharpie, and then cut the foam with a box cutter. I re-sharpened the box cutter after each one because man did the foam dull it fast. I also found the foam’s patterned side was the toughest to cut through, so I made sure to trace my patterns onto that side.
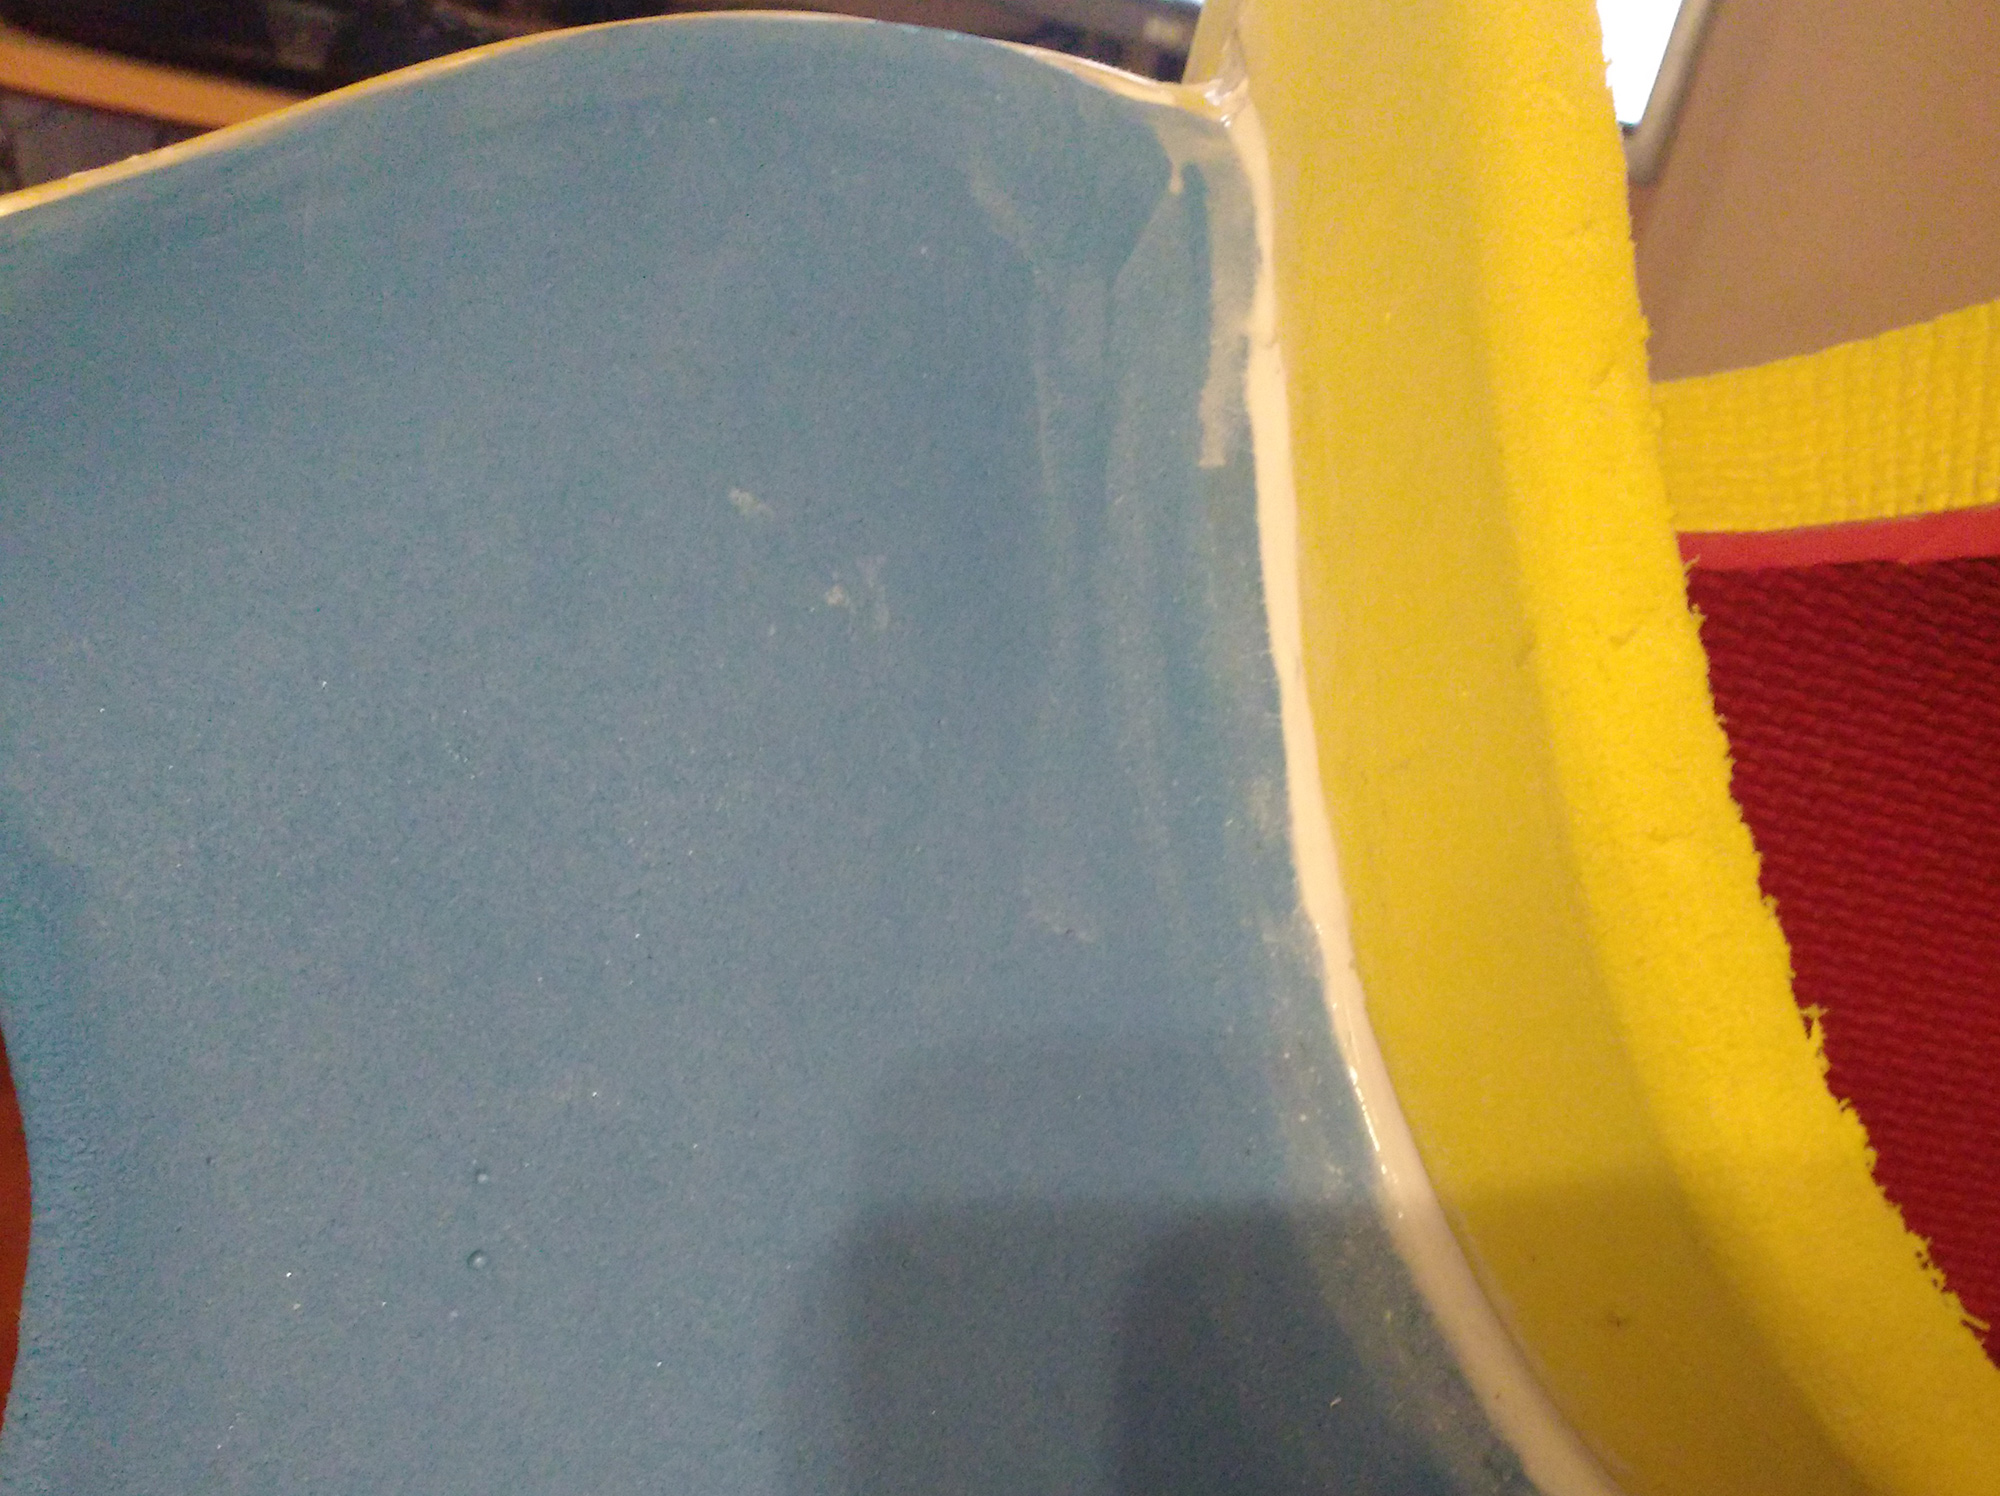
You may have noticed a cut along the bottom of the pectoral’s pattern. On the foam, I scooped out some of the foam here with my box cutter, angling the sides like a triangle. This would allow me to bend it easily, getting a nice crease, but no seam on the visible side. I’m kind of proud of how that turned out!
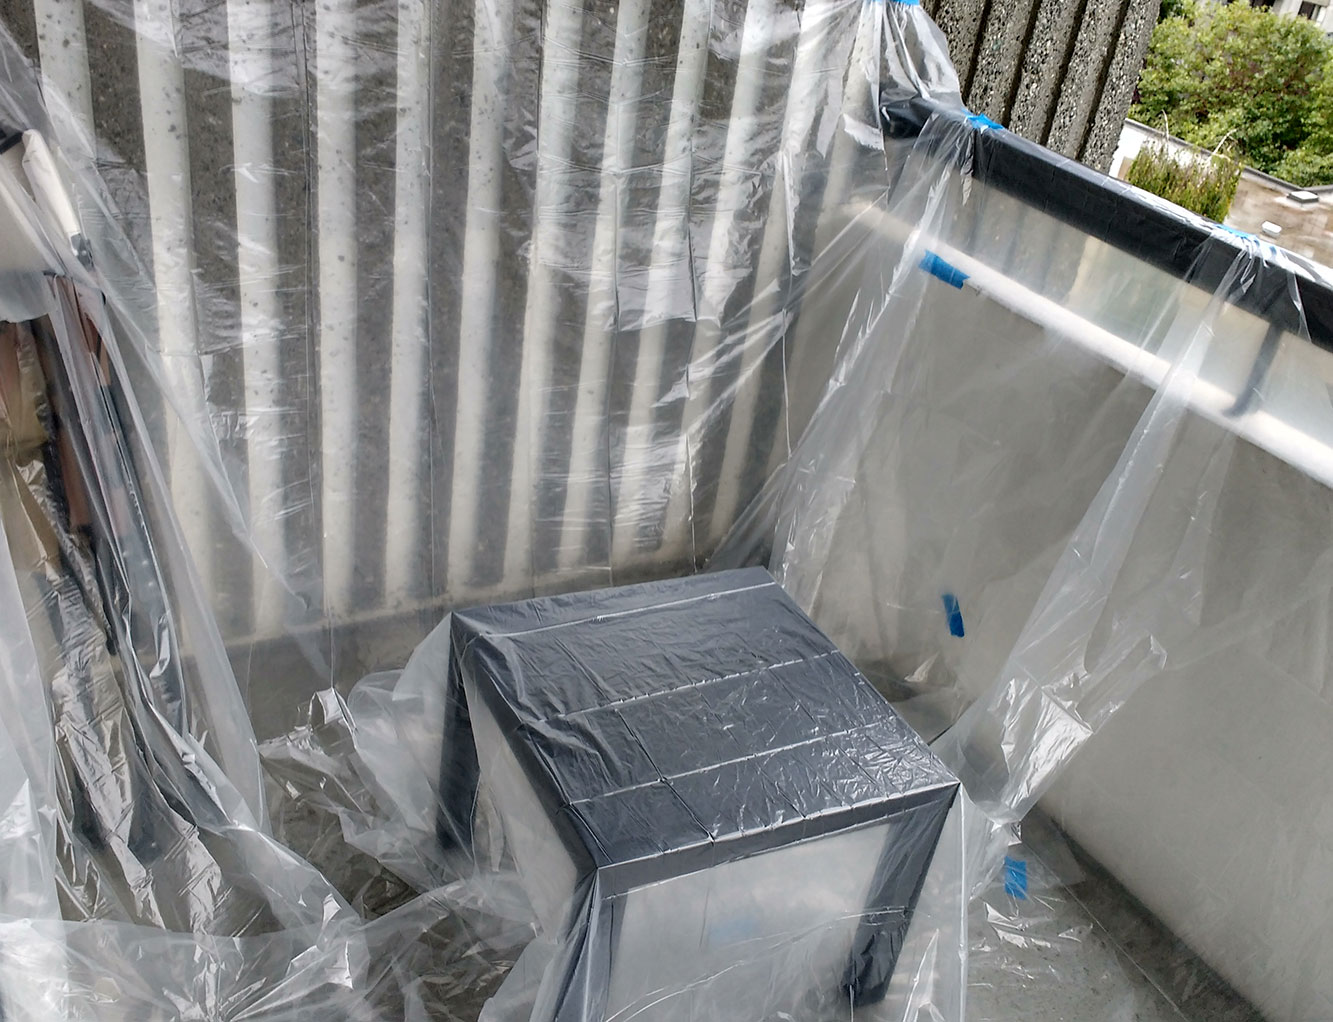
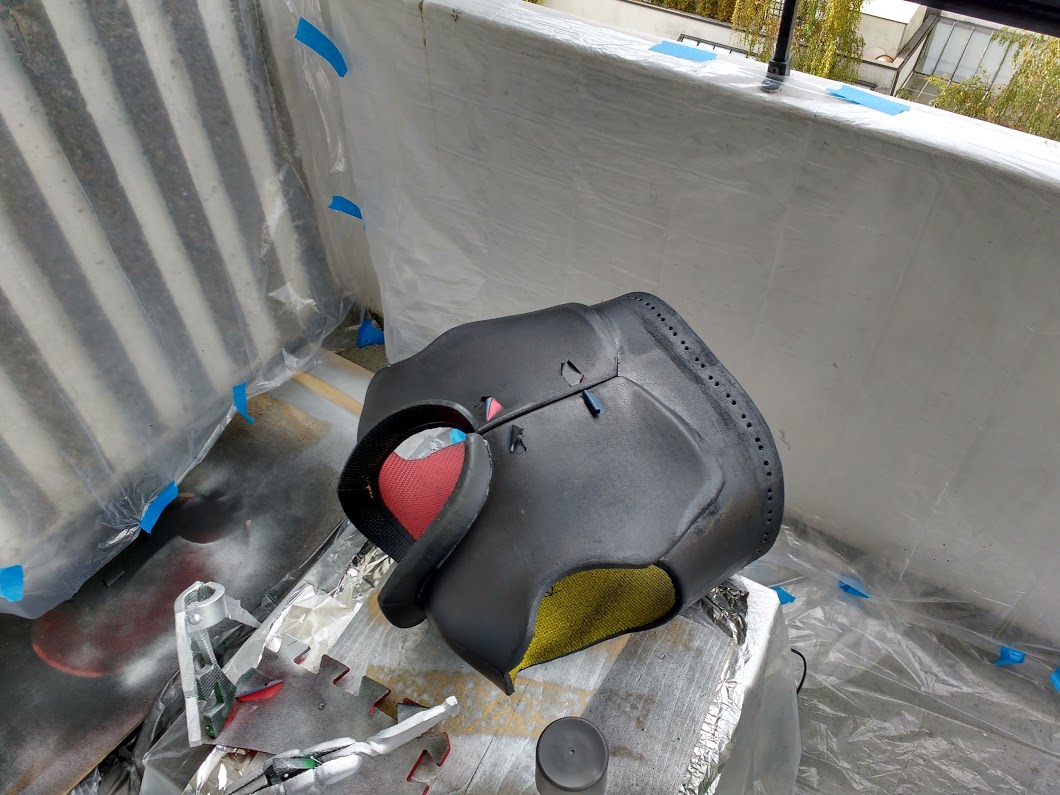
I setup my balcony as a work space (complete with table, camping chair, and extension cord) and covered it in plastic with the assistance of painters tape.
work space
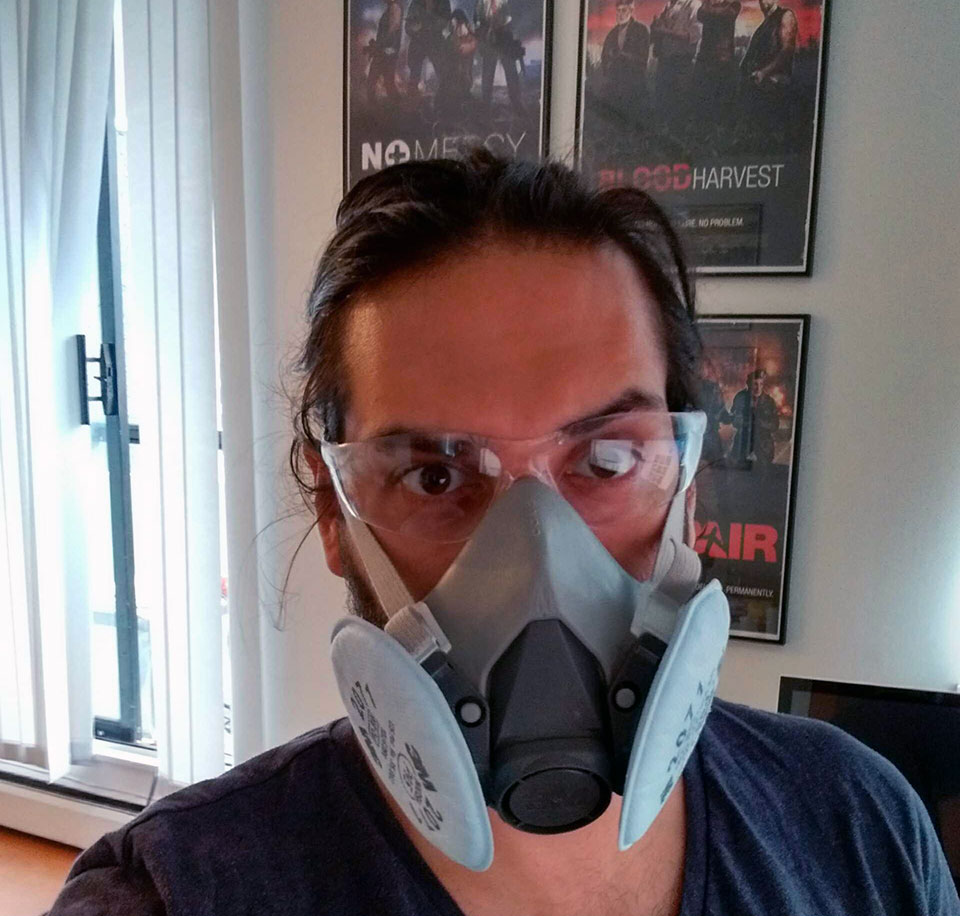
Once the foam was cut, I donned my mask and safety glasses, and used the rotary tool I bought to sand down the rounded edges. Prepare to be covered in foam dust. After that I sanded them with increasingly fine grits (I have 100, 220, and 320).
#safety
Then came the fun part — shaping the foam with the heat gun. I got the best results by really pulling the foam, and holding it in place for a bit while it cooled.
Once I had pieces of foam shaped it was time to join them. I had some trouble getting this to work the way I wanted, but eventually (through the reliable art of trial and error) I stumbled on a technique that seemed to work.
I used LePage contact cement
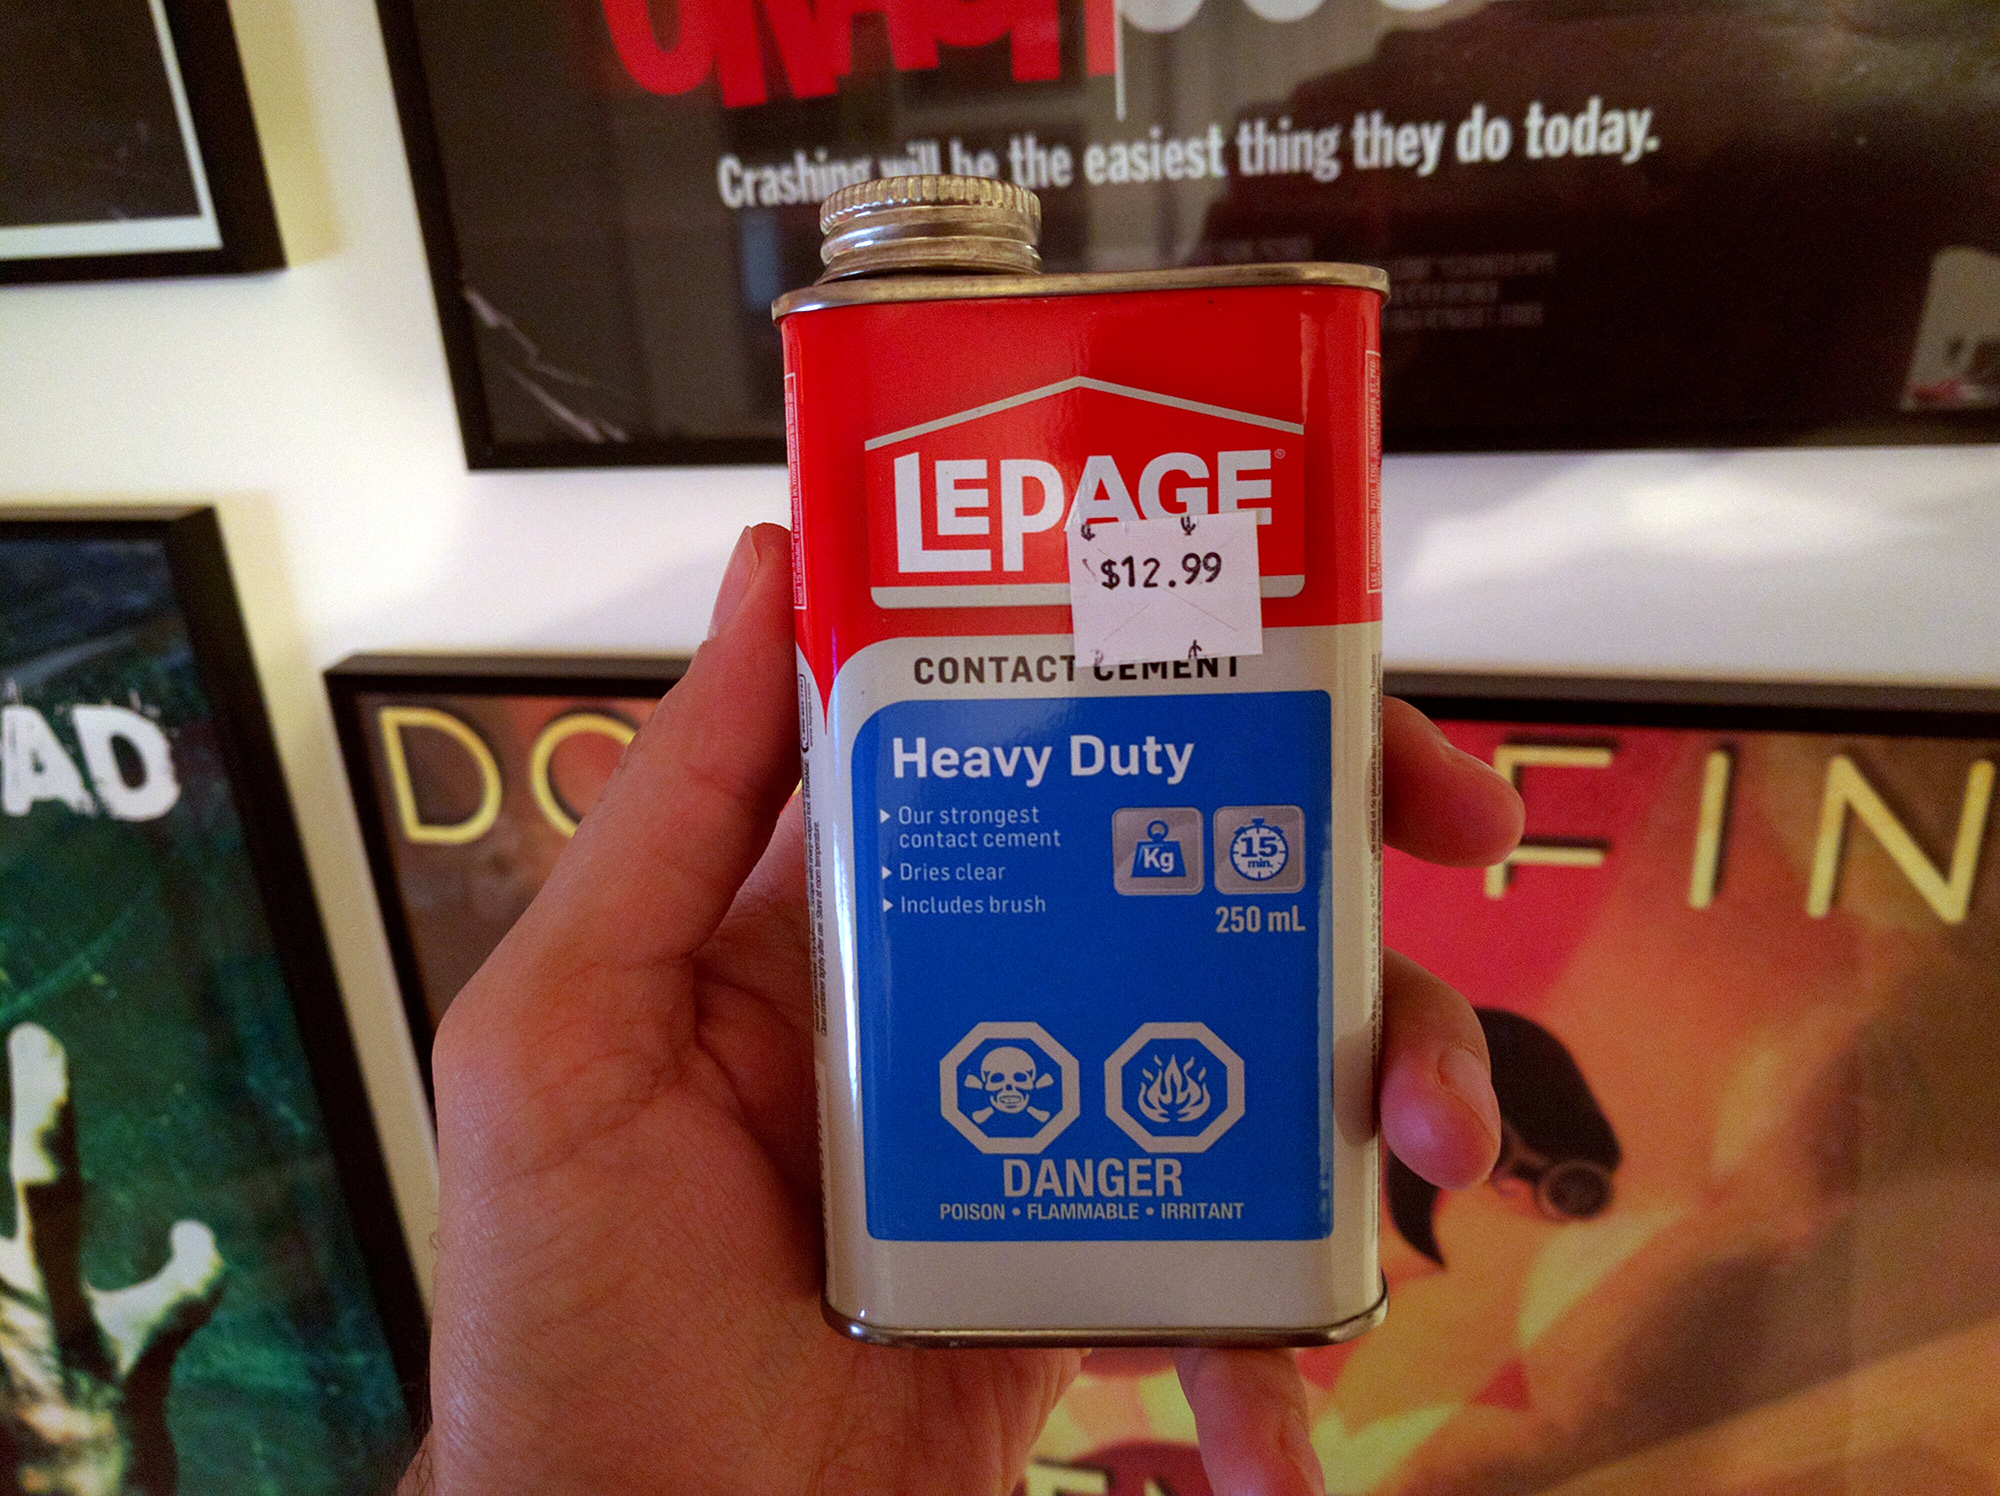
- Sand both surfaces – it’s possible you’ve sealed it while shaping. Use a coarse sandpaper for this.
- Apply a coat of contact cement to each side – this coat will soak into the foam, taking a firm grip
- Wait 15 minutes
- Apply a second coat of contact cement to each side – this coat will attach to the first. It won’t soak in so you can use it to join the two pieces, but will benefit from the first coat’s grip.
- Wait 15 minutes
- Press the two pieces together – and hold them in place for about a minute
Once this is done, it’s probably best to give it some time to dry. But after that, you should have a nice, strong attachment! I also punched out some holes along the bottom (which you can see somewhere below).
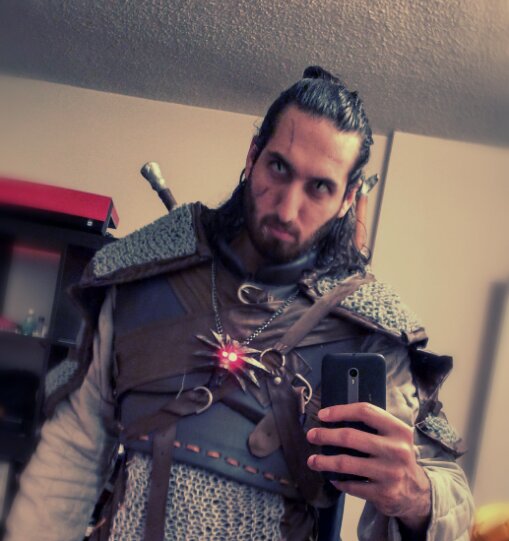
The armour!

Before I painted, I went over the joints with some Kwik Sealk Caulk to smooth them out so as to be less noticeable seams. It wasn’t really necessary, but I figured I’d give it a try.
Caulked, as they say.
Once the caulk dried, I sprayed on a few coats of Plastidip (so cool!) to give it a nice rubber coating. coated!
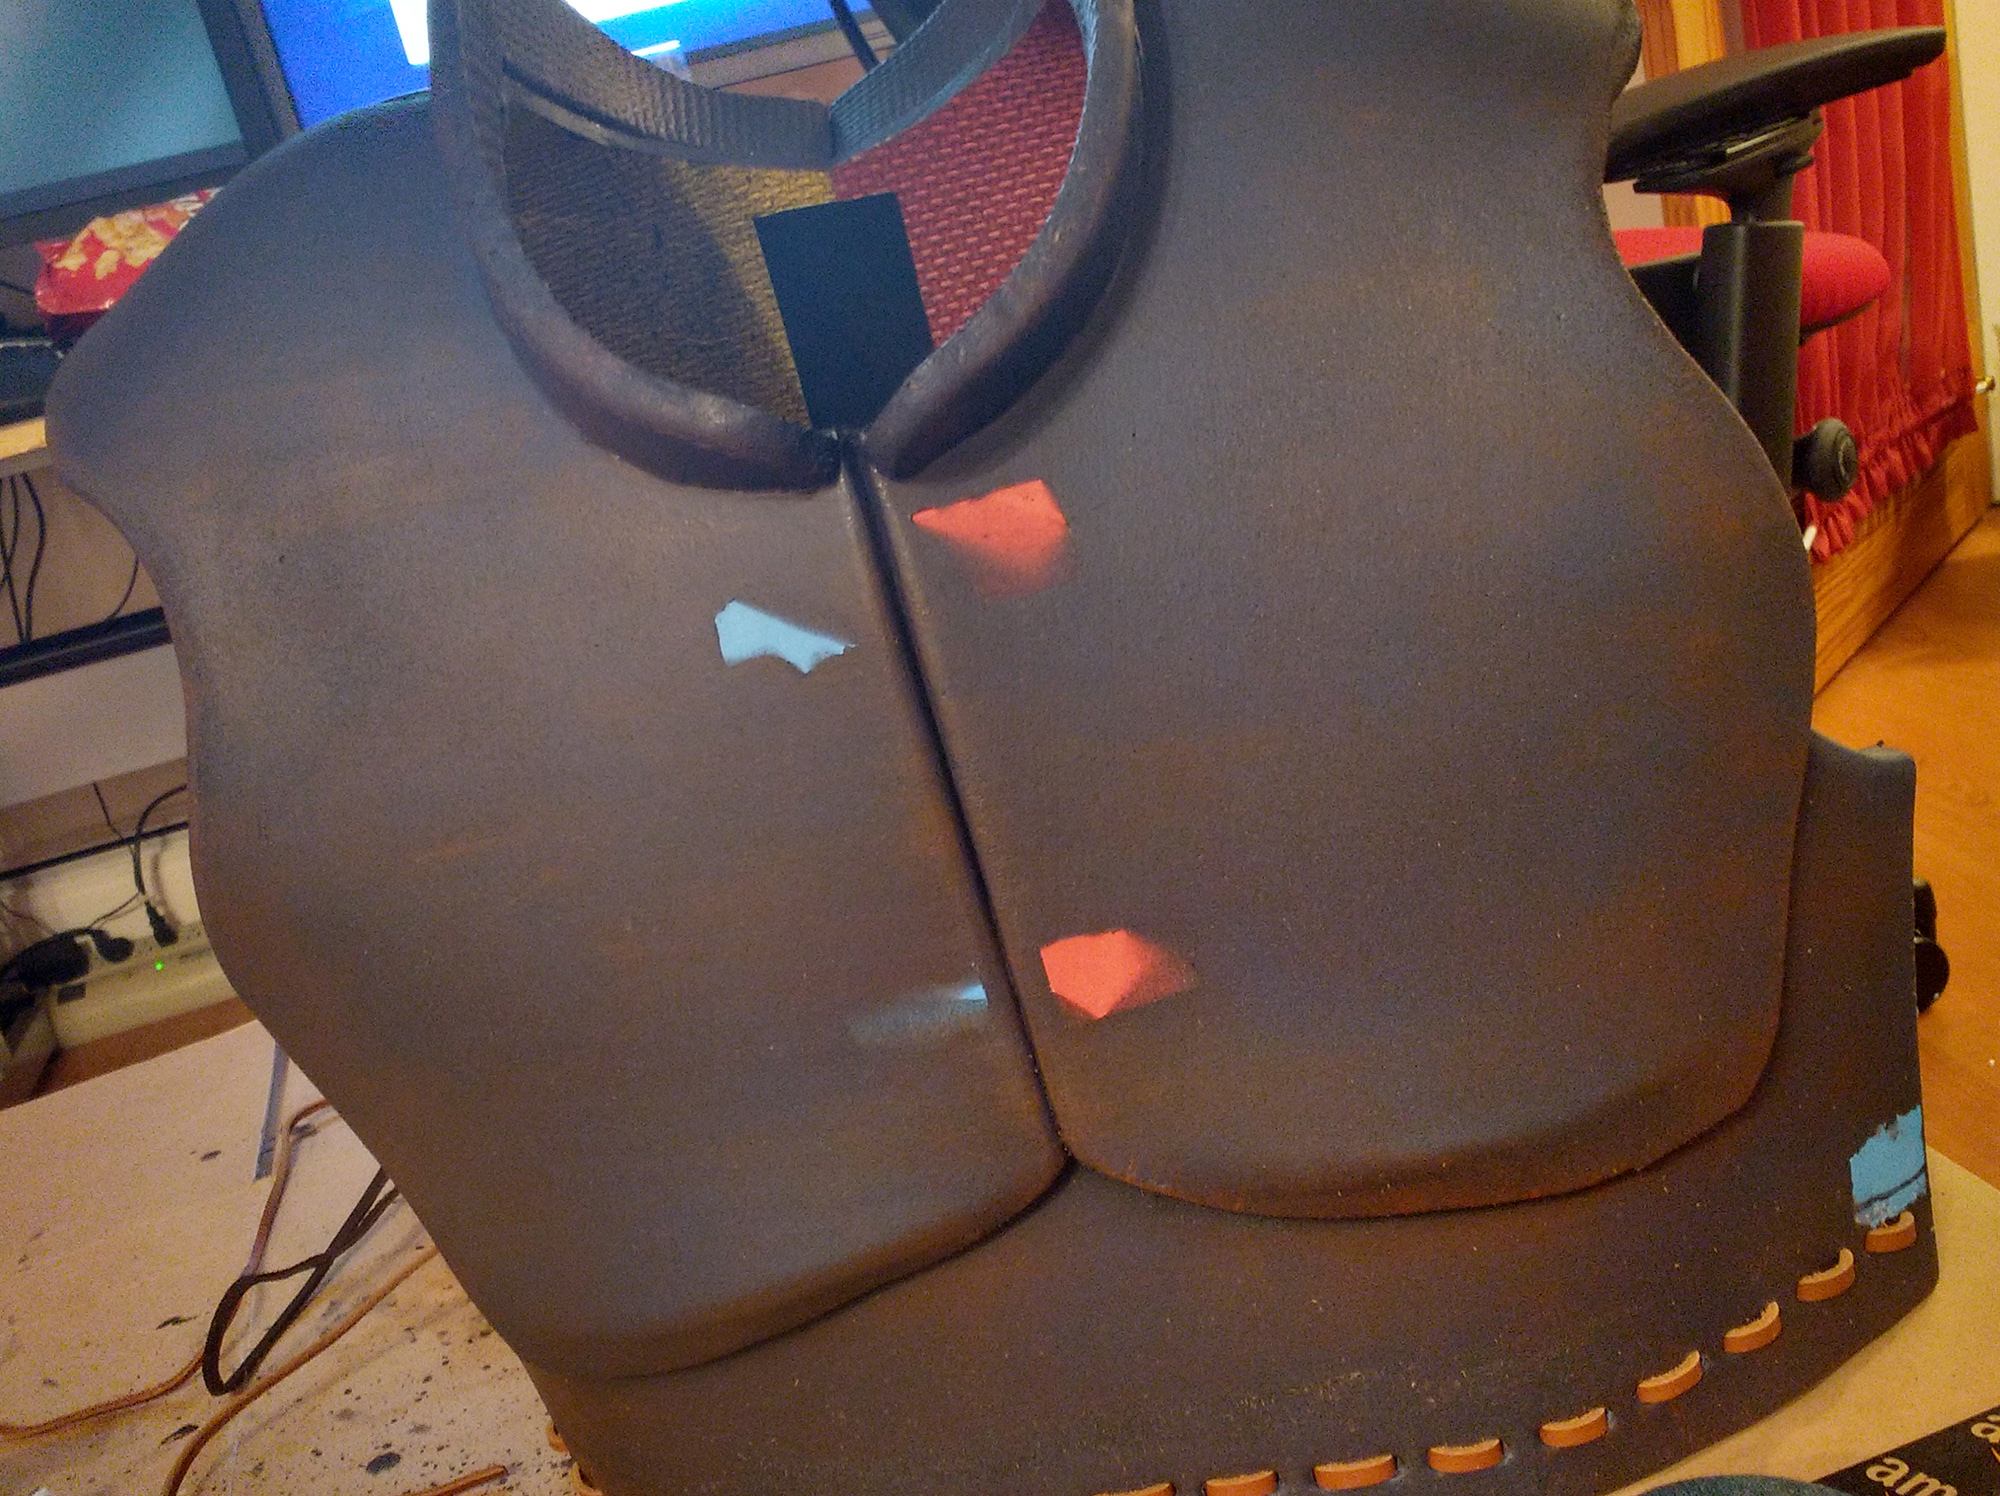
You’re probably wondering what those terrible flaps of painters tape are on the front. I put those there because I was going to glue some leather buckles to the armour. There’s another one on the side that you can’t see.
Once the Plastidip was dry, it was on to the spray painting! I roughed it up a little with watered down black paint and a wet rag, and then dry brushed various browns here and there to give it some texture, wear, and scratches. I also wove some leather through the holes I punched earlier (which I got in a giant bag of scraps from Michaels).
painted!
It turned out one of the chest buckles would be hidden by Geralt’s various straps, so I didn’t bother with that one – but I glued on the buckles. They didn’t hold very well, so I ended up hand sewing through the foam to make them more secure. This worked really well, and was necessary since these buckles were functional. (I’ll talk about making the buckles in a different post.)
And that was it! Foam armour complete!