Janice, my sister, does a lot of knitting. A lot. And occasionally, she asks me to double-check her math.
In this case, she wanted to decrease from 152 stitches in one row, to 114 stitches in the next row, and wondered if she could knit [1 1 1 2] repeatedly (where 2 means knitting together two stitches in the previous row). She tried that and ended up with a row of 122 stitches instead of 114.
So I mathed it out: and
(the sum of stitches) should be the number in the previous row, over the difference between the previous and desired stitches, in this case , or .
Similarly, (the count of stitches) should be the desired number of stitches, over the same difference: .
So the repeating segment should have 3 entries, and should sum to 4, which could be any of: [1 1 2], [1 2 1], or [2 1 1].
Which works fine when things divide nicely, but it wasn’t long until she wanted to decrease from 148 stitches in one row, to 120 in the next (a delta of 28 stitches).
Which meant that , and .
If we take a step back, across the entire row length, should be (the number of stitches in the previous row), and should be (the desired stitches in the active row), in this case: = 148, and = 120.
Which means that the number of 2s (or, k2tog—knit 2 together) should be . The remaining () stitches should be regular knits (1s), and it becomes a matter of spreading those 28 2s out relatively evenly amongst the 1s.
However, if (if the difference is greater than the desired stitch number in the active row), we can no longer simply rely on k2togs. For example, if we have and , what we need to do is [3 4 3] (or any other permutation of those values): knit 3 together, knit 4 together, knit 3 together.
Luckily, this is easy enough to deal with:
The value of the maximum merge is the floor of the difference divided by the desired number of stitches, plus 2. In the case of and :
Which matches up with the values in [3 4 3], above. As to how many of each we need:
In our case, , the number of base merges works out to . And , the number of maximum merges, works out to . Which matches the 2 3s and the 1 4 in [3 4 3].
Now that we have , and , it’s just a matter of spreading out the (1) (4) amongst the (2) s (3s). Which is pretty easy with a bid of programming code. Something along the lines of:
Have you ever fallen asleep with your kindle in your hand, only to be shocked awake when it clatters to the floor? No? Well, me neither, but I’m given to understand that it’s something that happens to certain people with some regularity.
So I got to thinking, and thinking always leads to drawing up some professional-quality diagrams. Wait. Schematics. Yeah, schematics. That sounds fancier.
Super clear and professional design schematics
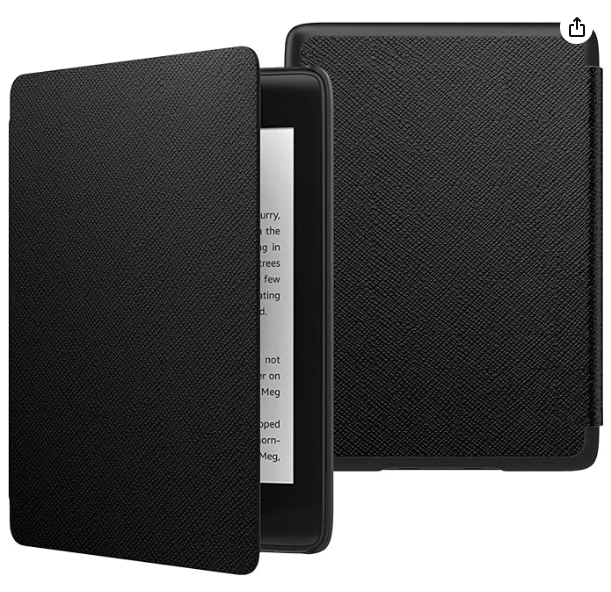
I considered 3D printing the part that connects to the Kindle, but worried it would be too brittle and eventually settled on ordering a very basic case from Amazon.
As I’m sure you immediately noticed, the cover flap hinges from the side, while the schematics very clearly require it to hinge from the top. So I broke out the trusty exacto knife and soon it hinged from nowhere at all.
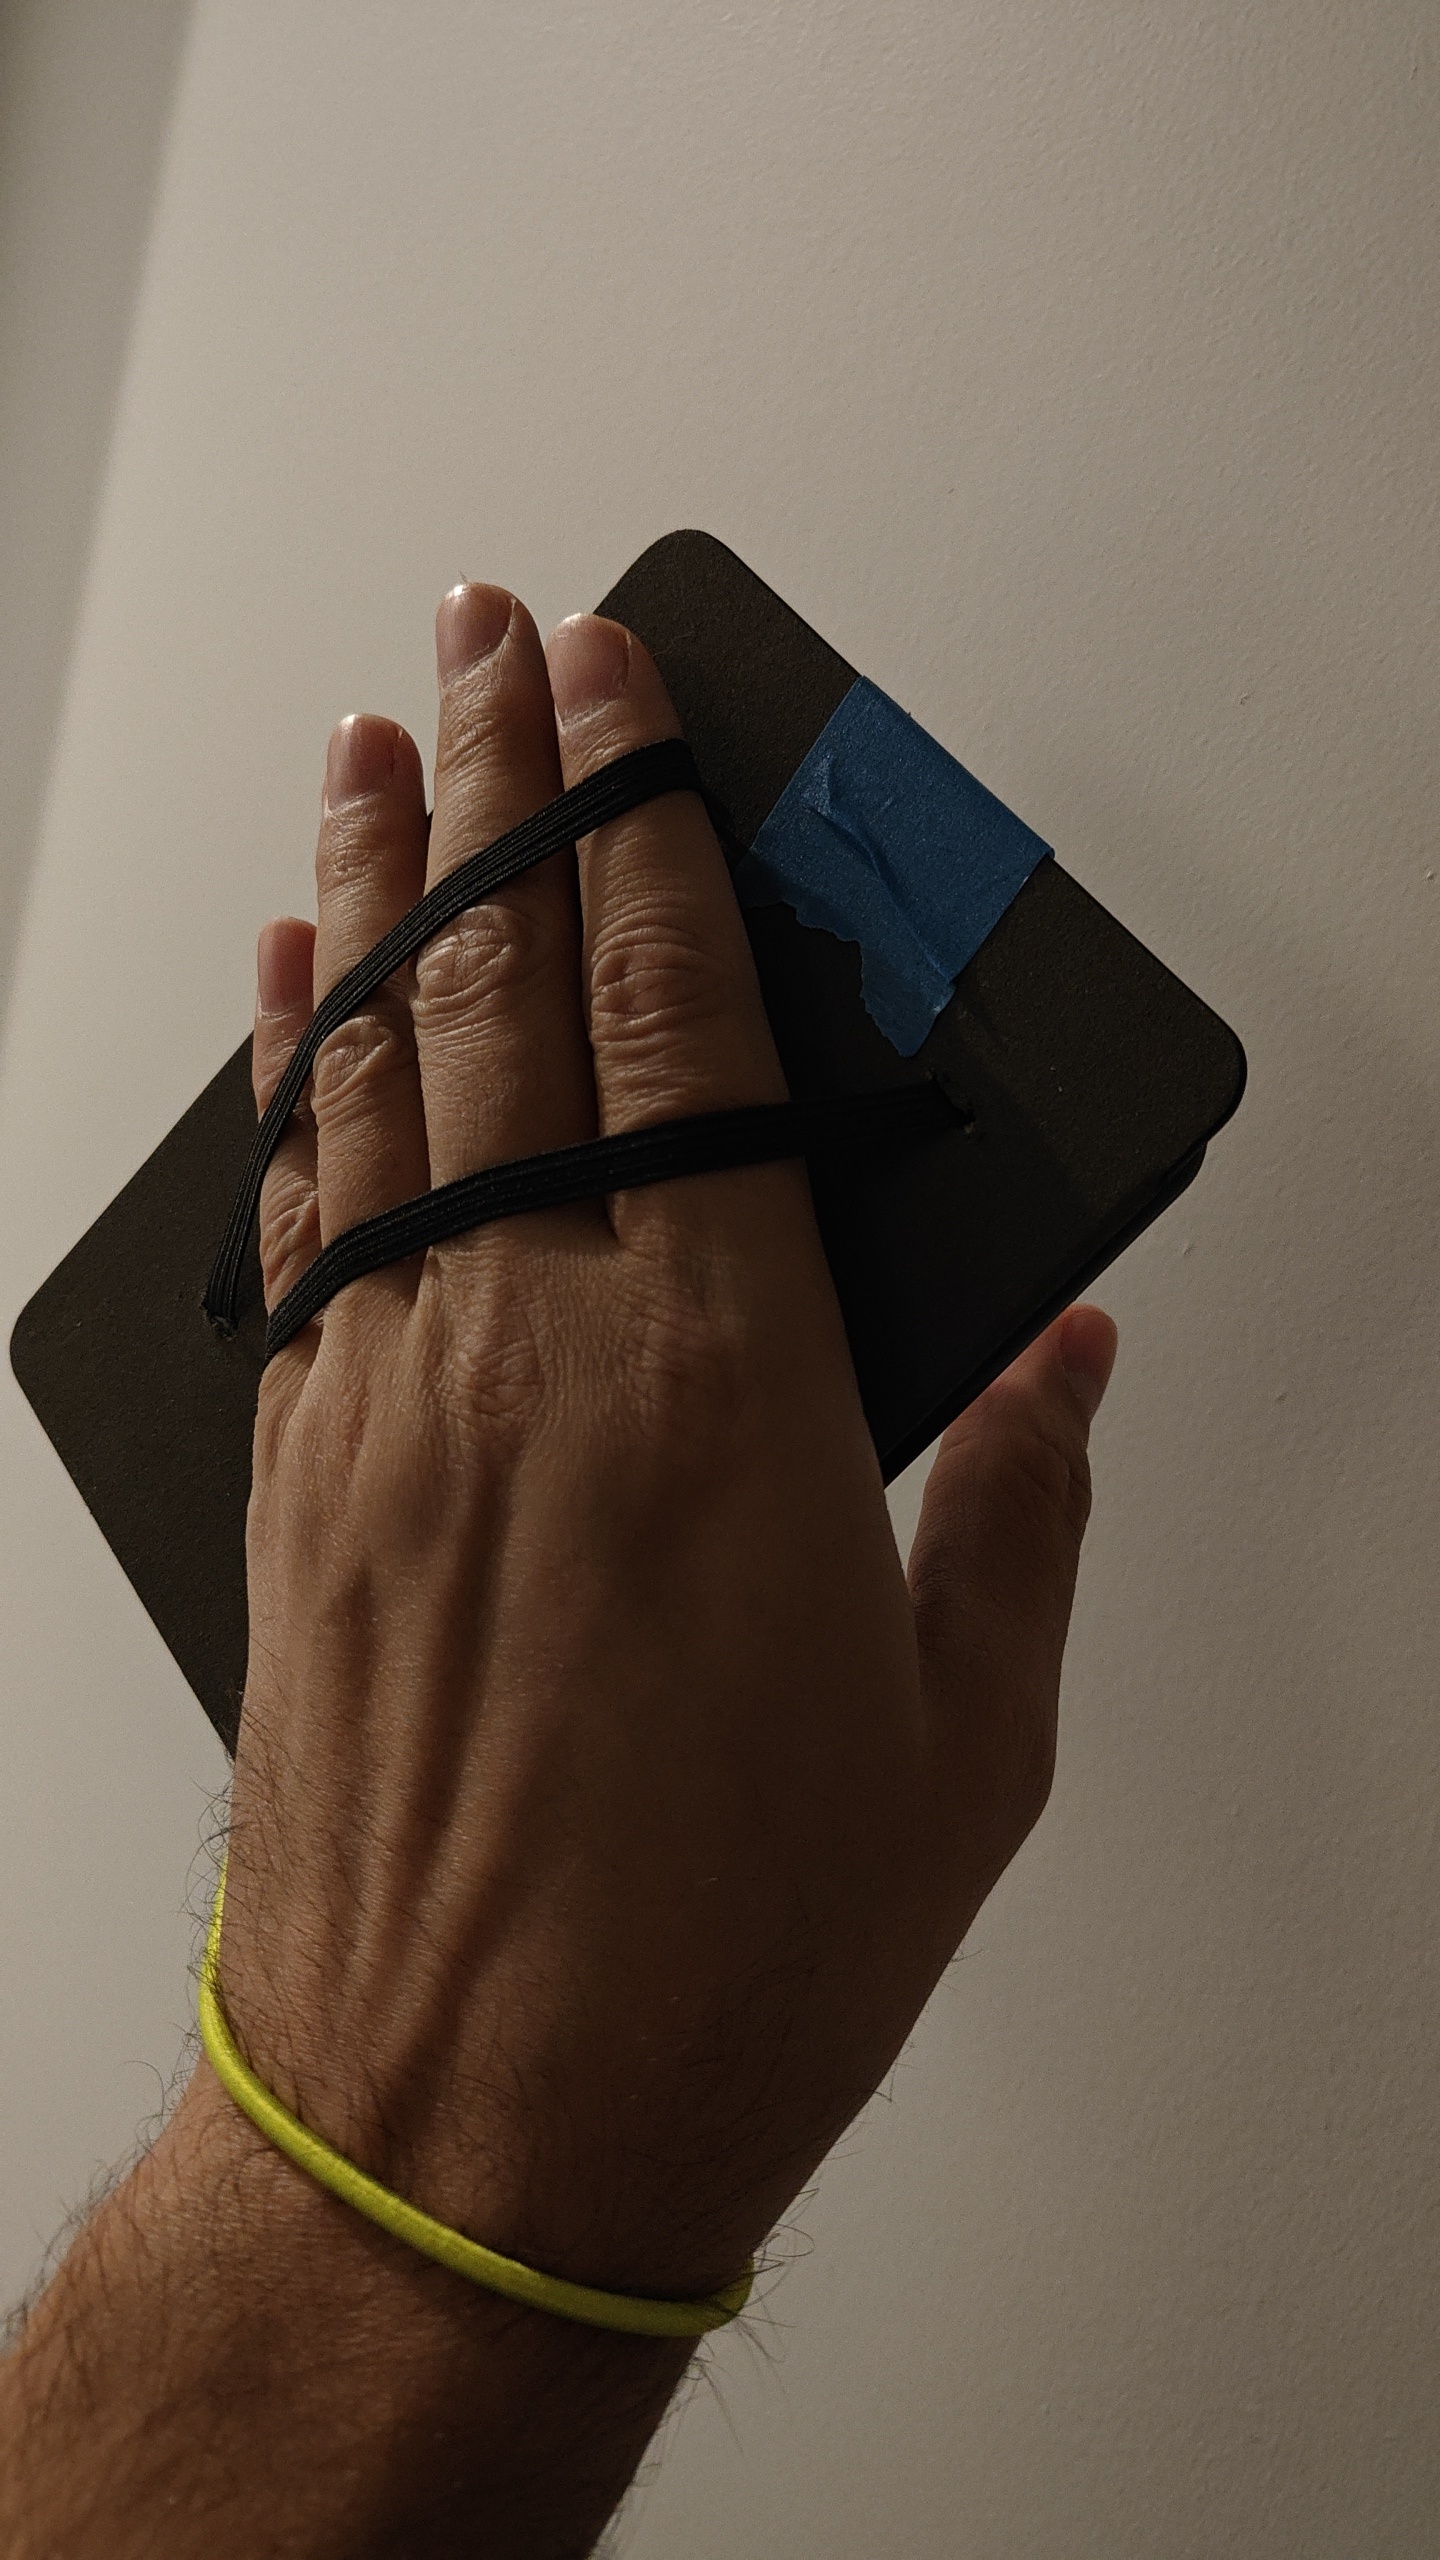
The next step, as per the schematics, was to add the hand-straps to the back of the flap. So, you know, I kind of did that. Not well, but… I mean they’re there.
Then I attached the safety line, for, you know, safety.
Why yes, that is duct tape over cardboard.
And I placed magnets in both sides to hold it together when it’s open. I should have formed a channel with them (this was the original plan), but instead I didn’t do that and the end product is all the worse for it. It’s all tradeoffs, you know?
Hand holders and a safety strap? Ingenious!
But there was no way to know if it would work…
I guess it works
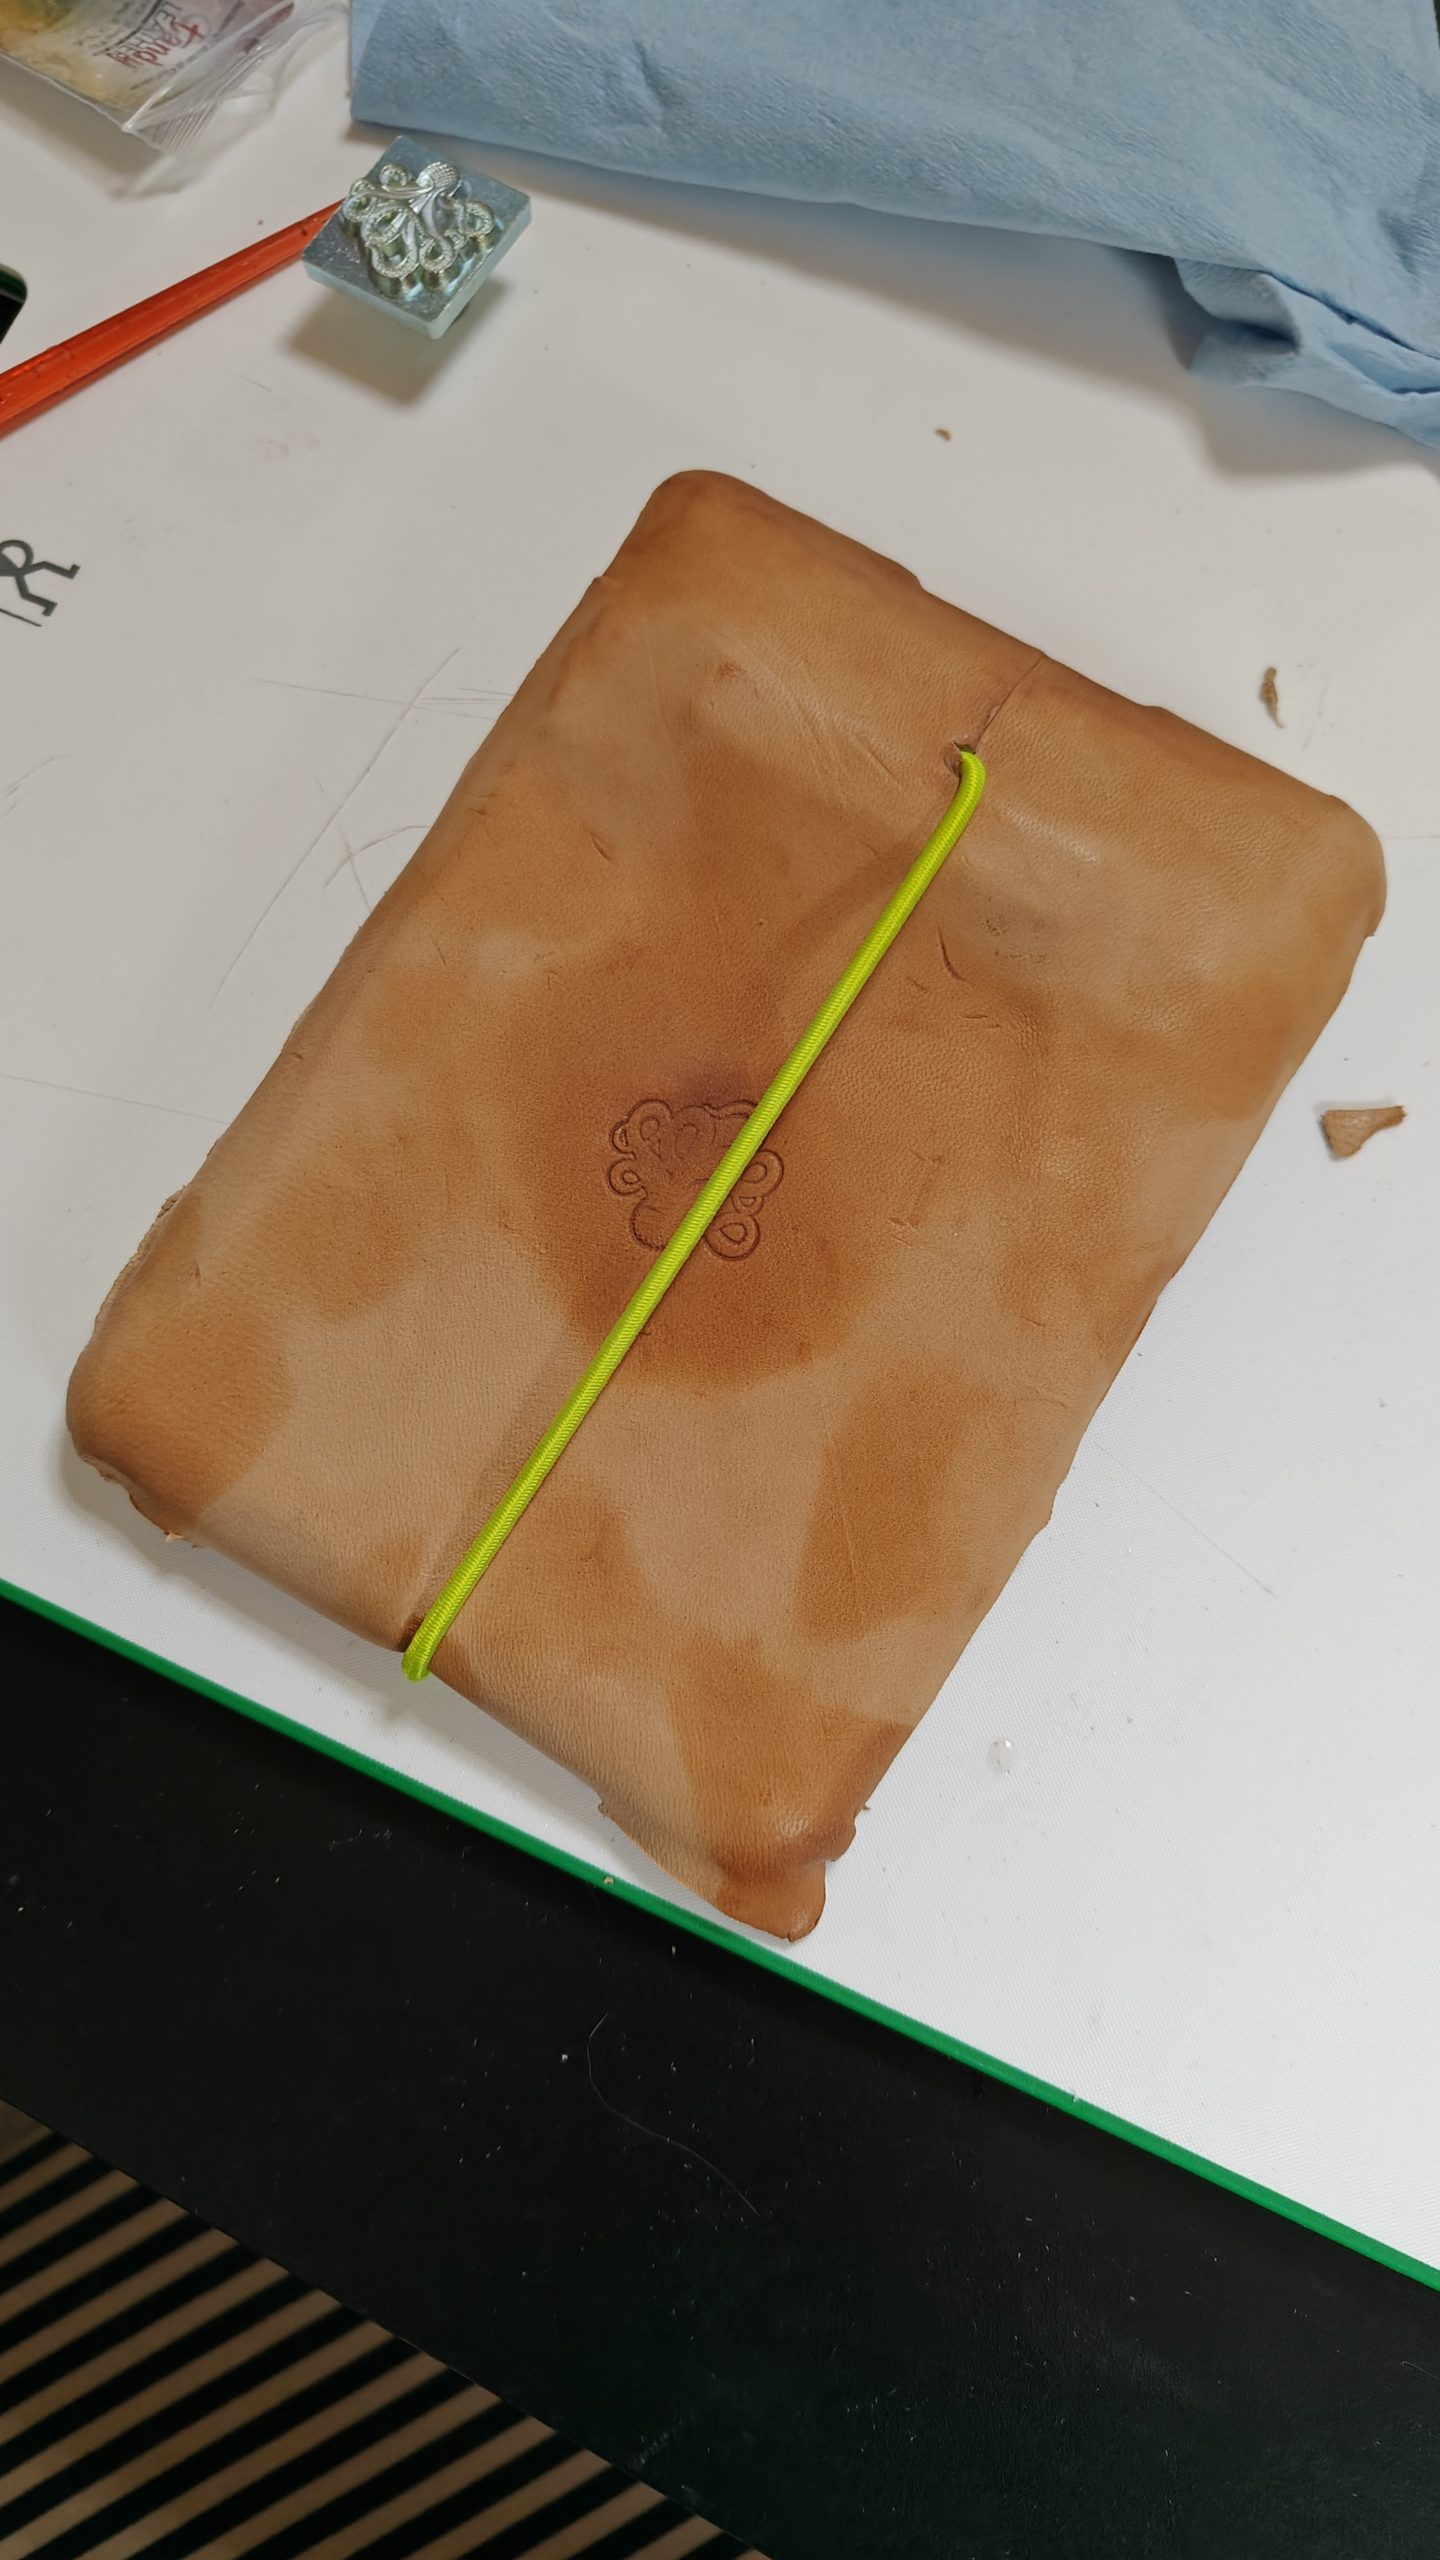
I know it looks awkward, and believe me, it is, but my hand is also larger than necessary. This is what we in the engineering game call “something about tolerances”. Also, please note that I am not, in fact, an engineer. However, as I’m sure engineers often say: it was good enough. Except, I guess, for the painter’s tape forming the hinge. That certainly wasn’t going to hold up, so I did a very bad job wrapping the whole thing in leather.
And then I also quite a poor job staining it.
And there you have it!
Is it nice? No. Is it functional? No. Okay, I guess it is. Is it safe? Sure, if used correctly.
Why, you ask? Well, it was Christmas time, you see. Yes, I know that’s how these stories always start, but that’s the way it happened. Everyone was watching football and there were cats everywhere. A dog too, but was outnumbered and he knew it.
This isn’t all of the cats that were there.
By sheer happenstance, in an adjacent room, rolls of leather rested against one wall, and right next to them were basic leatherworking tools. Now, I know what you’re thinking. You’re thinking: Brad, that’s a normal thing. All of these are normal things. Why are you wasting my time with this? Well, sure, maybe it’s normal—I have not once claimed to be an authority on what’s normal and what’s not—but at the very least I would content that I have little to no control over your time. That’s on you, my friend. Now, if I can please get back to my story? Thank you.
Well, I guess I made a quick cat toy. Out of leather. That’s pretty much it.
This is a cat toy, I guess.
As I mentioned quite recently it is made out of leather. I shaped the two halves over a little wooden ball (which was part of another cat toy), and then stitched them together. I stuffed the whole thing with some… I dunno, stuffing? Whatever the stuff you put into things is called… And added some catnip.
I would have liked trap a bell inside, but I didn’t have one handy.
It’s very light and irregular in shape, so when a cat hits it it moves easily and in a manner difficult to predict. All of which was very intentional; definitely not a product of its poor production.
I am tempted to make another though, this time with a bell in it.
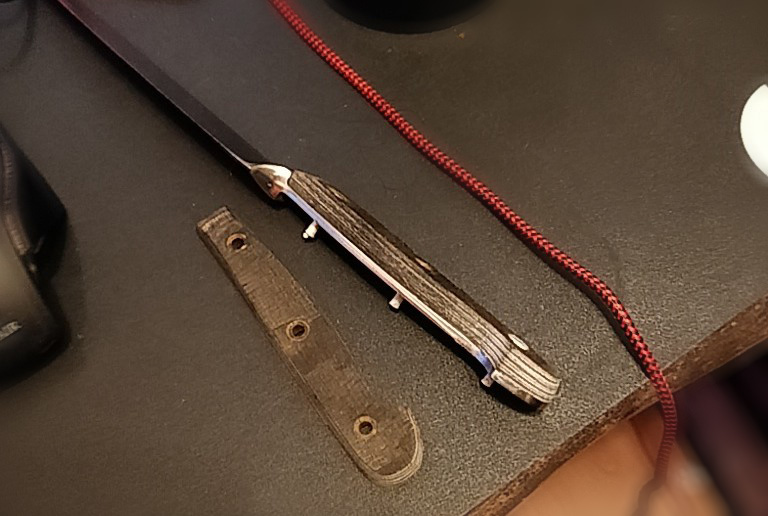
The handle on one of my mother’s kitchen knives was deteriorating so I decided to “fix” it.
See? Deteriorating. Why didn’t you just believe me?
So I took some measurements…
Just look at those scribbles. Those are some quality measurements.
And using those measurements I made a 3D model in Fusion 360.
Which I printed a bunch of times on my SnapMaker 2.0! With adjustments here and there until I was satisfied with the fit.
Don’t mind the teeth or circuitry in the background. Focus instead on all the knife scales. Can you tell which ones are 3d printed?Here’s the knife without its scales. It looks so naked.The 3D print worked pretty well! If only I wasn’t worried about.. you know, thermo plastic being near heat sources and a perfect surface area for bacteria growth.
Once I was happy with the model, I CNCed it out, also using my SnapMaker 2.0, on a piece of test wood. Yeah it does CNC and 3D printing, so what? (Also laser cutting.)
The SnapMaker 2.0 is pretty cool.They seemed fine.
They the test CNCing went pretty well, so I did it again – but this time from using some black walnut from a tree that grew on her childhood home.
The brass rods fit! I taped up the knife blade for “safety”, he said trying to distract from how dull the blade actually is.
Then I cut the brass rods down to size with a hacksaw, and started peening them. Oh also, I glued them in (and the scales to tang) with some resin.
Peening has begun.
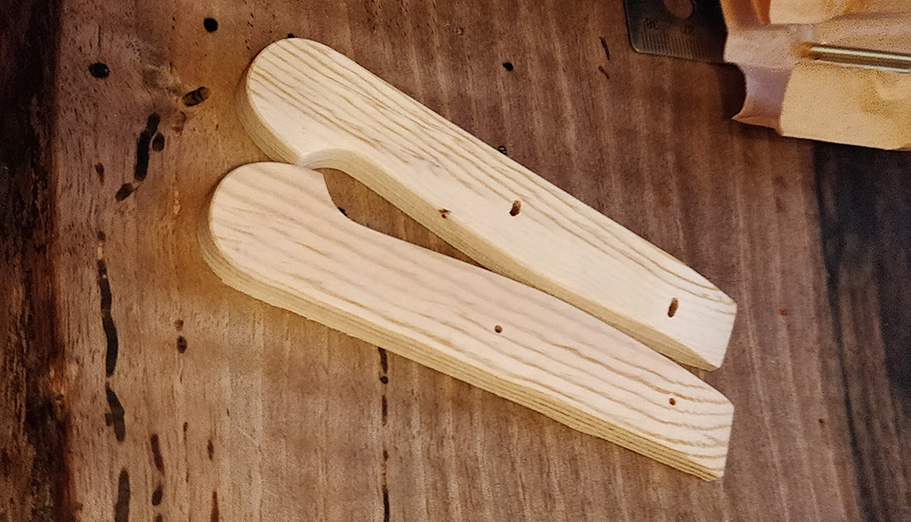
It turned out pretty alright, I think! I did some sanding and used some wood filler to plug a gap, which… I should have used a different colour, but I happened to have one on-hand.
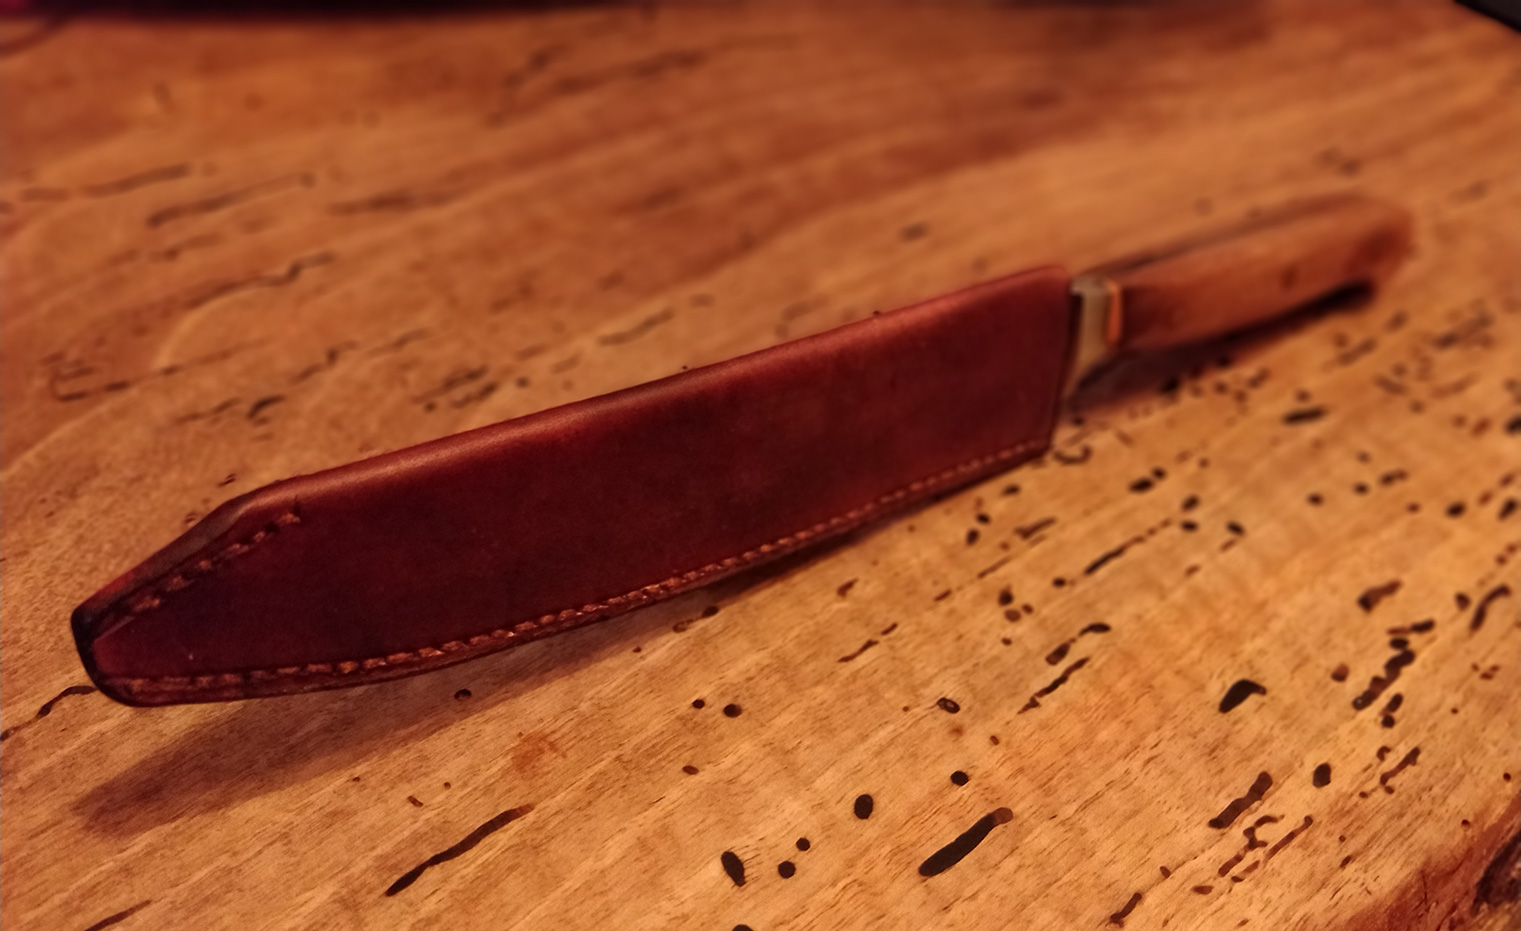
Also I made a quick leather sleeve for it because I started to feel embarrassed by the painters tape.
My mother has a piano and a Microsoft Surface Pro. The former is good for playing songs while the latter is good for many, many things, including, but not limited to, playing songs. Also the display of sheet music for use with a piano. It would be perfect, really, if there was a way to change pages in a hands-free manner. One traditionally uses ones hands, you see, to piano.
I know what you’re thinking – there is! You can buy such things, but also you can make them.
Once I had that figured out (or while I figured that out), I had to design a model to house it. And, you know, act as a foot pedal. Luckily, I have an awesome 3d printer so models can come to life in only ten to fifty hours, or so.
The buttons fit into those two holes, and as you apply pressure to the pedal in either direction it presses them. It’s powered by USB, which also charges a battery so it can continue to work should it be disconnected. Here it is assembled!
March 2020 will forever be remember by the world for at least one thing: the introduction of Percy Animé – inquisitive rogue; catman; avid journaler. Alignment: neutral, to avoid scientific bias.
Coincidentally it’s also when I joined a D&D campaign.
But who is Percy Animé?
As a kitten Percy was “adopted” by a hag. And though he eventually escaped, he is still haunted by his time with her.
To learn more about him, we need only inspect these few pages from his journal that I found, torn and stained, in a dusty alley somewhere in the dank side of Waterdeep:
Percy clicked the last ring into place and the whole thing came apart in his hands. Huh. Simpler than I expected, he thought. The rough stone at his back dug its way into his awareness as he absently reassembled the puzzle. He pushed himself off the wall and was midway through tossing it into the depths of the alley when the most intriguing thing caught his eye.
A group of ne’er-do-wells entering a tavern, artfully painted with the filth of hard travel. There were five of them, mixed in amongst the rabble. All strangers from the looks of it, apart from two. Those two looked similar enough to be brothers, though it’s difficult to tell with half-dragons.
What were they doing in Water Deep, he wondered. What were they up to?
Percy smiled, ever so slightly. An astute observer might have just glimpsed his needle-sharp teeth.
What was a self-respecting tabaxi to do, but investigate further?
Slipping into the tavern, he edged along the wall as he took in its layout. The group of ne’er-do-wells stood facing one of their number, a human female, whose back was to the bar. Integrating into the group was as simple as weaving his way through the common-folk, caught up in their own lives. Planting himself just close enough, and just far enough away, for it to be ambiguous as to if he were with them or not. He focused on the female human as she began to speak.
“Introductions are in order.” She paused. “I am Zelinas Havellyn, member of the Knights of the Shield. We specialize in legal services. And debt collection.”
She raised her voice noticeably, presumably so as to carry to the rest of the tavern’s occupants. “So if you’re looking for legal services, look no further than the Knights of the Shield.”
“Now, if you would please tell me a little about yourselves.” She nodded to one of the towering half-dragons.
“My name is Sasuto, practitioner of the blade. It is all I have in this life.” He had two, in fact. Along with horns, and red scales which glinted despite the tavern’s glooms.
The matching half-dragon, but for a third sword and deep, black scales, sighed. He finished the drink in his hand and spoke next.
“I am Roronoa, master of the blade. Sasuto is my brother.” He grumbled.
Brothers. He’d never doubted it.
“Hi! My name is Chadley and I’m an acolyte of Semuan.” Wide-eyed and with a cheerful grin, he looked to be half-elven. Or perhaps a dainty human.
The last of them – a firbolg – rumbled, “I am Gygg. Druid of the spores.”
“Anyone else?” Zelinas asked, looking directly at Percy.
“Umm..” I should have seen this coming. Surely they’d see through his deception and mark him as the imposter he was. Surely. And then he’d have to injure one of them and flee. Perhaps Chadley, he looked feeble.
Percy’s mind briefly caught up in plans and contingencies, none of them ideal. There was nothing for it. He had to double down and hope they hadn’t noticed the interminable pause.
“Yes, it is I! Percy Animé. Famed catman of diverse interests and great skill.” He nodded to each of his presumed companions in turn.
Zelinas nodded back, and Percy let out a nearly audible sigh of relief. He hadn’t truly expected that to work.
— Percy Animé’s private journal
I’m sure there must be more, hidden away somewhere. He’s reported to be a cagey cat. Perhaps it’s buried, or knowing Percy, he probably zagged, storing somewhere no one would expect. What’s the opposite of buried? No. There’s no way it could be in a cloud. Are there spells for that?
Just how handsome is he?
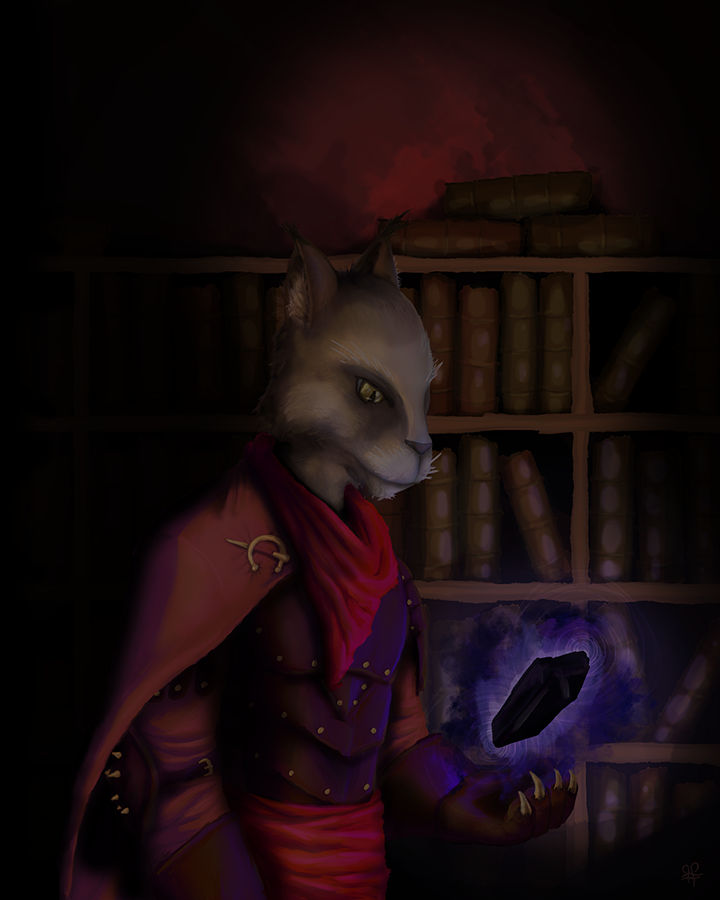
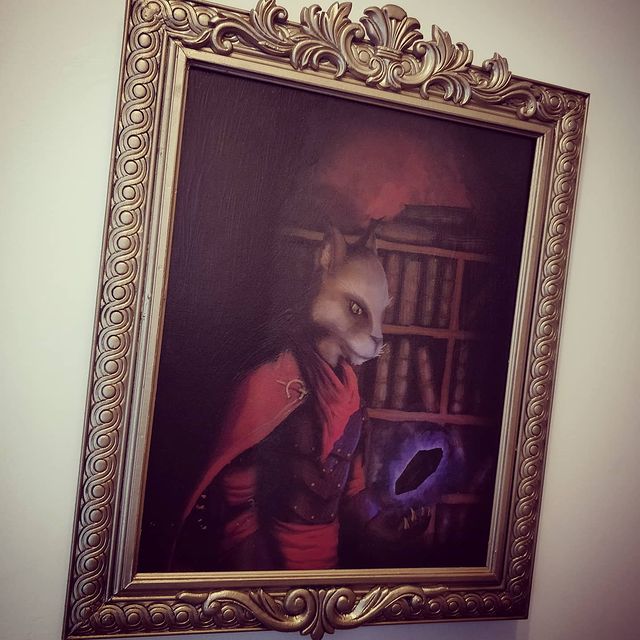
In short, very. There are no known pictures of Percy Animé, so I took it upon myself to render a portrait of him in exacting detail, through the art of digital painting.
Percy Animé
It looks a little washed out, printed on canvas. But now his portrait hangs behind me, in an elaborate wooden frame of custom make.
I went over it with modpodge to give it the texture of brush strokes.
What has become of him?
Unfortunately there have been few sightings of Percy Animé since his time in Borovia; we only know that he left it alive, and well, if somewhat changed by his experiences there. Strangely however, there was a sighting of someone going by a similar name (Persy Von Catsing). This “Persy” looks suspiciously like Percy, but younger. He is a bard, or so I’m told.
If this seems strange and confusing, I was right there with you, but then I began to think. What if Percy isn’t tethered by time and space in the usual manner? What if he isn’t weighted down by them as we are?
It describes, at a high level, a background which takes another as its parameter. What if there are multiple versions of Percy Animé, free of the constraints of time and space. What if there are many Percy’s, but only one will prove suitable to be the Percy Animé.
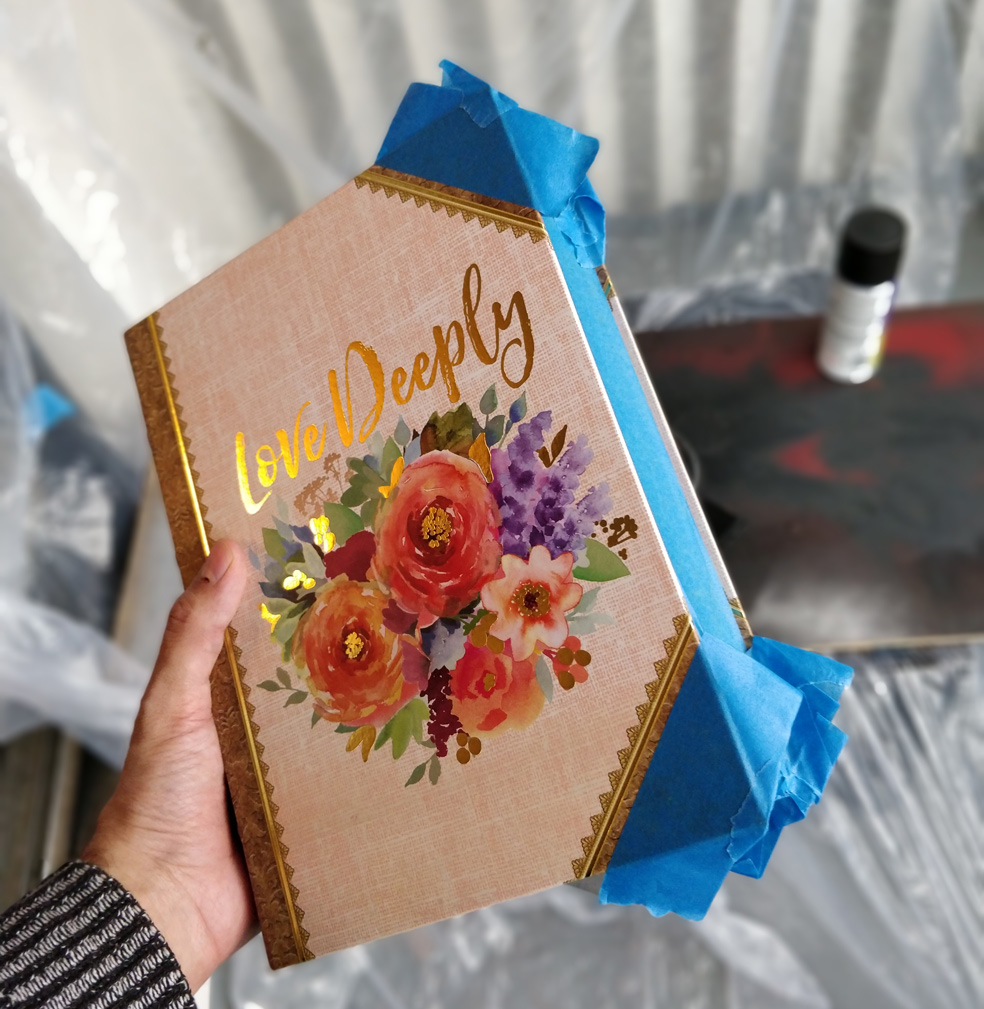
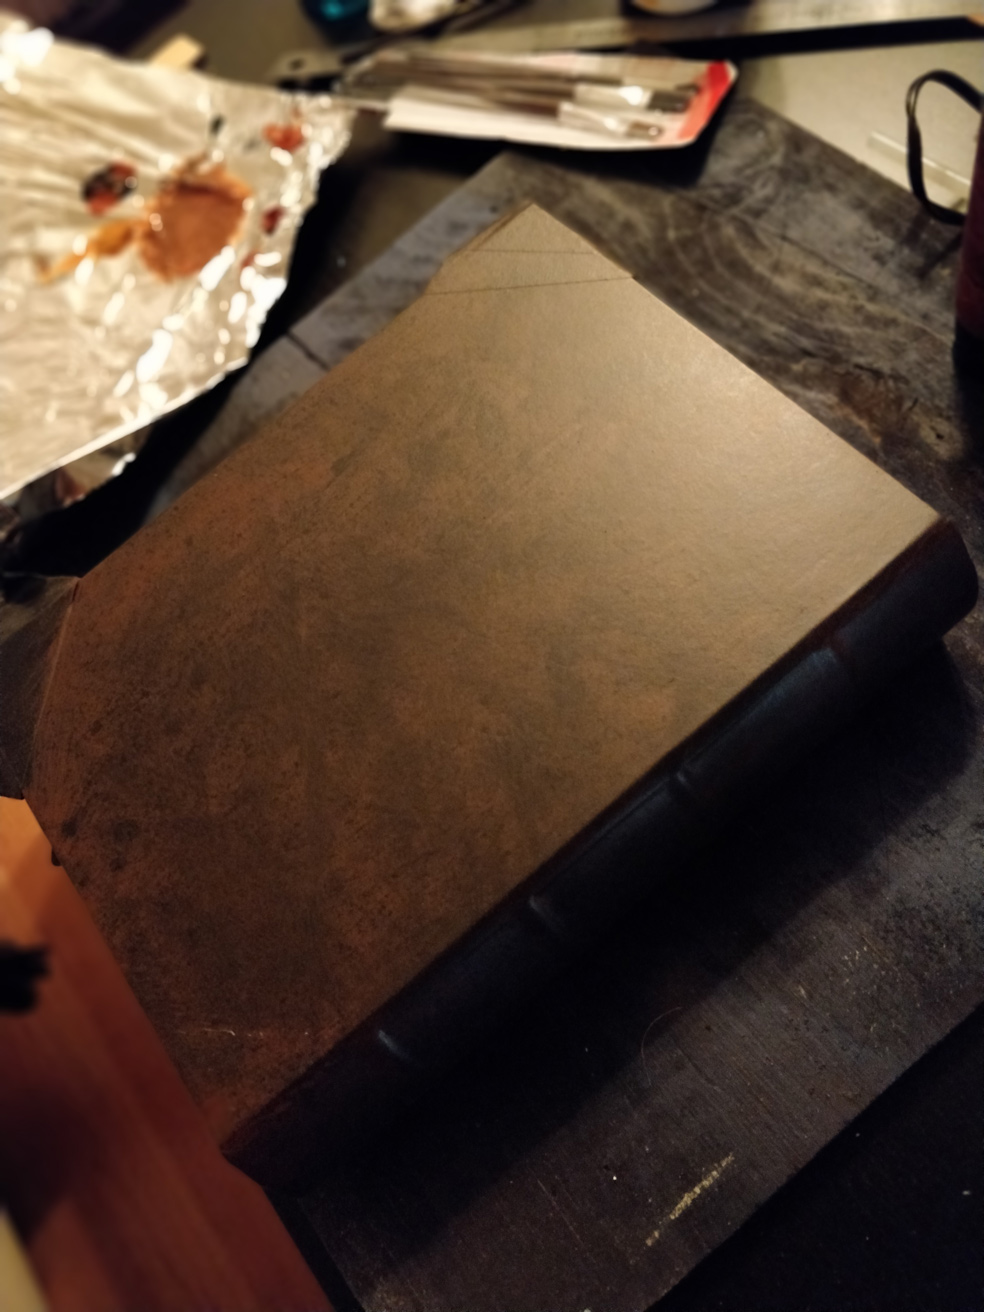
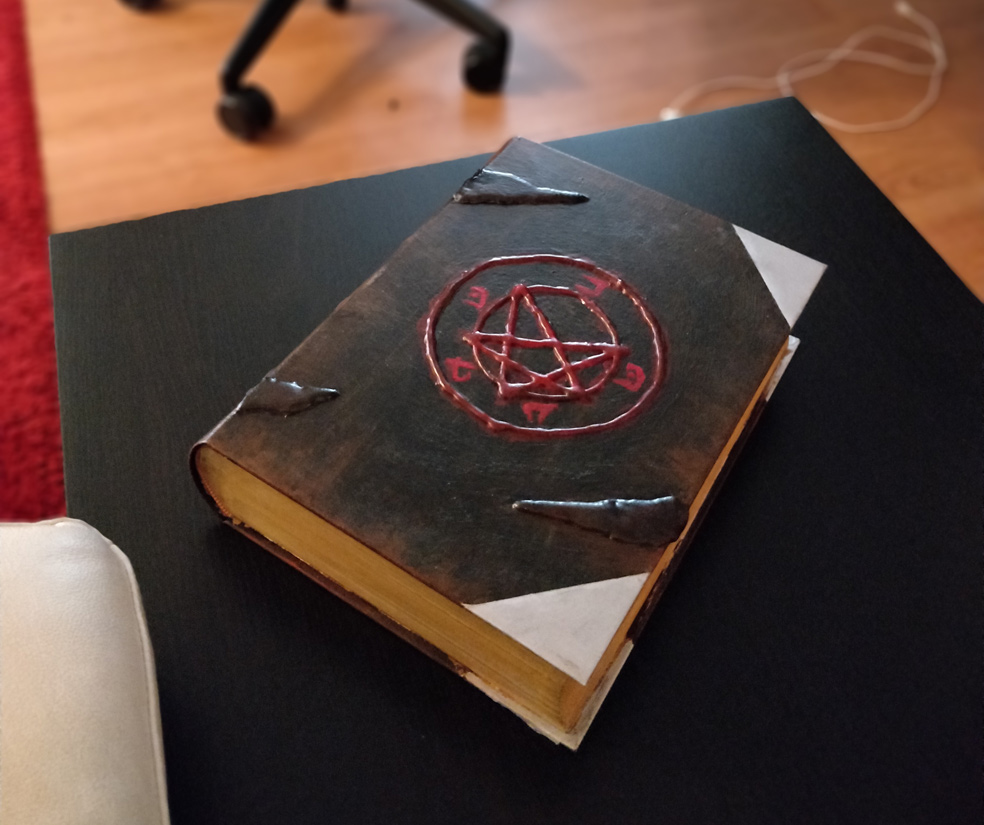
It all started at Michael’s, as these things always do, with a box shaped like a book. You see I’d never played dungeons and dragons, but it turns out any DM worth her salt needs a way to roll her dice unobserved. The more sinister the receptacle the better.
Flowers are cool and all, but I think the accursed flesh of the damned would be more appropriate
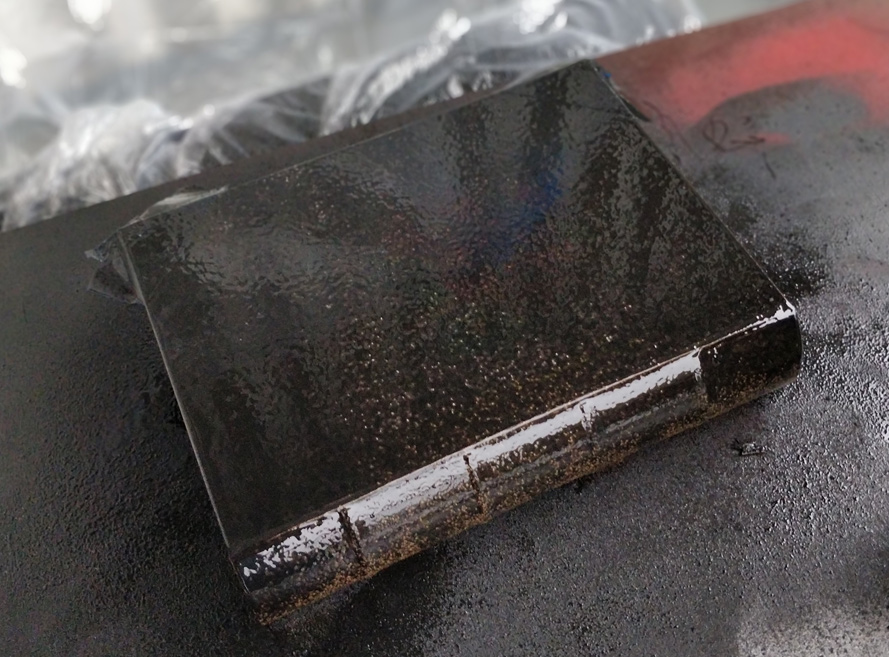
I've always found accursed flesh to be somewhat rubbery - plastidip is great for that
Plus it's nice to paint on
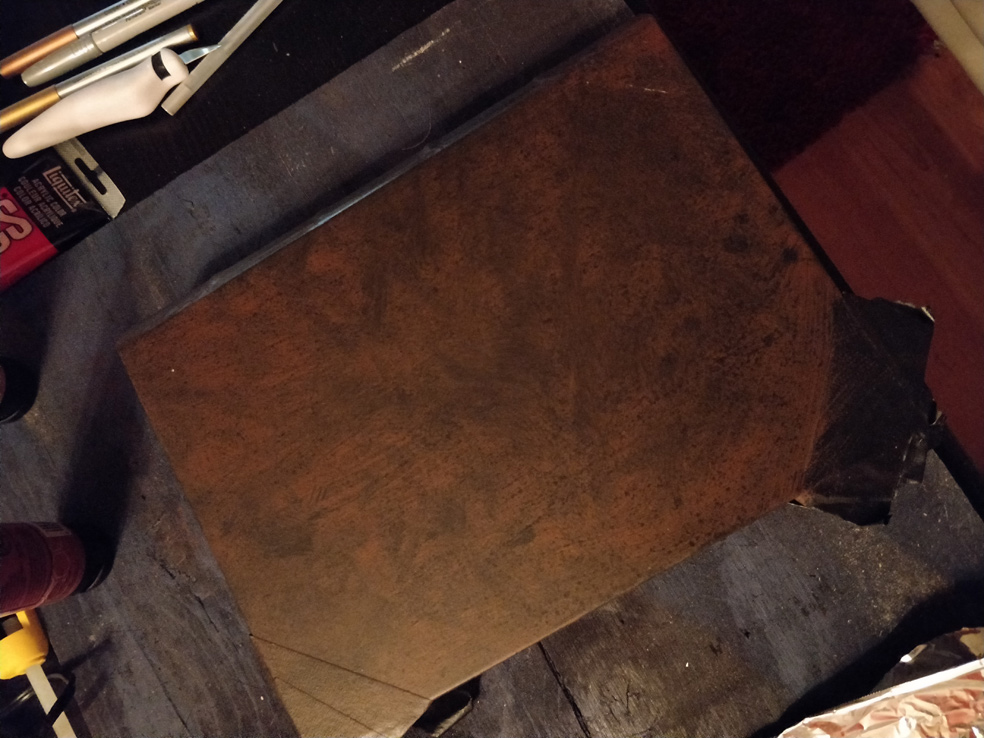
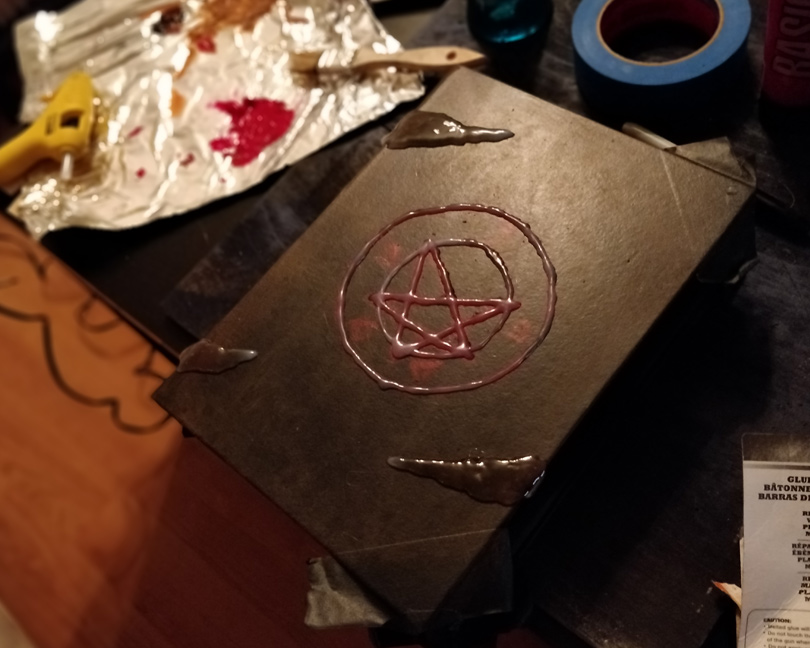
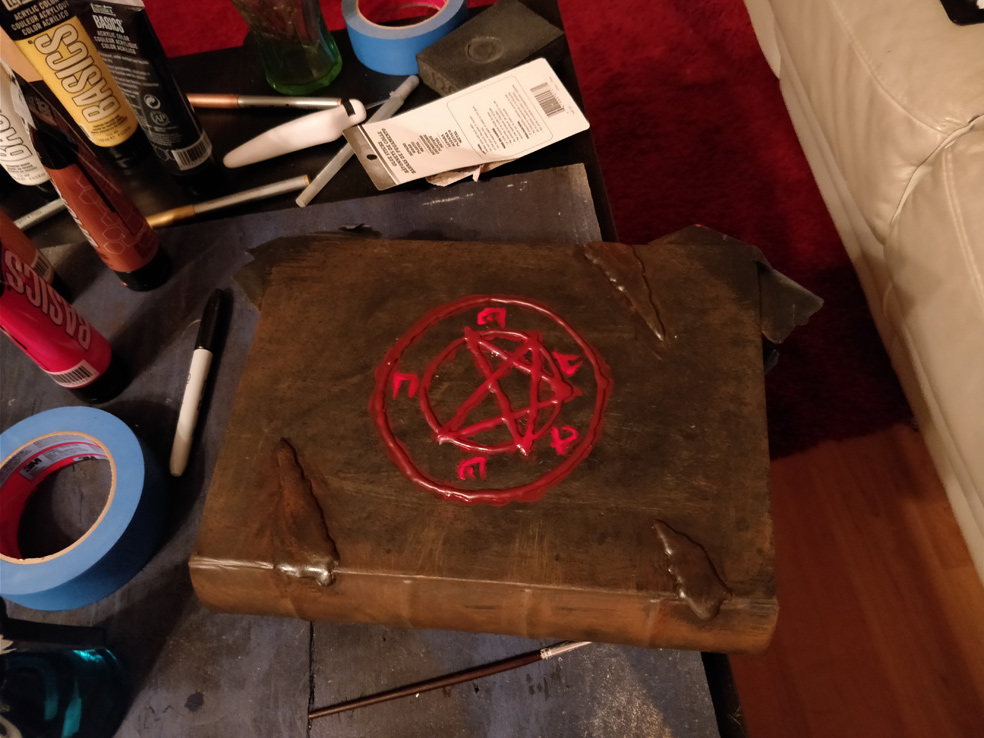
Once you've painted on the pentagram and inscribed the appropriate infernal runes, it's time to raise the flesh above it. I used a glue gun.
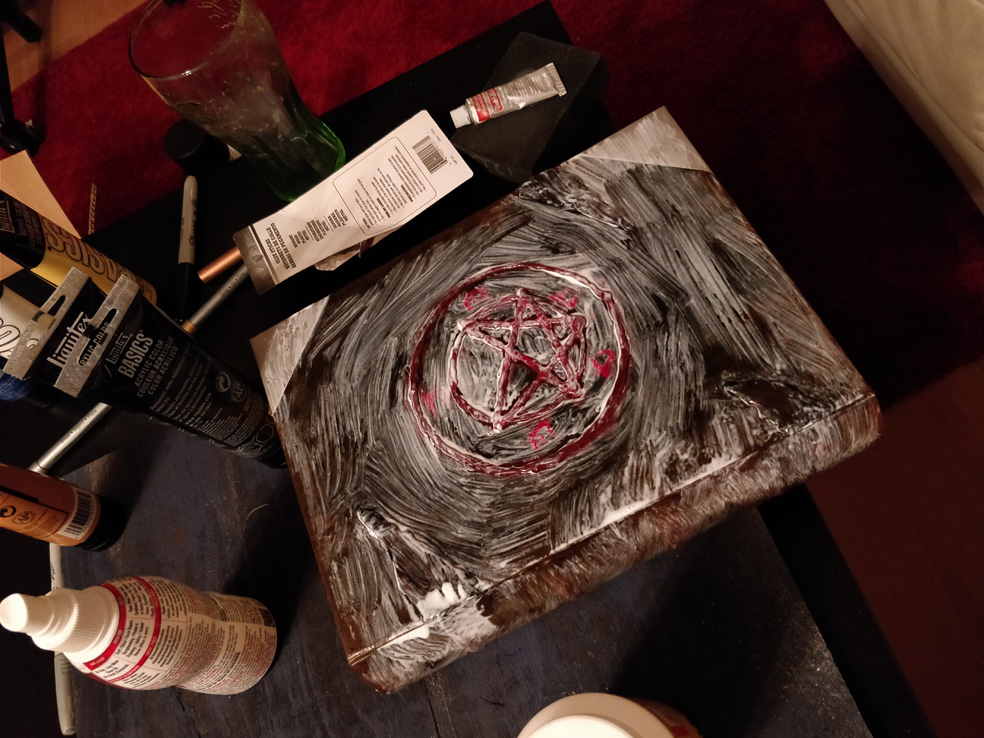
Don't forget to paint over them again.
After spray painting the corners metalic, I sealed it with Mod Podge.
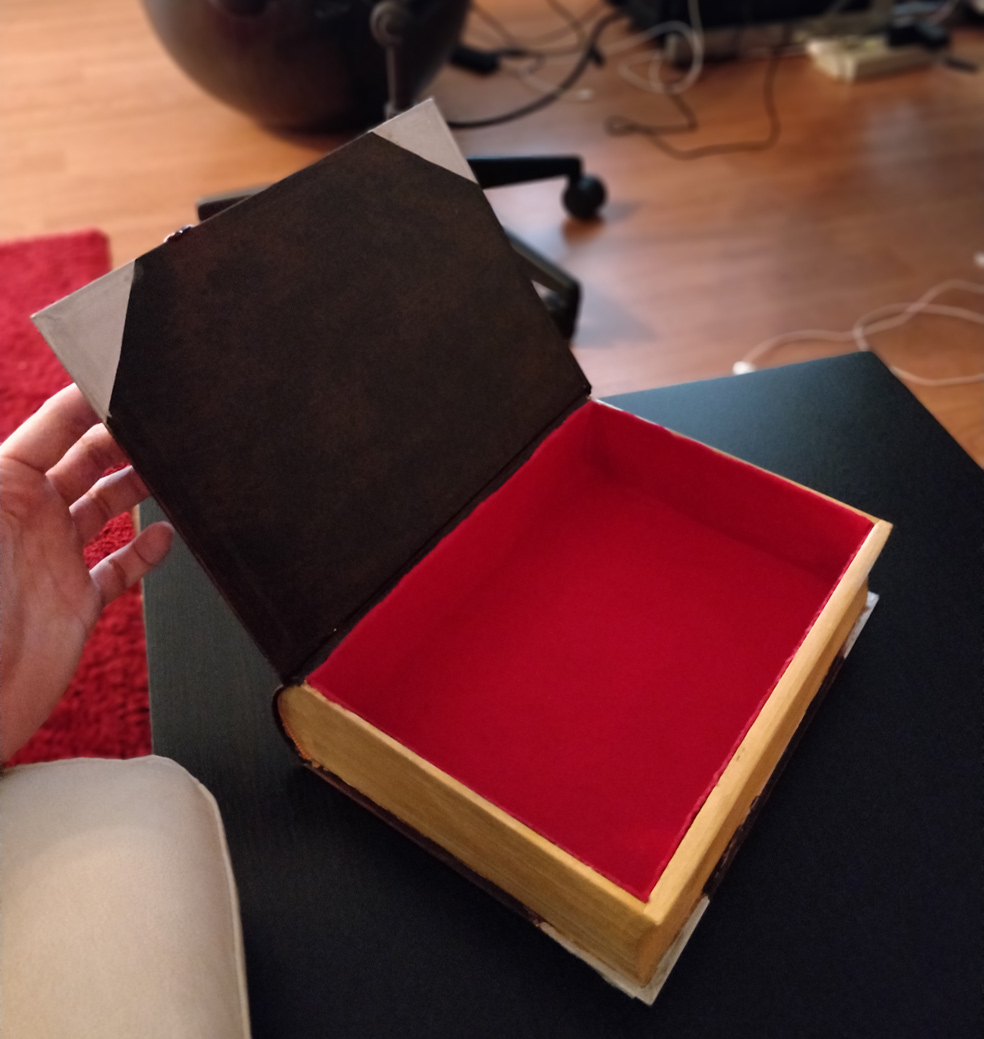
The inside should be lined with felt, the colour of freshly spilled blood.
Yes, that's a string cheese wrapper on my floor. Manipulating such dark power is dangerous, hungry work.
Making costumes is fun! Fun, but worrisome. What if it looks like you’re just wearing a garbage bag – what if people think you’re dressed as literal garbage?
I mean, maybe you are dressed as garbage, and that’s okay. In that case, good job! But me, I wasn’t dressing as garbage.
No, I wanted to be Frank from Donnie Darko, complete with his bunny outfit.
(Frank's the one on the right)
The most distinctive thing about Frank is his mask. Conveniently it was also the most likely point of failure. Which made it a good place to start – if it turned out terribly, I could always fall back on my garbage idea.
Making Frank’s mask
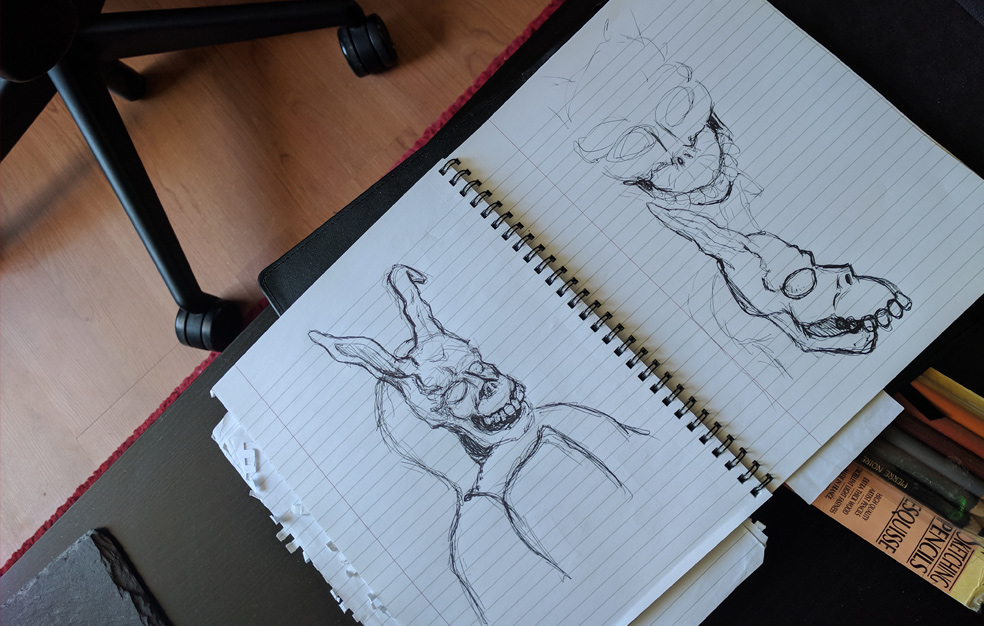
The first step was to figure out what I was making. So out came the old notebook and a trusty pen.
Even when pencils are actually in the way, I prefer to draw in pen — it's more metal
Once the various angles were documented, it was time to commence fabrication – using a tried and true method called winging it.
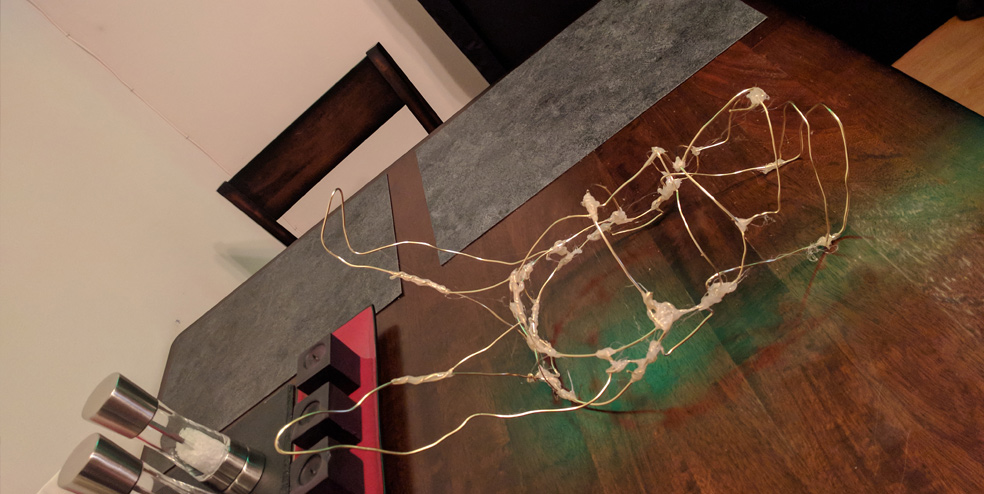
But how to form the mask? I knew I’d be using polymer clay, but I wanted something to build off of – a wire-frame, if you will. I briefly considered using coat hangers, but my coats need those. Adjourning to Michael’s instead, it turns out they have something called “craft wire”, which comes in various gauges, wound in a circle. I settled on a 12 and a 14 gauge wire; 12 was coat hanger thick, and 14 slightly thinner.
After twisting the wires in place, I hot glued the joints as well.
Some wire and hot glue later
You may notice some rectangular loops – one on each side, near where the eyes would be, and one at the top. This is a rare example of planning ahead. I knew I’d need some way to keep it on my face, and decided on three-point elastic system. I wanted the connection points to be build into the framework, so I added those loops to the wire-frame.
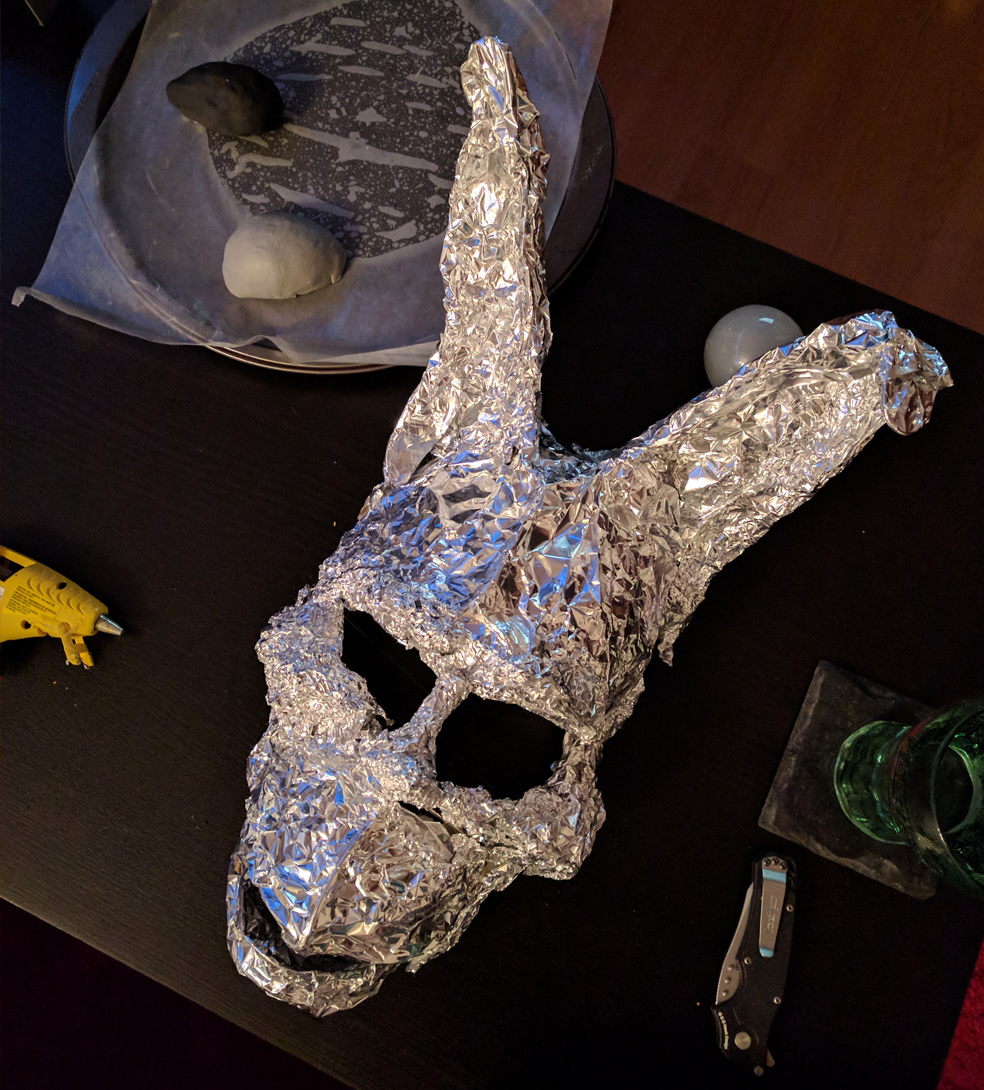
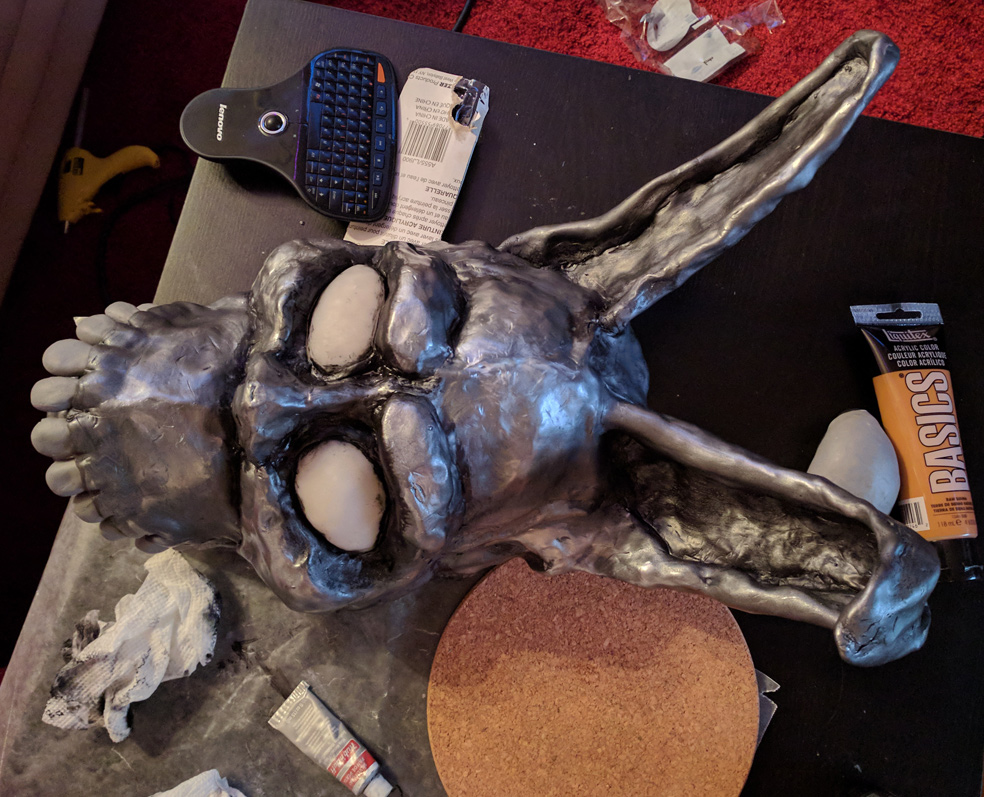
Next, I wanted to fill it in, to give the polymer clay something to sit on. You know, so it didn’t droop through the gaps under its own weight. I wrapped the frame with aluminum foil, and used excess foil to build up mass in places like the brow and cheeks.
Next, I added mass with aluminum foil
Those lumps of grey and black in the background were how I tested and settled on making the eyes, respectively.
You can see one of the loops more clearly here
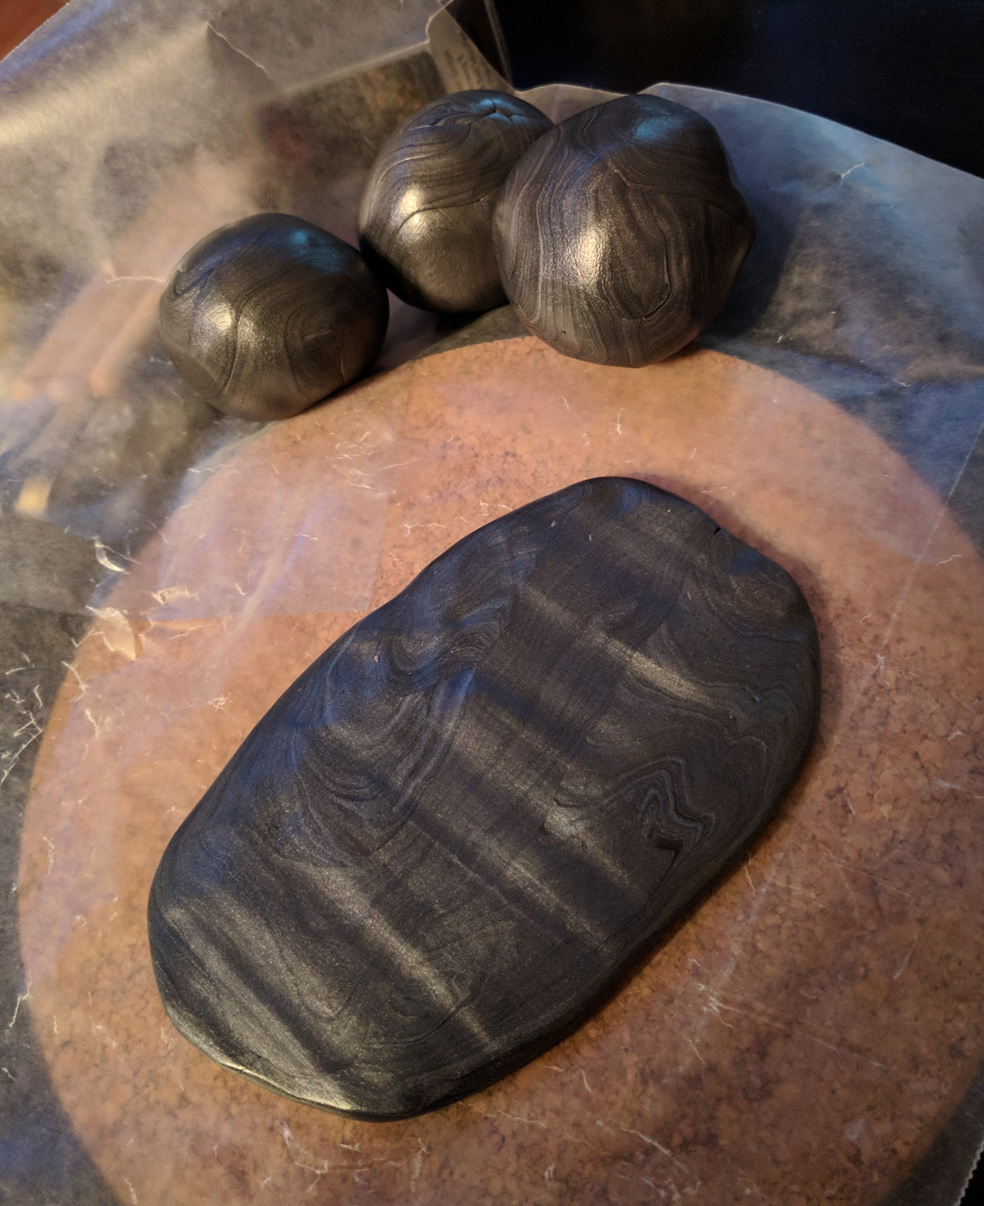
After some reading on the various polymer clay options, I settled on mixing silver and black Kato Polyclay (which I ordered from shadesofclay.com). This wasn’t the most time or labour efficient solution – which is an evasive way of saying it was the worst decisions of my life.
I spent hours mixing the clay, and my hands felt a bit bruised afterward. Keep in mind that I’m a large fellow with proportionally sized hands, and admirable grip strength, if the Telus World of Science is to be believed. In short, maybe don’t do it unless you really want to.
This is maybe a quarter of the polymer clay I mixed.
Because I wanted the eyes to light up, I made them with Pardo Translucent Art Clay. I made a form using a ball of tinfoil rough eye shape, covered in a layer of some black polymer clay I had leftover from my Witcher costume.
I cooked it in the oven, and then pressed a layer of the Pardo Translucent over it, and cooked that (times two).
Look, it's an eye!
Once a Pardo Translucent eye was cooked, I pulled it off the form. Conveniently, they came off pretty well – although the form was mostly destroyed after the second eye. Joke’s on it, though, Frank’s mask only has two eyes.
With the eyes complete, I set about the tedious task of skinning the mask. I did this over two days.
I’m not sure if it was necessary, but during the night I stored the excess clay in the fridge, and wrapped the mask in plastic – just in case.
Skinning the mask
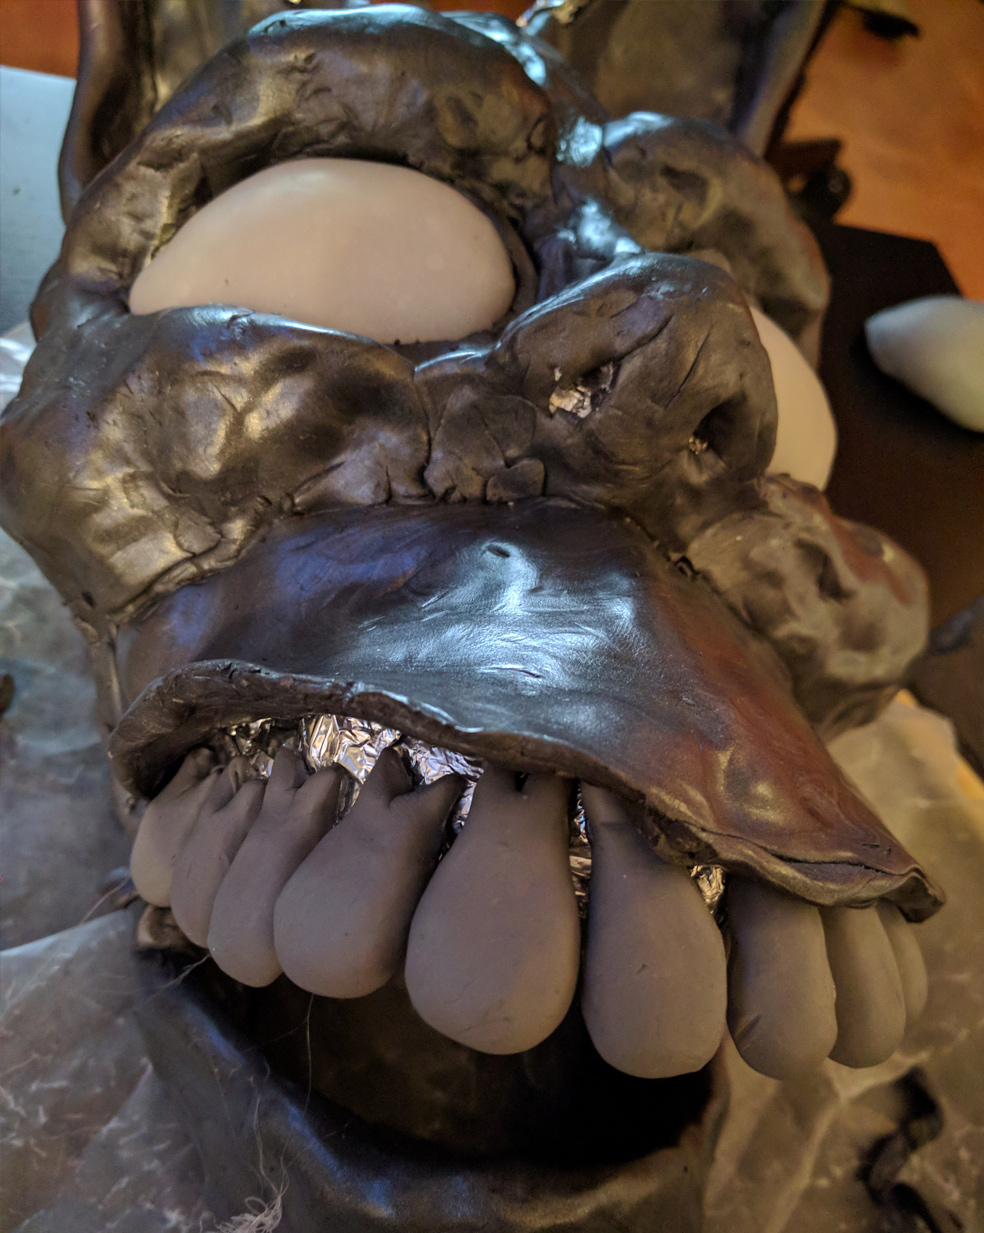
A little bit of dentistry
Guys, I have a confession to make. Before, when I told you I started with the mask.. Well, that wasn’t entirely true. I started with the teeth.
I hope you can forgive me.
Doing a little dentistry
It turns out the trick to successful dentistry is surface area and hot glue.
I’d originally included the roots on the teeth to provide extra surface area, and to help prevent the teeth from falling out. It turns out this had the added benefit of cool bumps above the teeth – kind of like metal gums.
Skinned and ready to cook
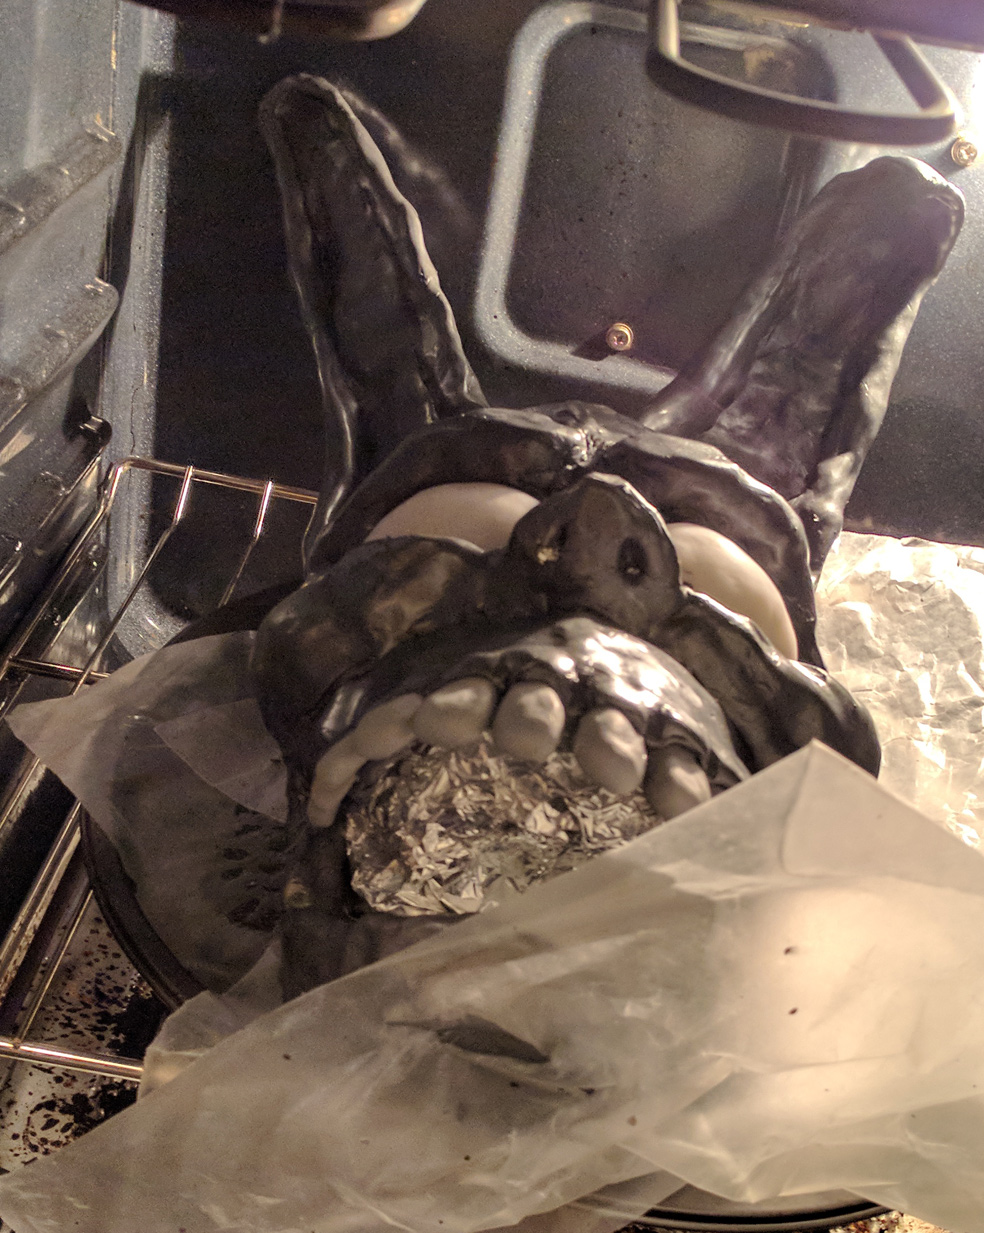
With the mask both skinned and toothed, it was time to cook it – and boy was I nervous.
Luckily, it almost fit in my filthy oven. There’s a bit of a flat spot on the top of one ear, and at the bottom of his chin, where it touched the back wall and the oven door, respectively. I probably should have actually measured things before hand. Oh, well – I doubt anyone else would even notice.
I put two balls of aluminum foil inside it for support
Now, you’re probably thinking but, hey, how will you see?
Now that is a great question. When I was planning the mask, I decided I didn’t care about vision. I could look down and see through the mouth, or flip it up on my head if I really needed to see something.
I didn’t plan to move around much while wearing it.
At the last minute, (probably because people kept asking) I started to worry I’d made a terrible mistake. Panicked, I poked a tiny hole near one eye to look through. It worked fairly well, though I can only see one face at a time.
Bonus, I later learned that the neck of a corona bottle fits perfectly through the mask's mouth and into my own.
Once the polymer clay was hardened, I finished it with some paint and silver leaf Rub n’ Buff. Turns out it was super difficult to paint. The acrylic just seemed to run over it. I ended up eventually cleaning it up with a bit of acetone. The Rub n’ Buff was just as cool as always, though.
A bit of acrylic, and a bunch of Rub & buff. (Don't worry that glue gun isn't plugged in)
At this point, the inside was still aluminum foil, so I covered it with craft foam. This served the dual purpose of making it easier on my face, and more importantly, making it look better.
I also added some foam padding for comfort.
Whoa comfy (Here you can see the elastic loops again)
Oh, speaking of the elastic..
It's a little big on Dayna
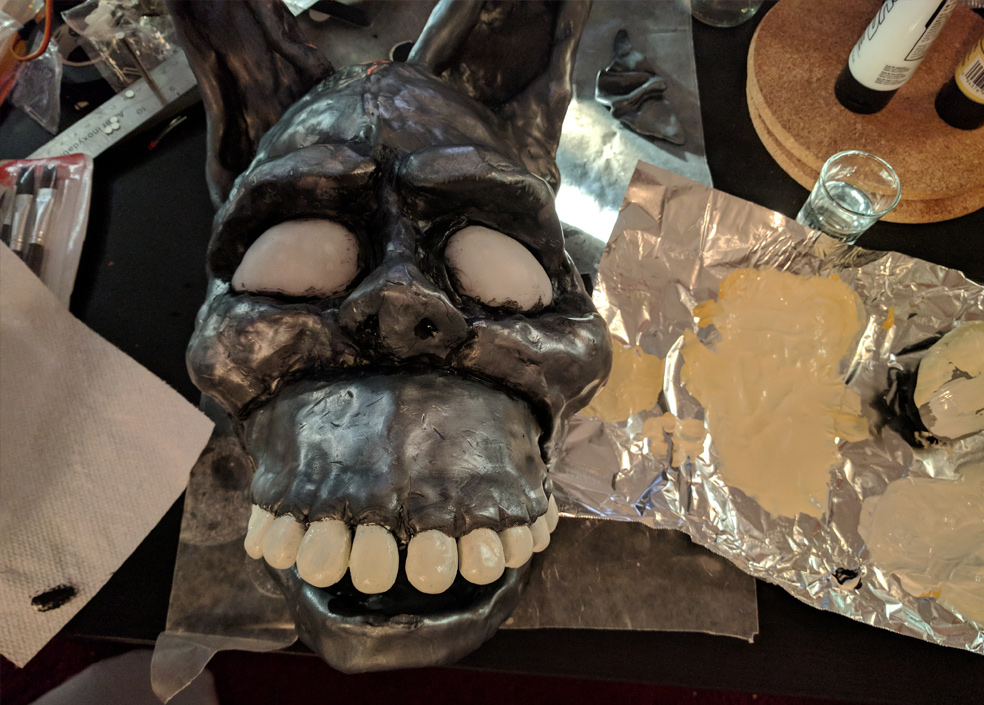
I put off painting the teeth for quite a while. I wasn’t sure if I wanted to do it, and I was happy enough with the mask that I was worried about ruining it. In short, I was nervous.
I don’t have a lot of experience mixing paints, but I had a very particular colour in mind. I probably spent an hour just mixing and testing colours, trying to get that perfect shade of bone-white. (The trick was to add a bit of black.)
Eventually I got down to it, though.
teeth whitening
But what if the eyes glowed?
I wanted the eyes to glow – but only sometimes. I wanted it to be sneaky.
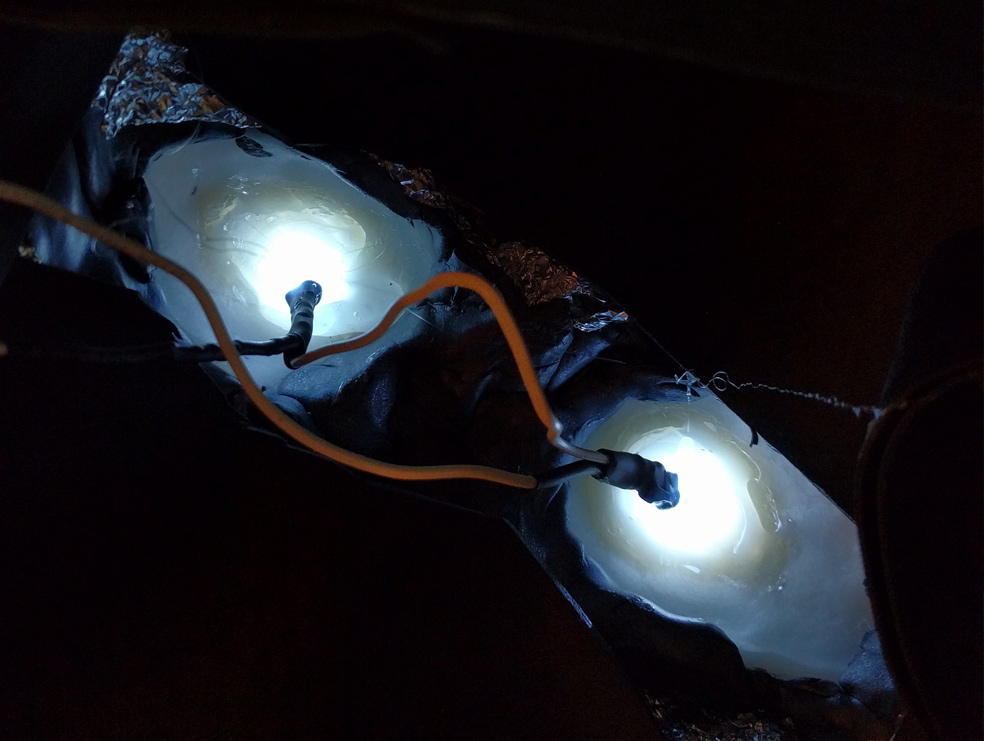
After testing a bunch of different LEDs, I settled on white (I got them from bc-robotics.com). They ended up looking a little bit blue, but that’s okay.
So I got to soldering, which I hate. I think you can see the despair in my eyes.
In order to diffuse the light, I made a sort of cup of wax paper, and melted hot glue into it. I embedded each LED into one of the globs, and then glued them into the eyes.
From there extended a long wire. Long enough to travel down my sleeve toward my hand. It ended in a switch, which allowed me to turn the eyes on and off at will, with nary a motion.
That is, if I had a sleeve.
A bunny onesie
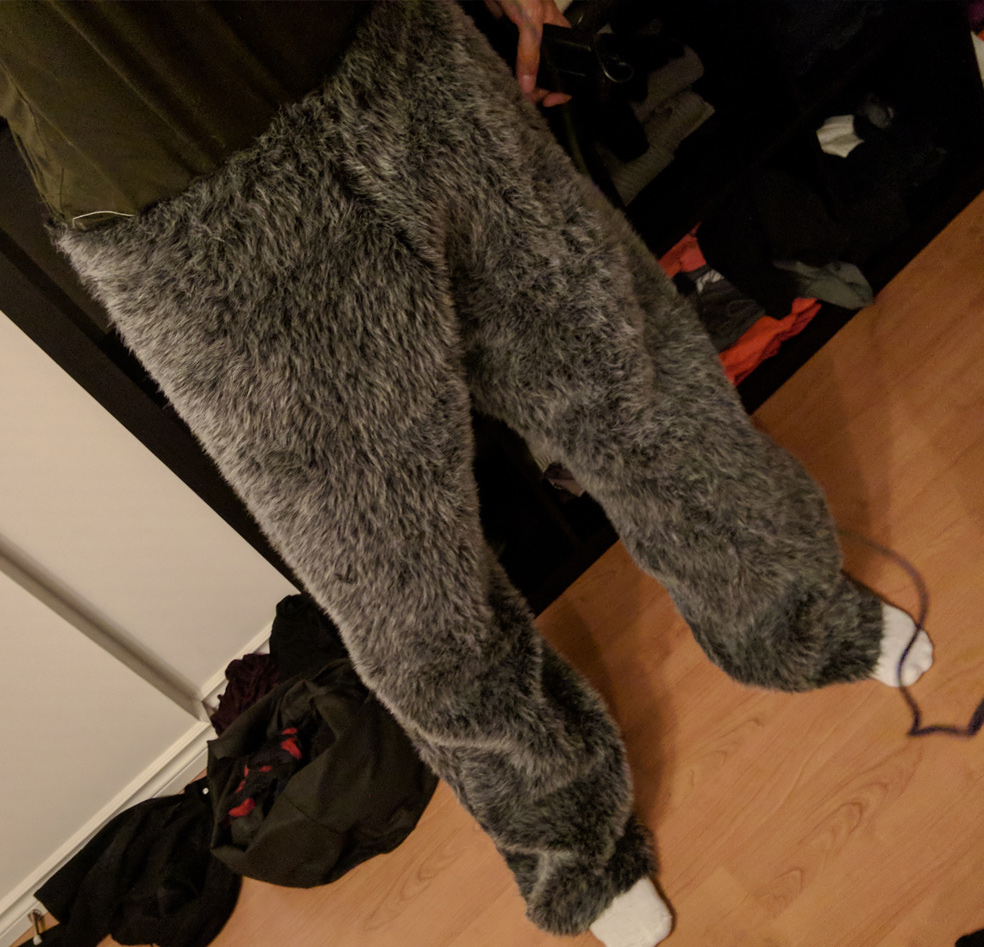
With the mask complete, it was time to work on the bunny suit. I wanted a pretty basic onesie, loose and long-limbed. Being too lazy to even look for a pattern, I just went for it.
I found some cool fabric when I was in Victoria, though I wish I’d gotten more. It turns out I had just barely enough. The hood is actually made of scraps.
Rabbit pants
Starting the shirt
I wanted it to velcro at the front, where the white and grey fabric meet.
Almost there!
All that was left was to add the hood!
To help the hood stay in place, I used magnets to attach it to some metal on the mask’s upper-most elastic. This didn’t work as well as I’d hoped. I should have used more magnets, but I left that portion until the last minute. Oh well.
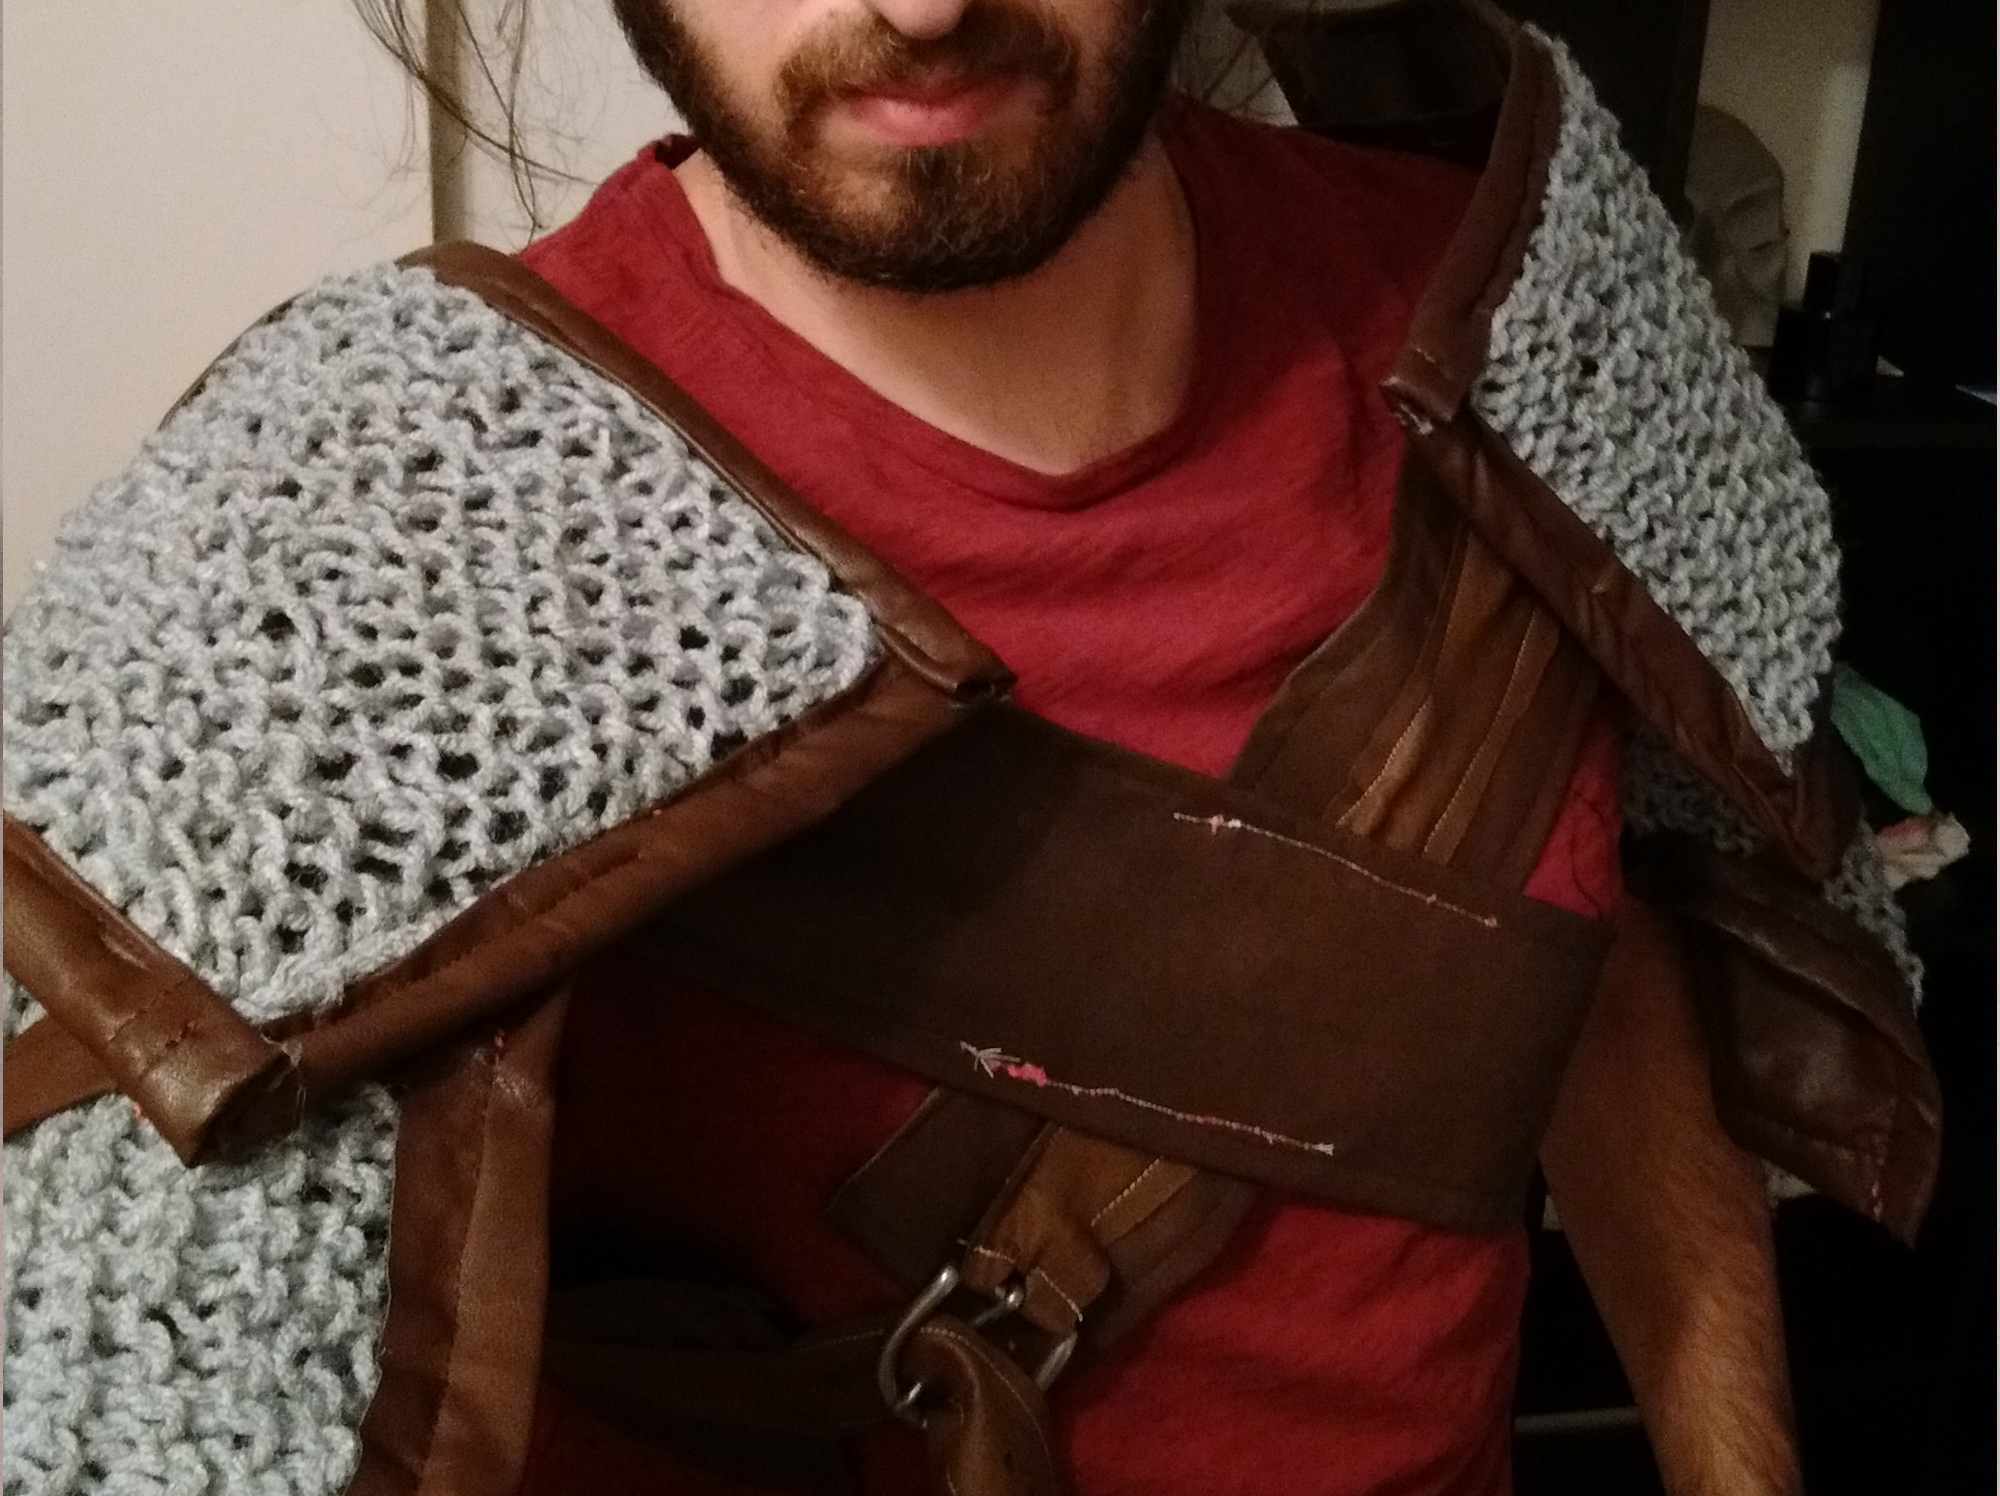
Chainmail, chainmail, chainmail. I got my mother to knit me chainmail.
Guys, I have a confession to make. I don’t know how to knit. I’ve never known how to knit, and it’s entirely possible I’ll never learn to knit. I know, I know. Knitting’s so trendy right now, but there you go, I’m ilkniterate.
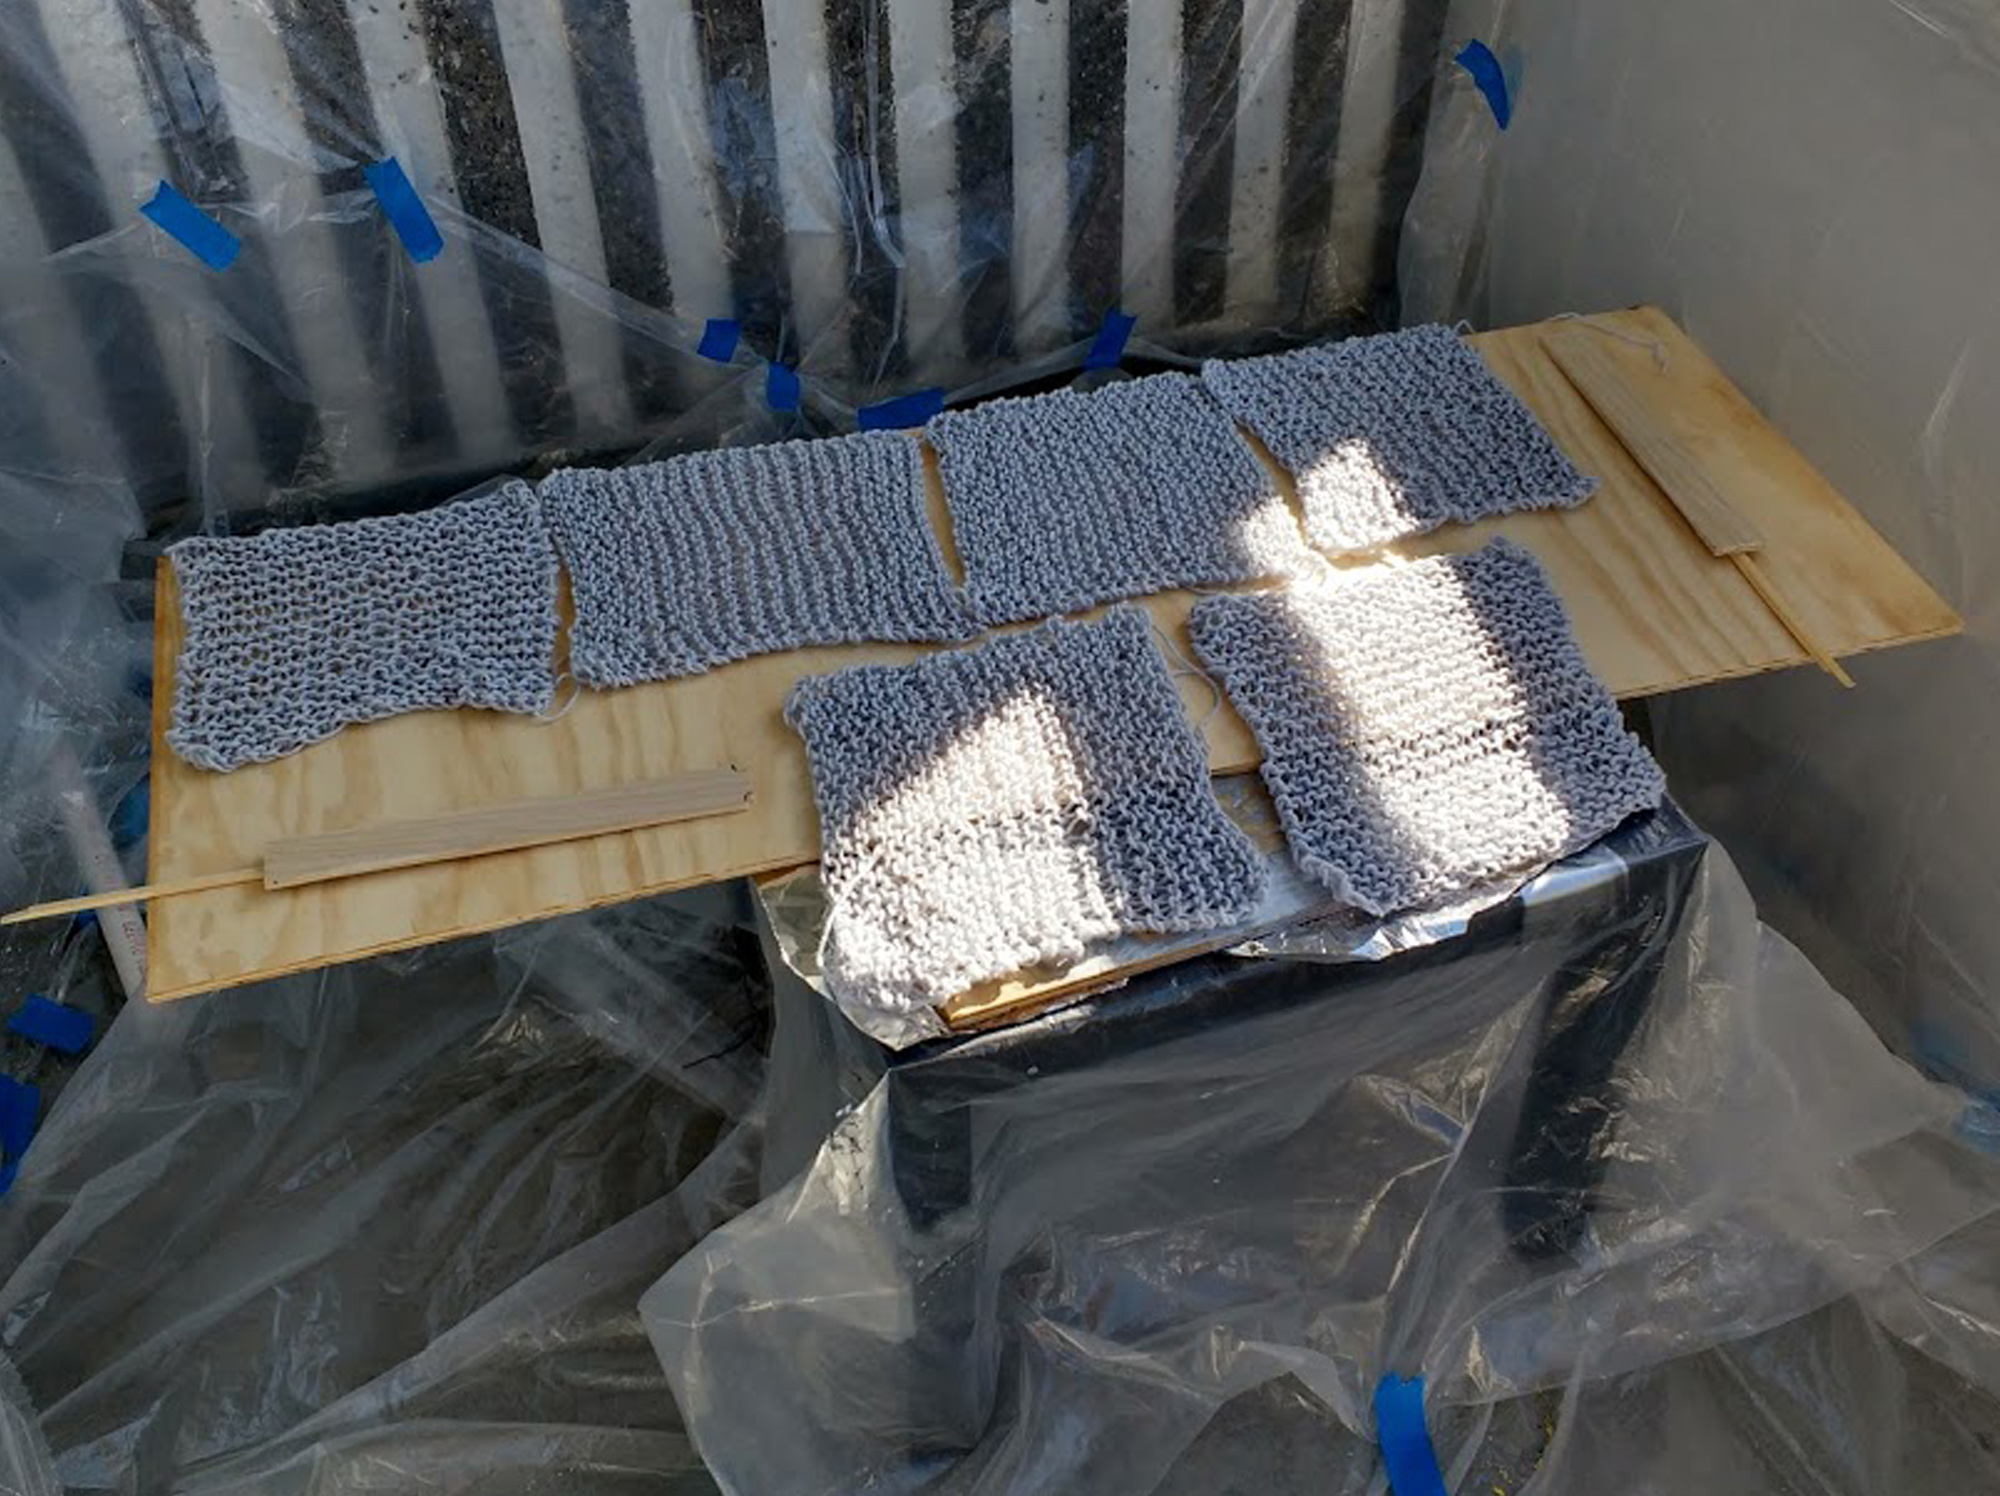
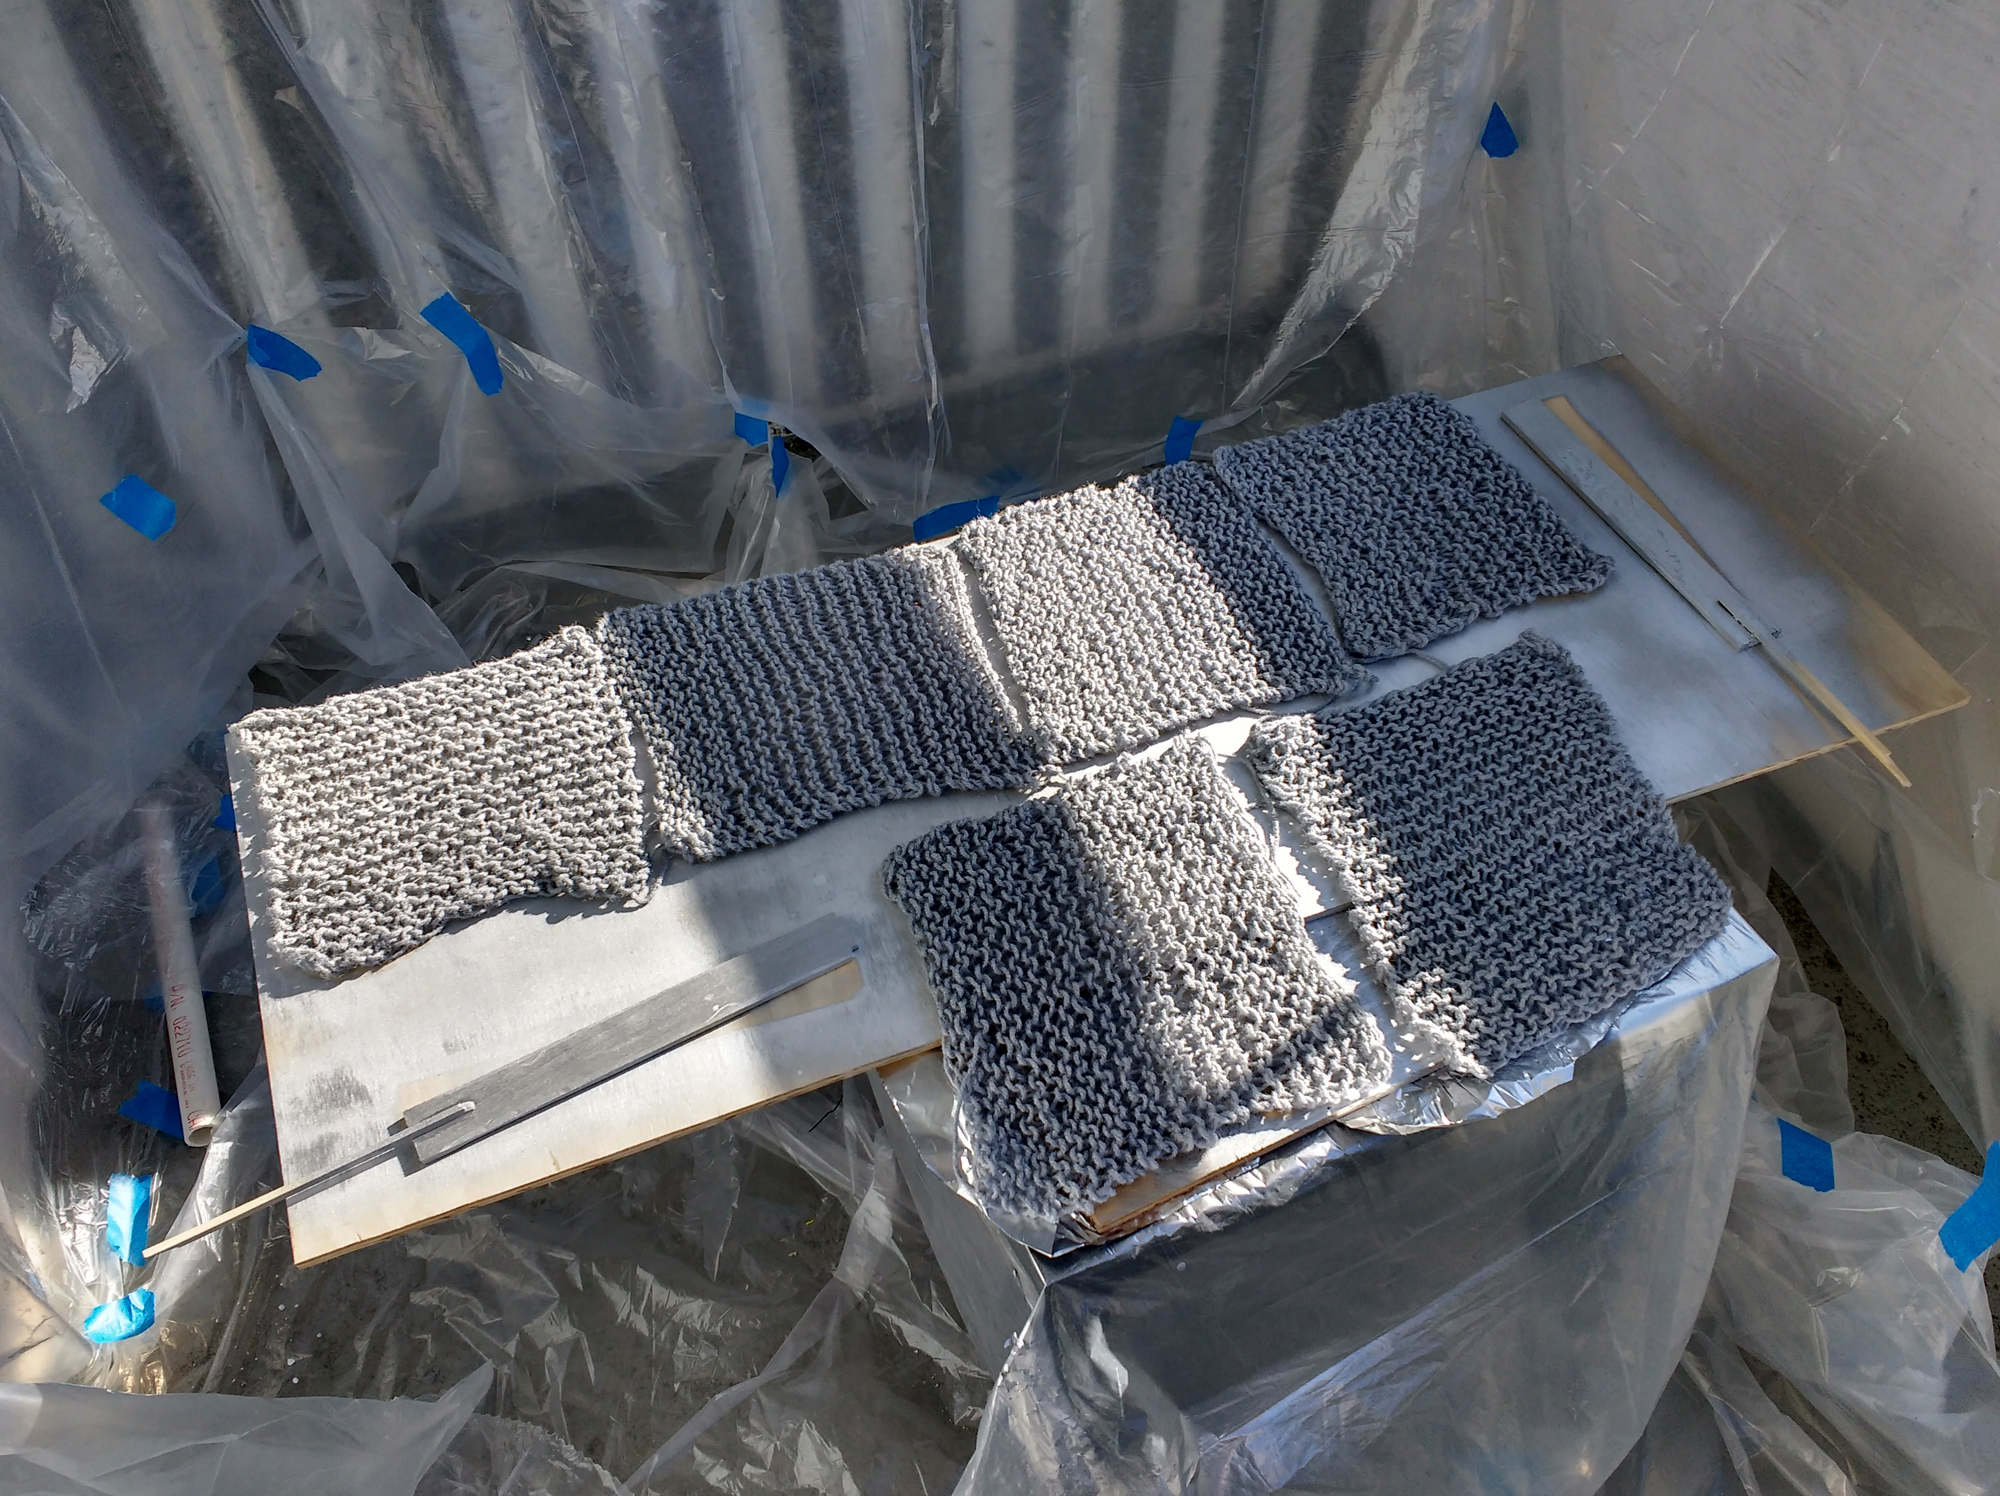
But good news, once the knitted pieces magically appeared, I got on with my costume by spraying paint all over them.
Those wooden pieces are for the swords, shhh.
And through the magic of time-lapse!
All painted!
If you’re thinking Wow, those look pretty similar… — good eye!
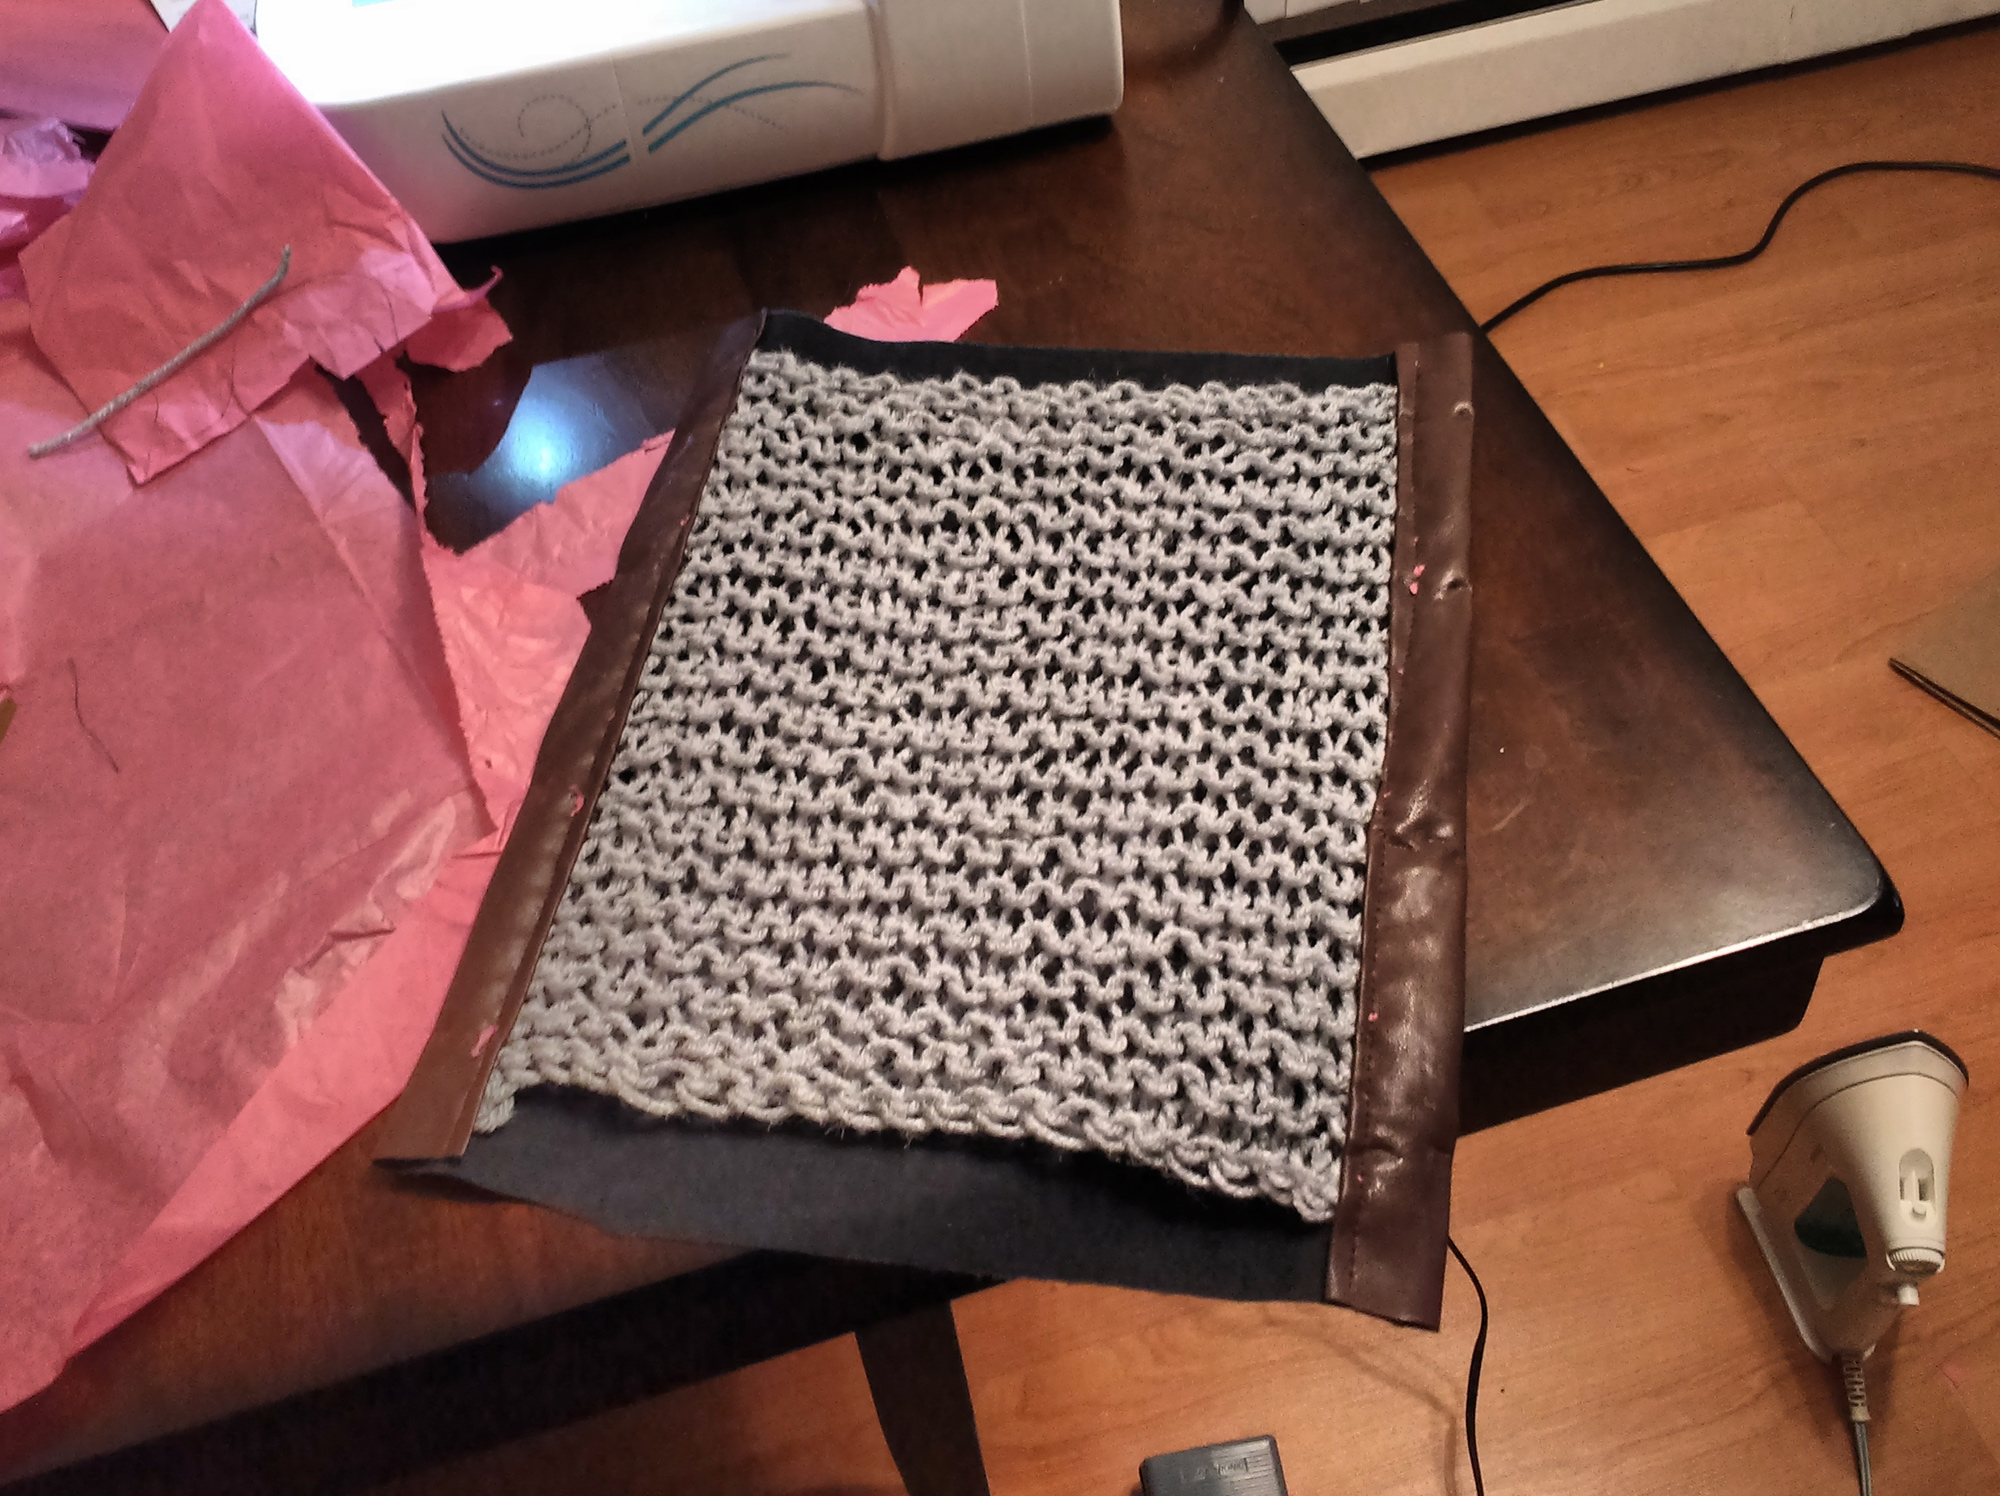
Once the painting was done, it was time to turn them into armour. I wrapped them in fake leather, with a piece of thin, black craft foam between them, and sewed up the sides. Funny thing about this fake leather, it doesn’t go through the sewing machine well. It’s too… I don’t think sticky is the word, but there’s definitely too much friction. To get around this, I wrapped what I’d be sewing in tissue paper. It was a pain, but it worked.
You can't really see it, but there's a layer of thin foam in there
I added straps and buckles, as appropriate, and sewed it all together. I also lightly dusted some parts with brown spray paint to try to give the leather layering some texture. Beneath the arm pieces are some straps with velcro I sewed on.
Fast forward to this.
#Protip: If I was doing it again, I’d sew the pauldrons down so they didn’t flap around as much – or build them over something sturdier than the fake leather and a thin layer of craft foam.