Chainmail, chainmail, chainmail. I got my mother to knit me chainmail.
Guys, I have a confession to make. I don’t know how to knit. I’ve never known how to knit, and it’s entirely possible I’ll never learn to knit. I know, I know. Knitting’s so trendy right now, but there you go, I’m ilkniterate.
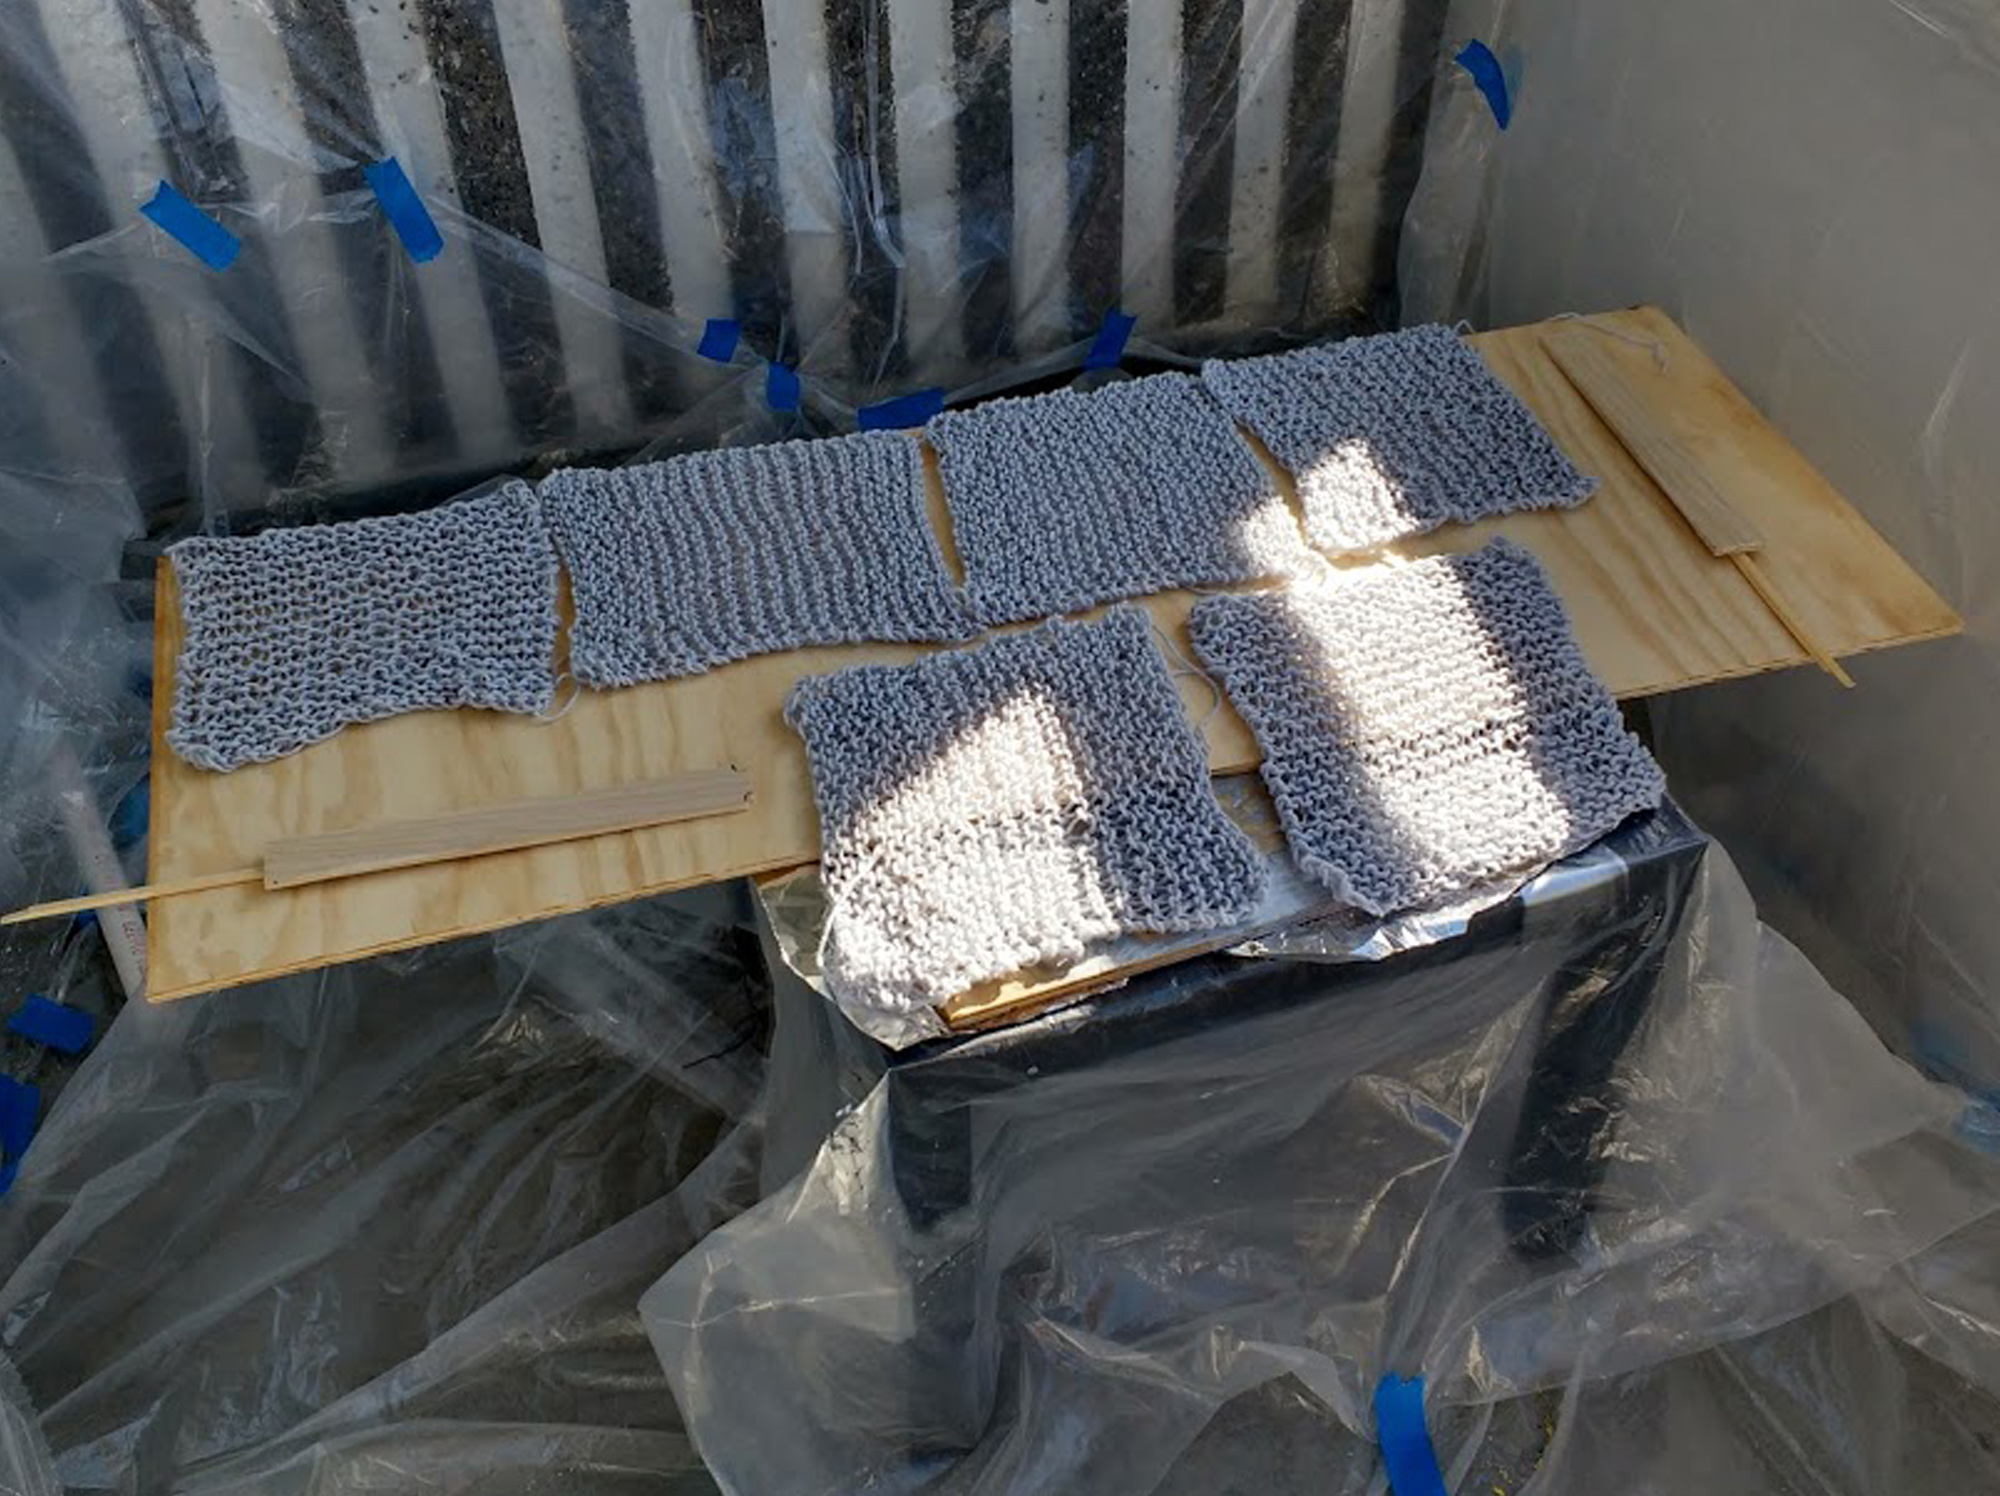
But good news, once the knitted pieces magically appeared, I got on with my costume by spraying paint all over them.
Those wooden pieces are for the swords, shhh.
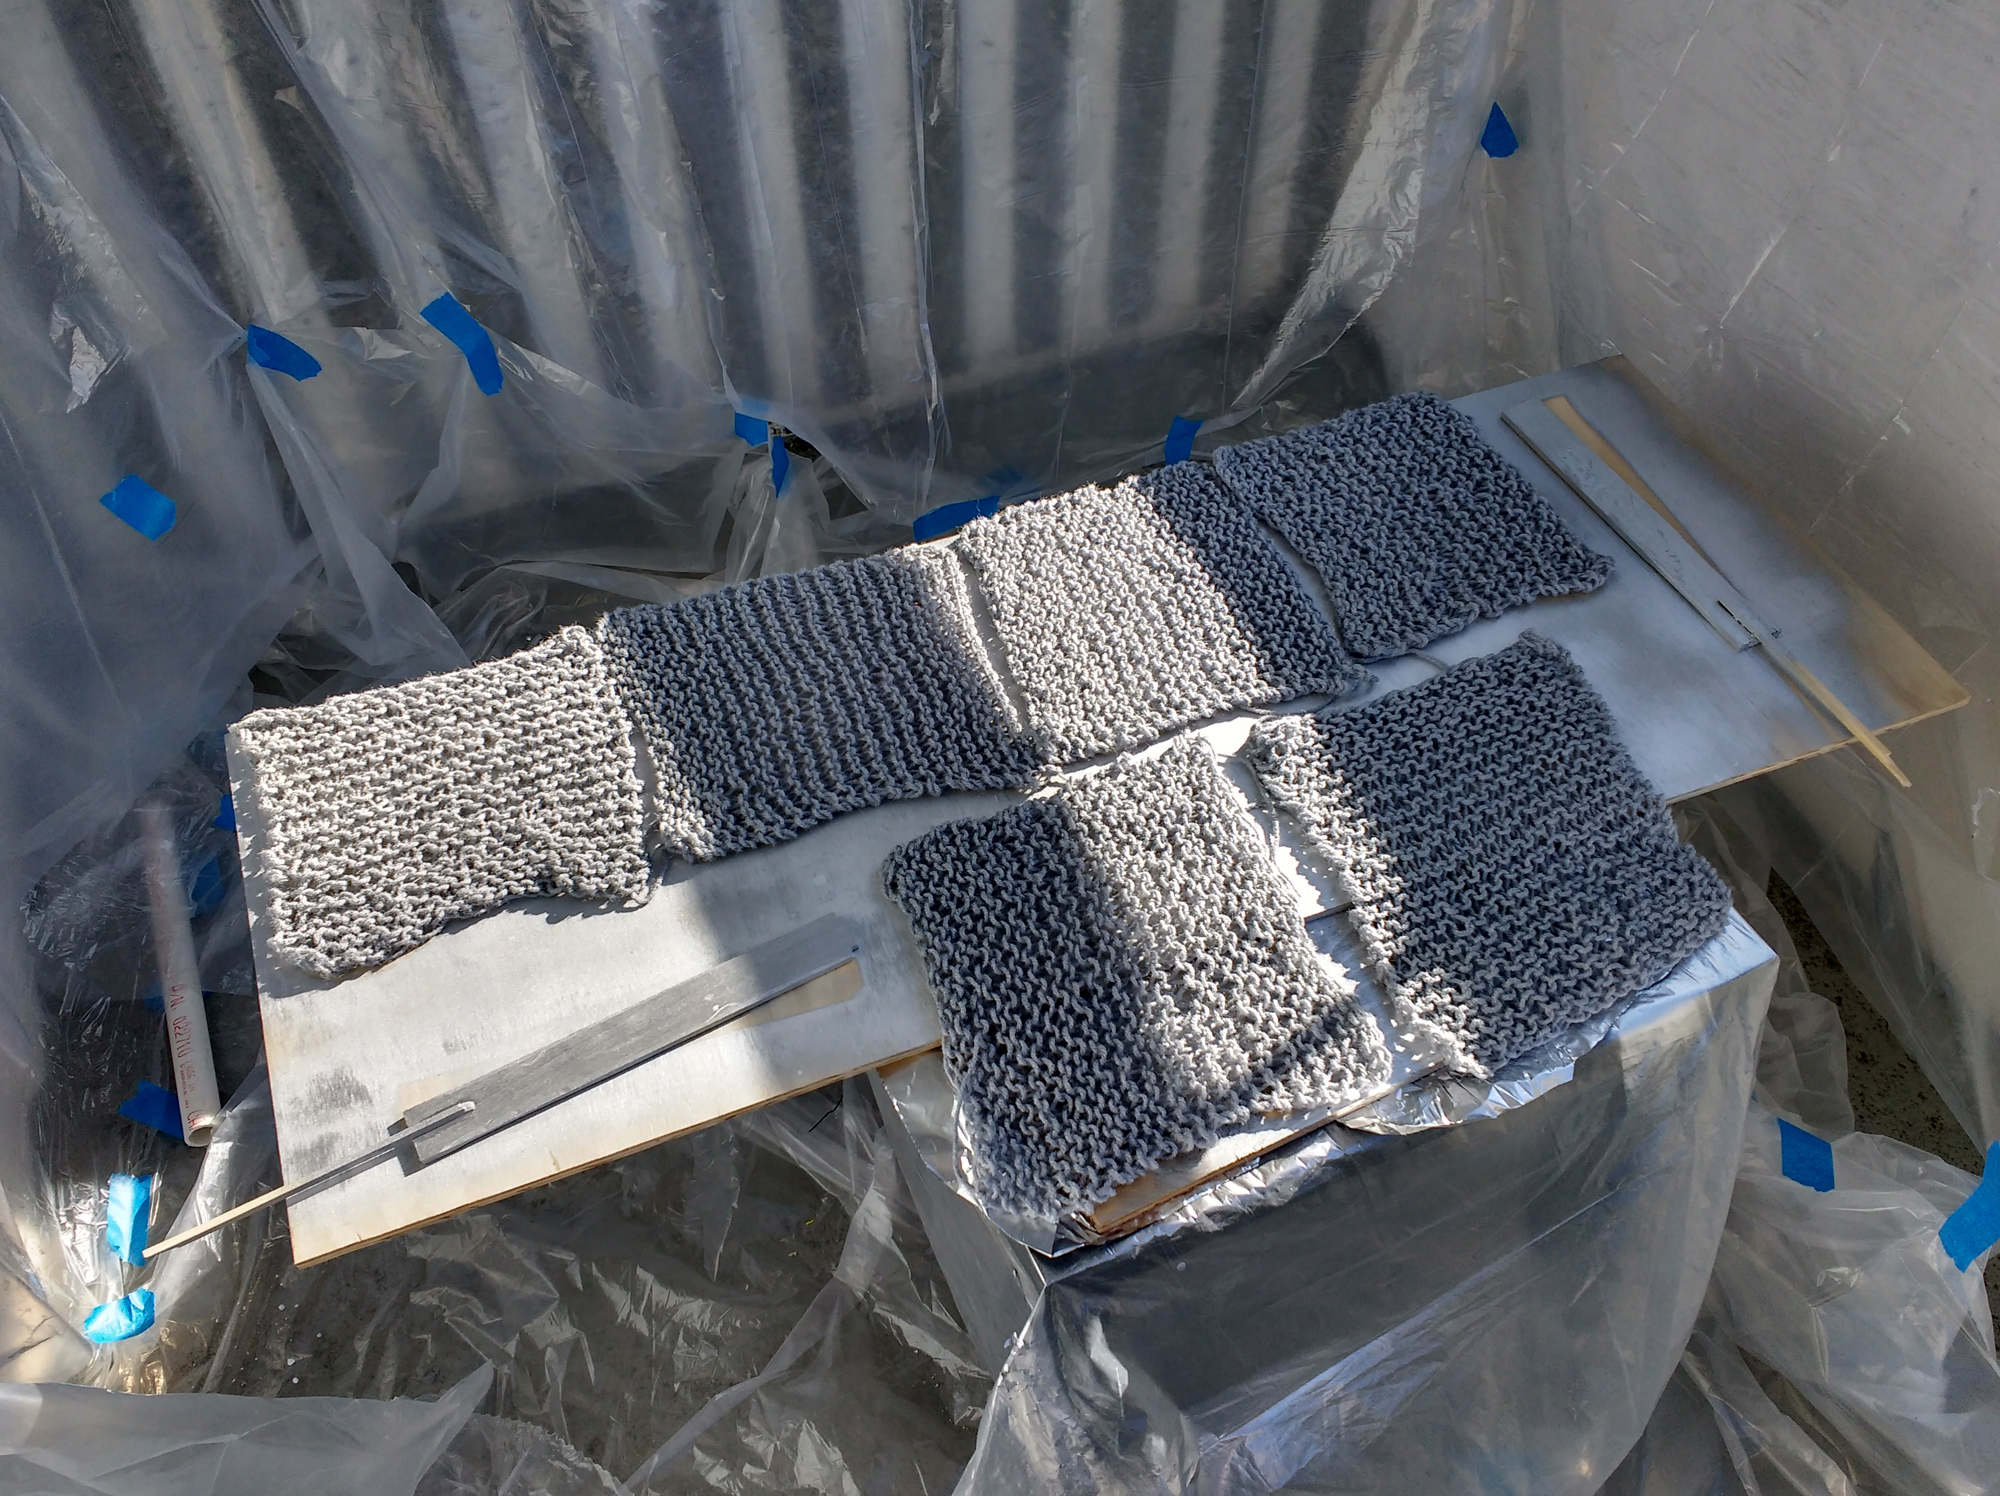
And through the magic of time-lapse!
All painted!
If you’re thinking Wow, those look pretty similar… — good eye!
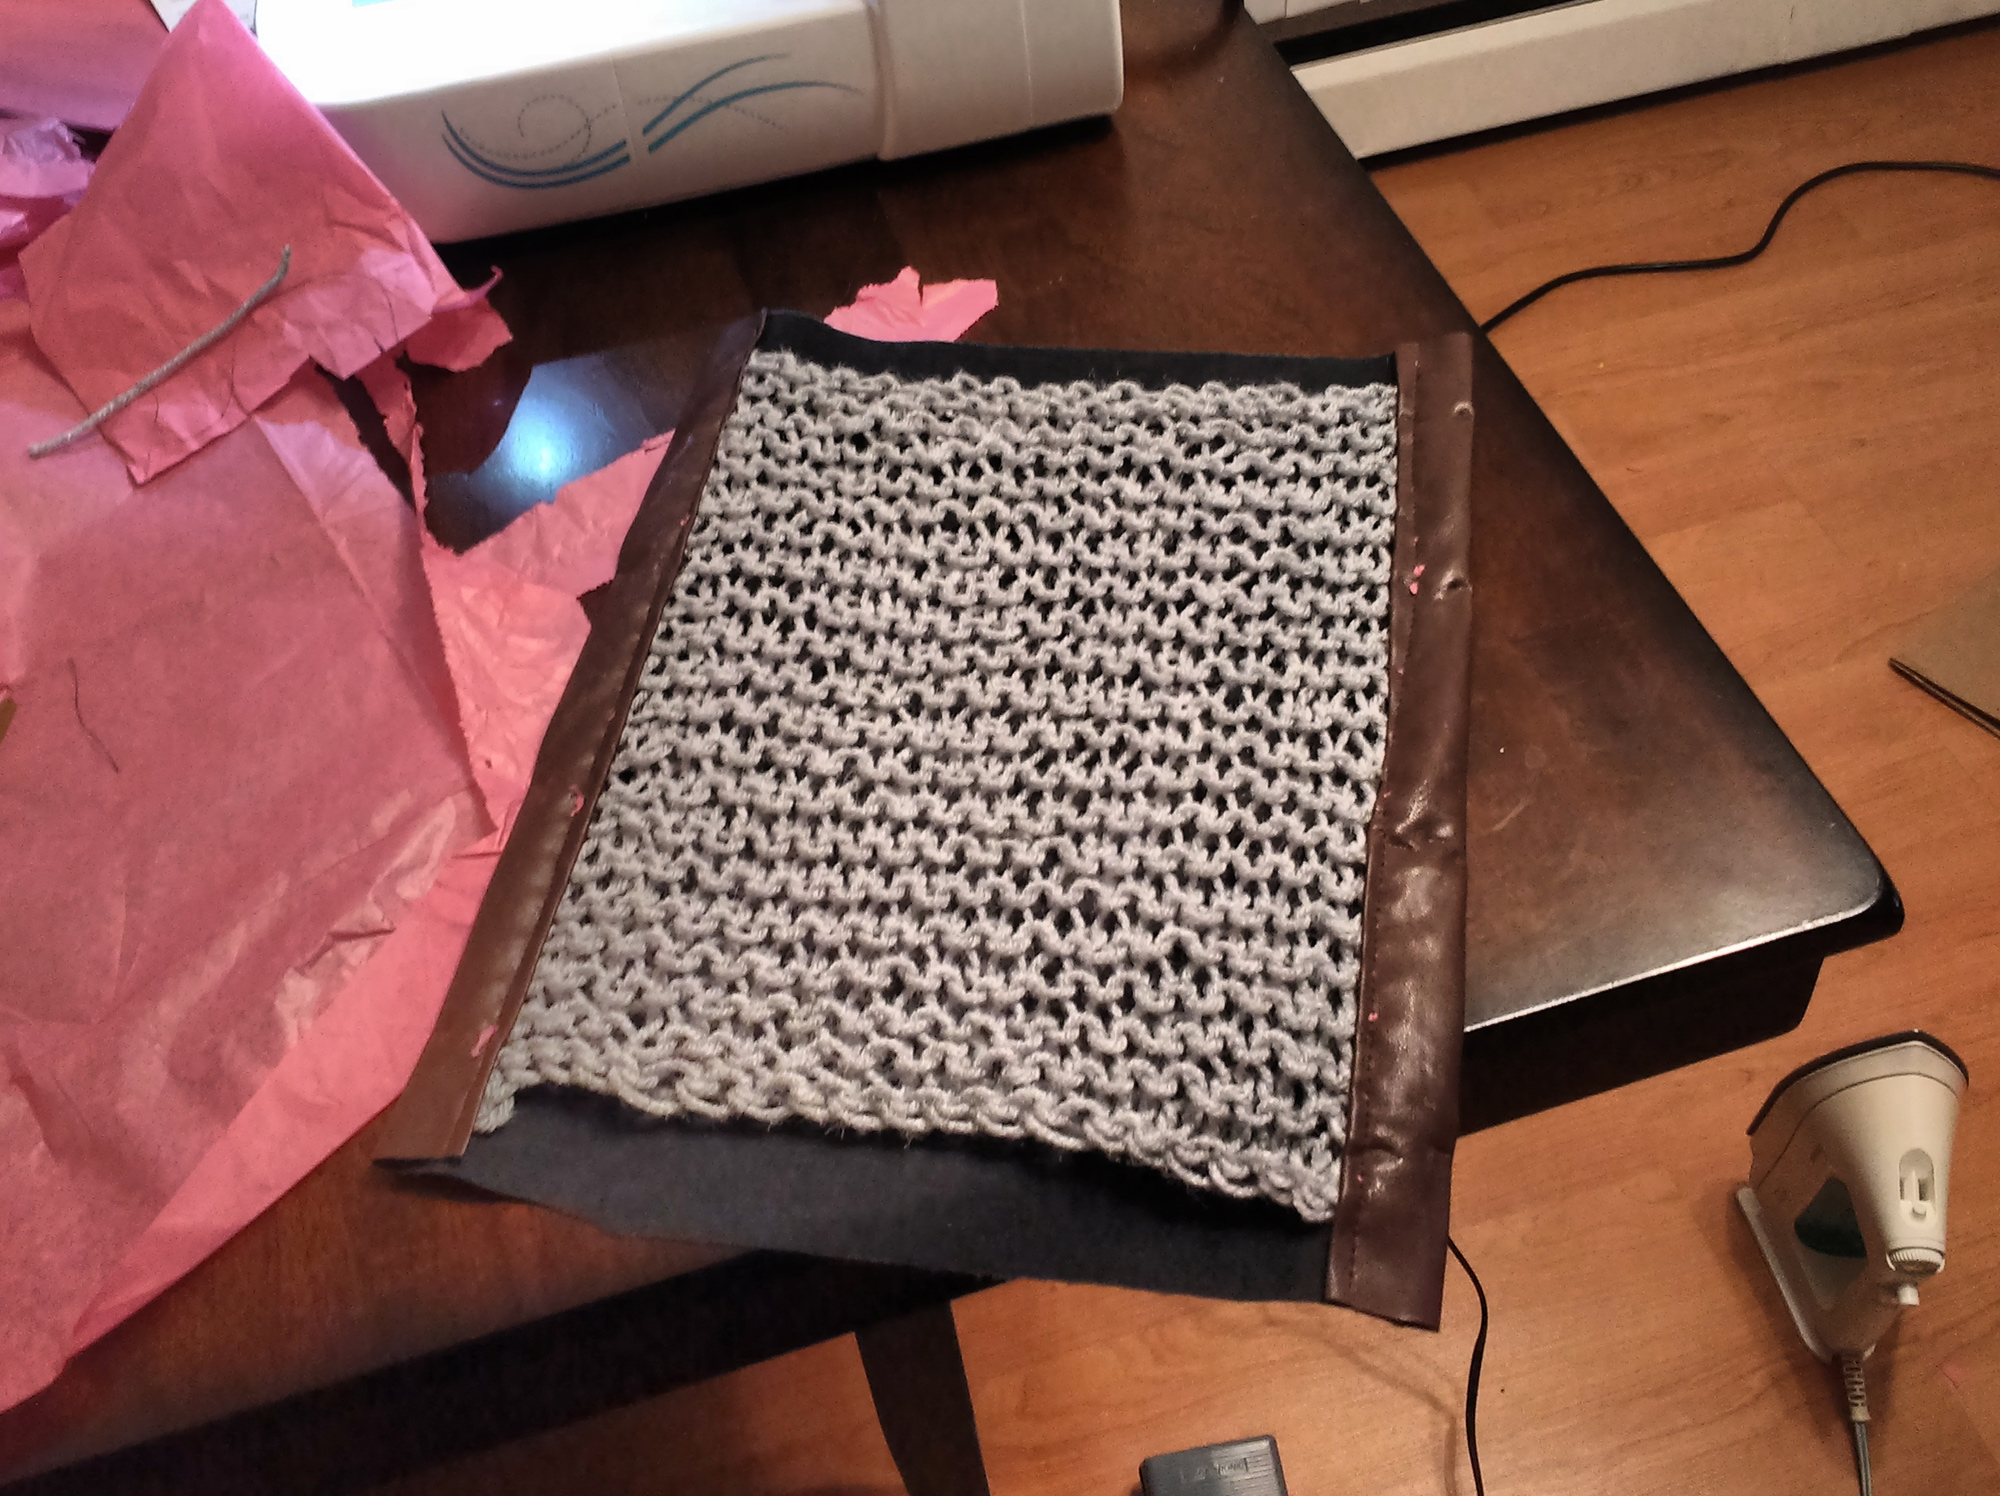
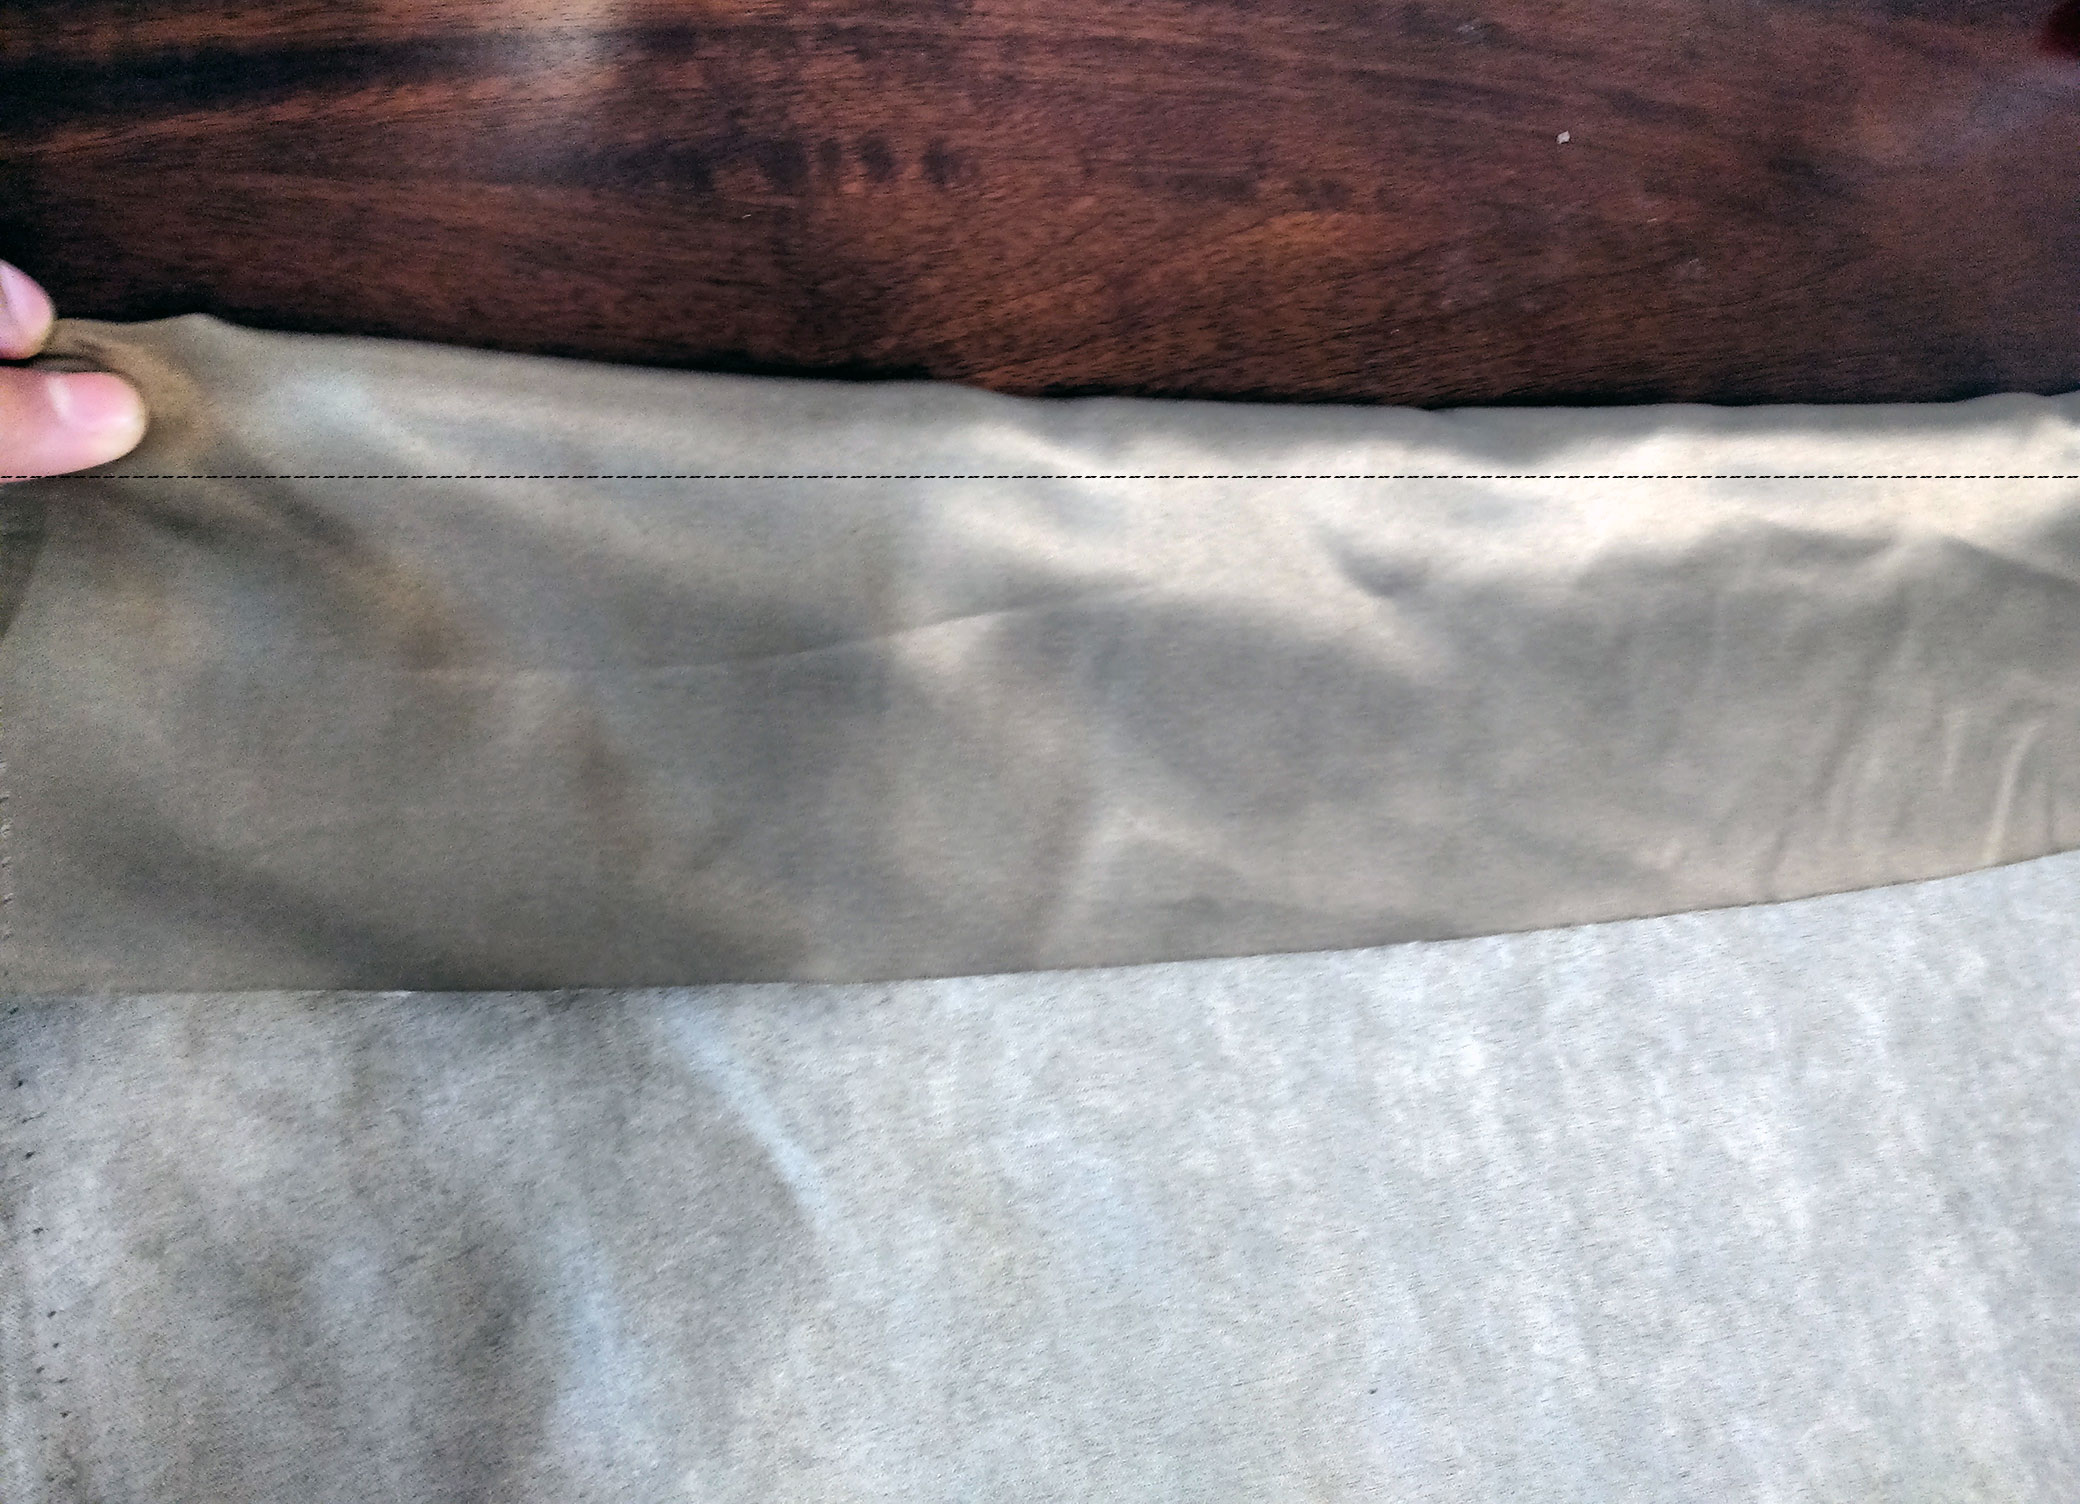
Once the painting was done, it was time to turn them into armour. I wrapped them in fake leather, with a piece of thin, black craft foam between them, and sewed up the sides. Funny thing about this fake leather, it doesn’t go through the sewing machine well. It’s too… I don’t think sticky is the word, but there’s definitely too much friction. To get around this, I wrapped what I’d be sewing in tissue paper. It was a pain, but it worked.
You can't really see it, but there's a layer of thin foam in there
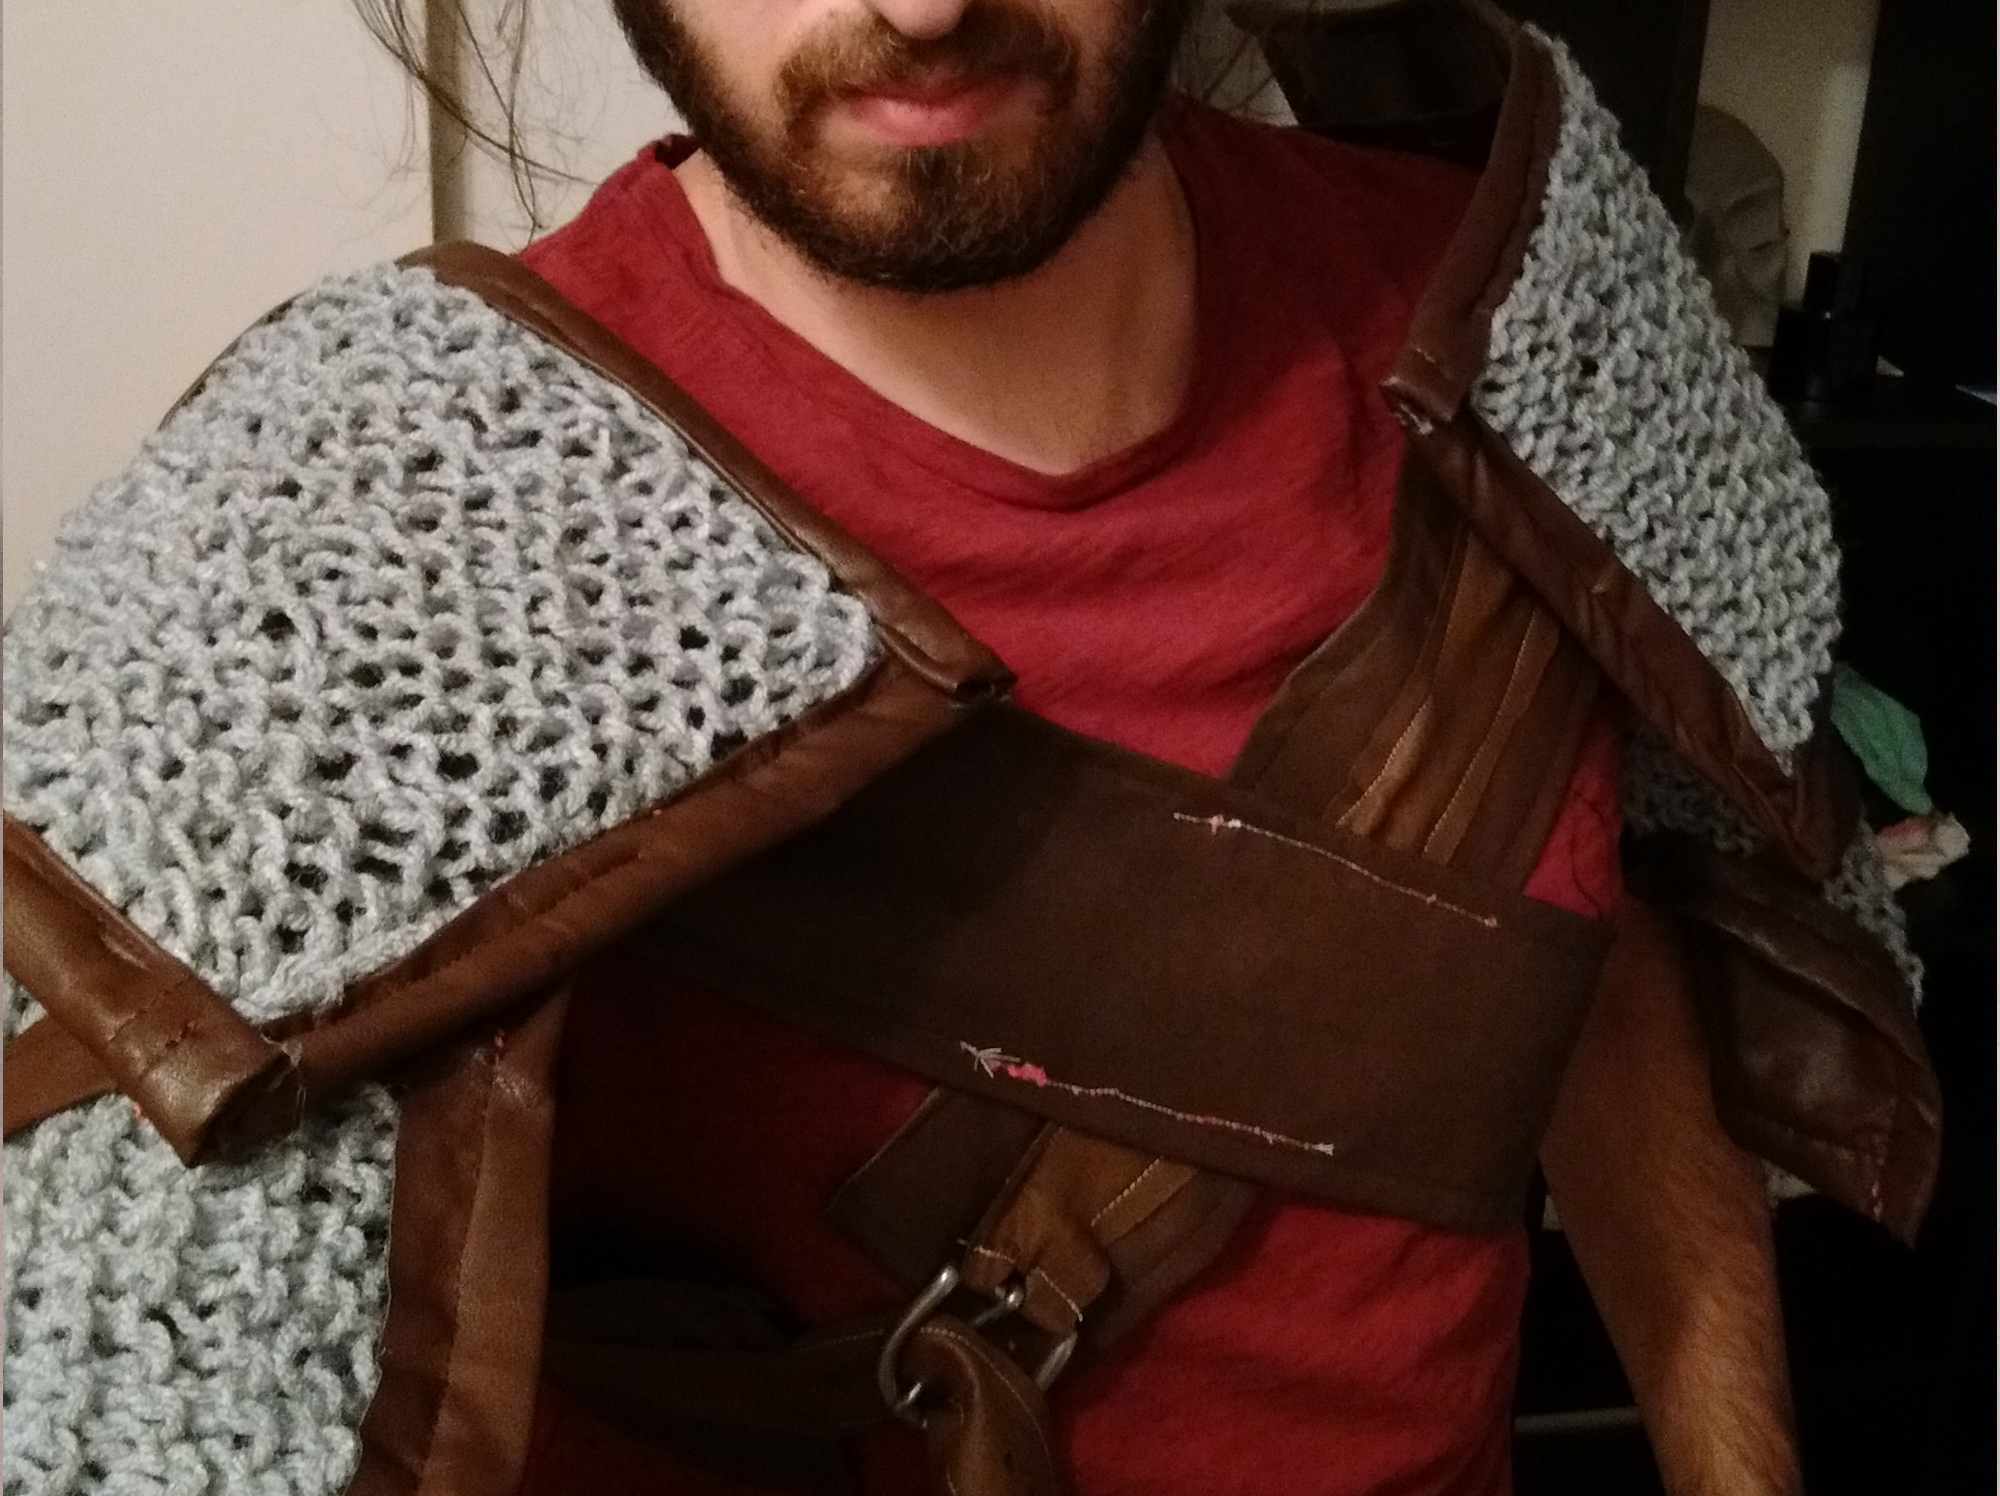
I added straps and buckles, as appropriate, and sewed it all together. I also lightly dusted some parts with brown spray paint to try to give the leather layering some texture. Beneath the arm pieces are some straps with velcro I sewed on.
Fast forward to this.
#Protip: If I was doing it again, I’d sew the pauldrons down so they didn’t flap around as much – or build them over something sturdier than the fake leather and a thin layer of craft foam.
EVA foam is really cool! I grabbed some from Home Depot, and some poster board at Staples.
The first step was making the pattern. I went through a few iterations here. I started by writing down my various sizes (anything I thought would come in handy) using some dollar-store measuring tape. That wasn’t super useful, so I half-heartedly wrapped my upper torso in plastic wrap and duct tape. Which is really hard to do by yourself! (Also it gets quite warm.)
That, and I ran out of duct tape half way through. The role I’d bought from Safeway didn’t include much at all.
Oh well, I figured. It’d give me an idea — so I drew some demarcation lines on it with a silver sharpie, and cut it off. Once I cut it open I had a better idea of the shapes I’d need.
Pretty rough, but good enough!
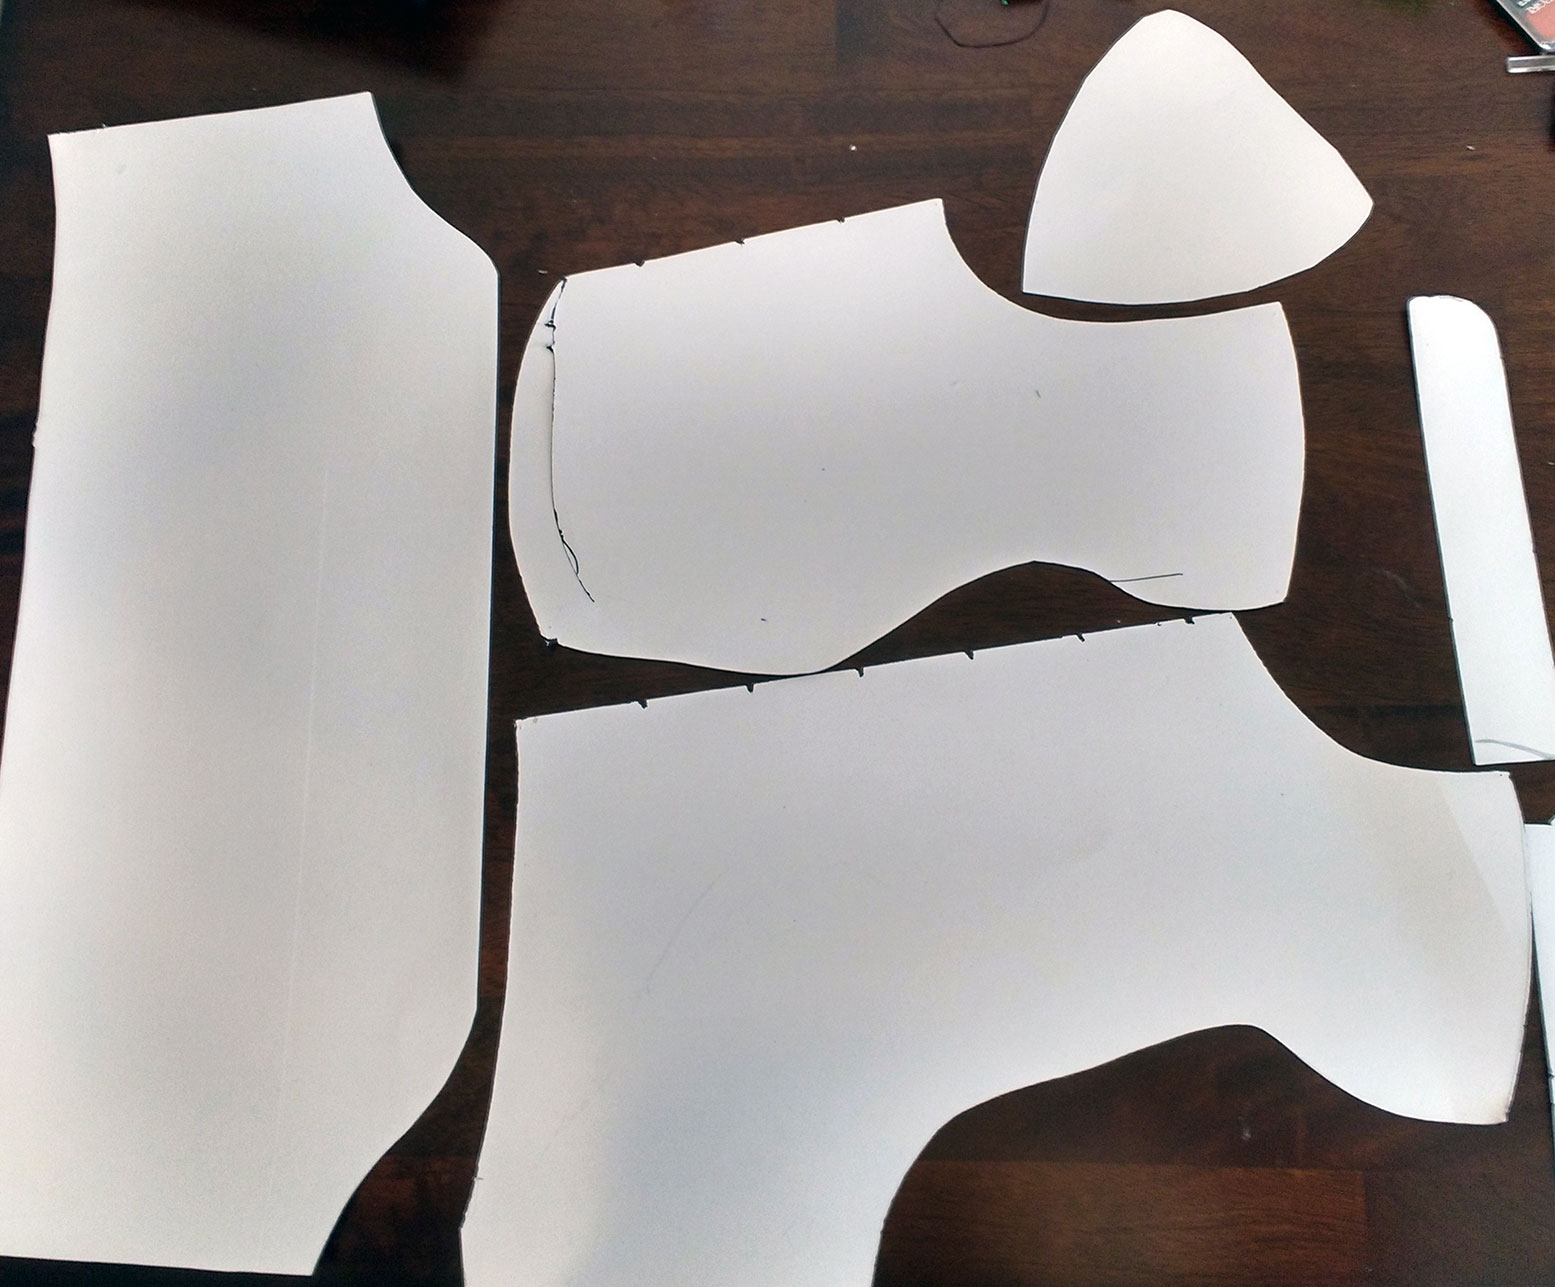
I drew those shapes onto poster board, and cut them out with an Exacto knife. Loosely taping them together, I donned my poster-board armour — just to get an idea how it looked.
I did this a few times, tracing and making small adjustments, until I was finally happy with the pattern. It looked something like this:
(Exactly like this)
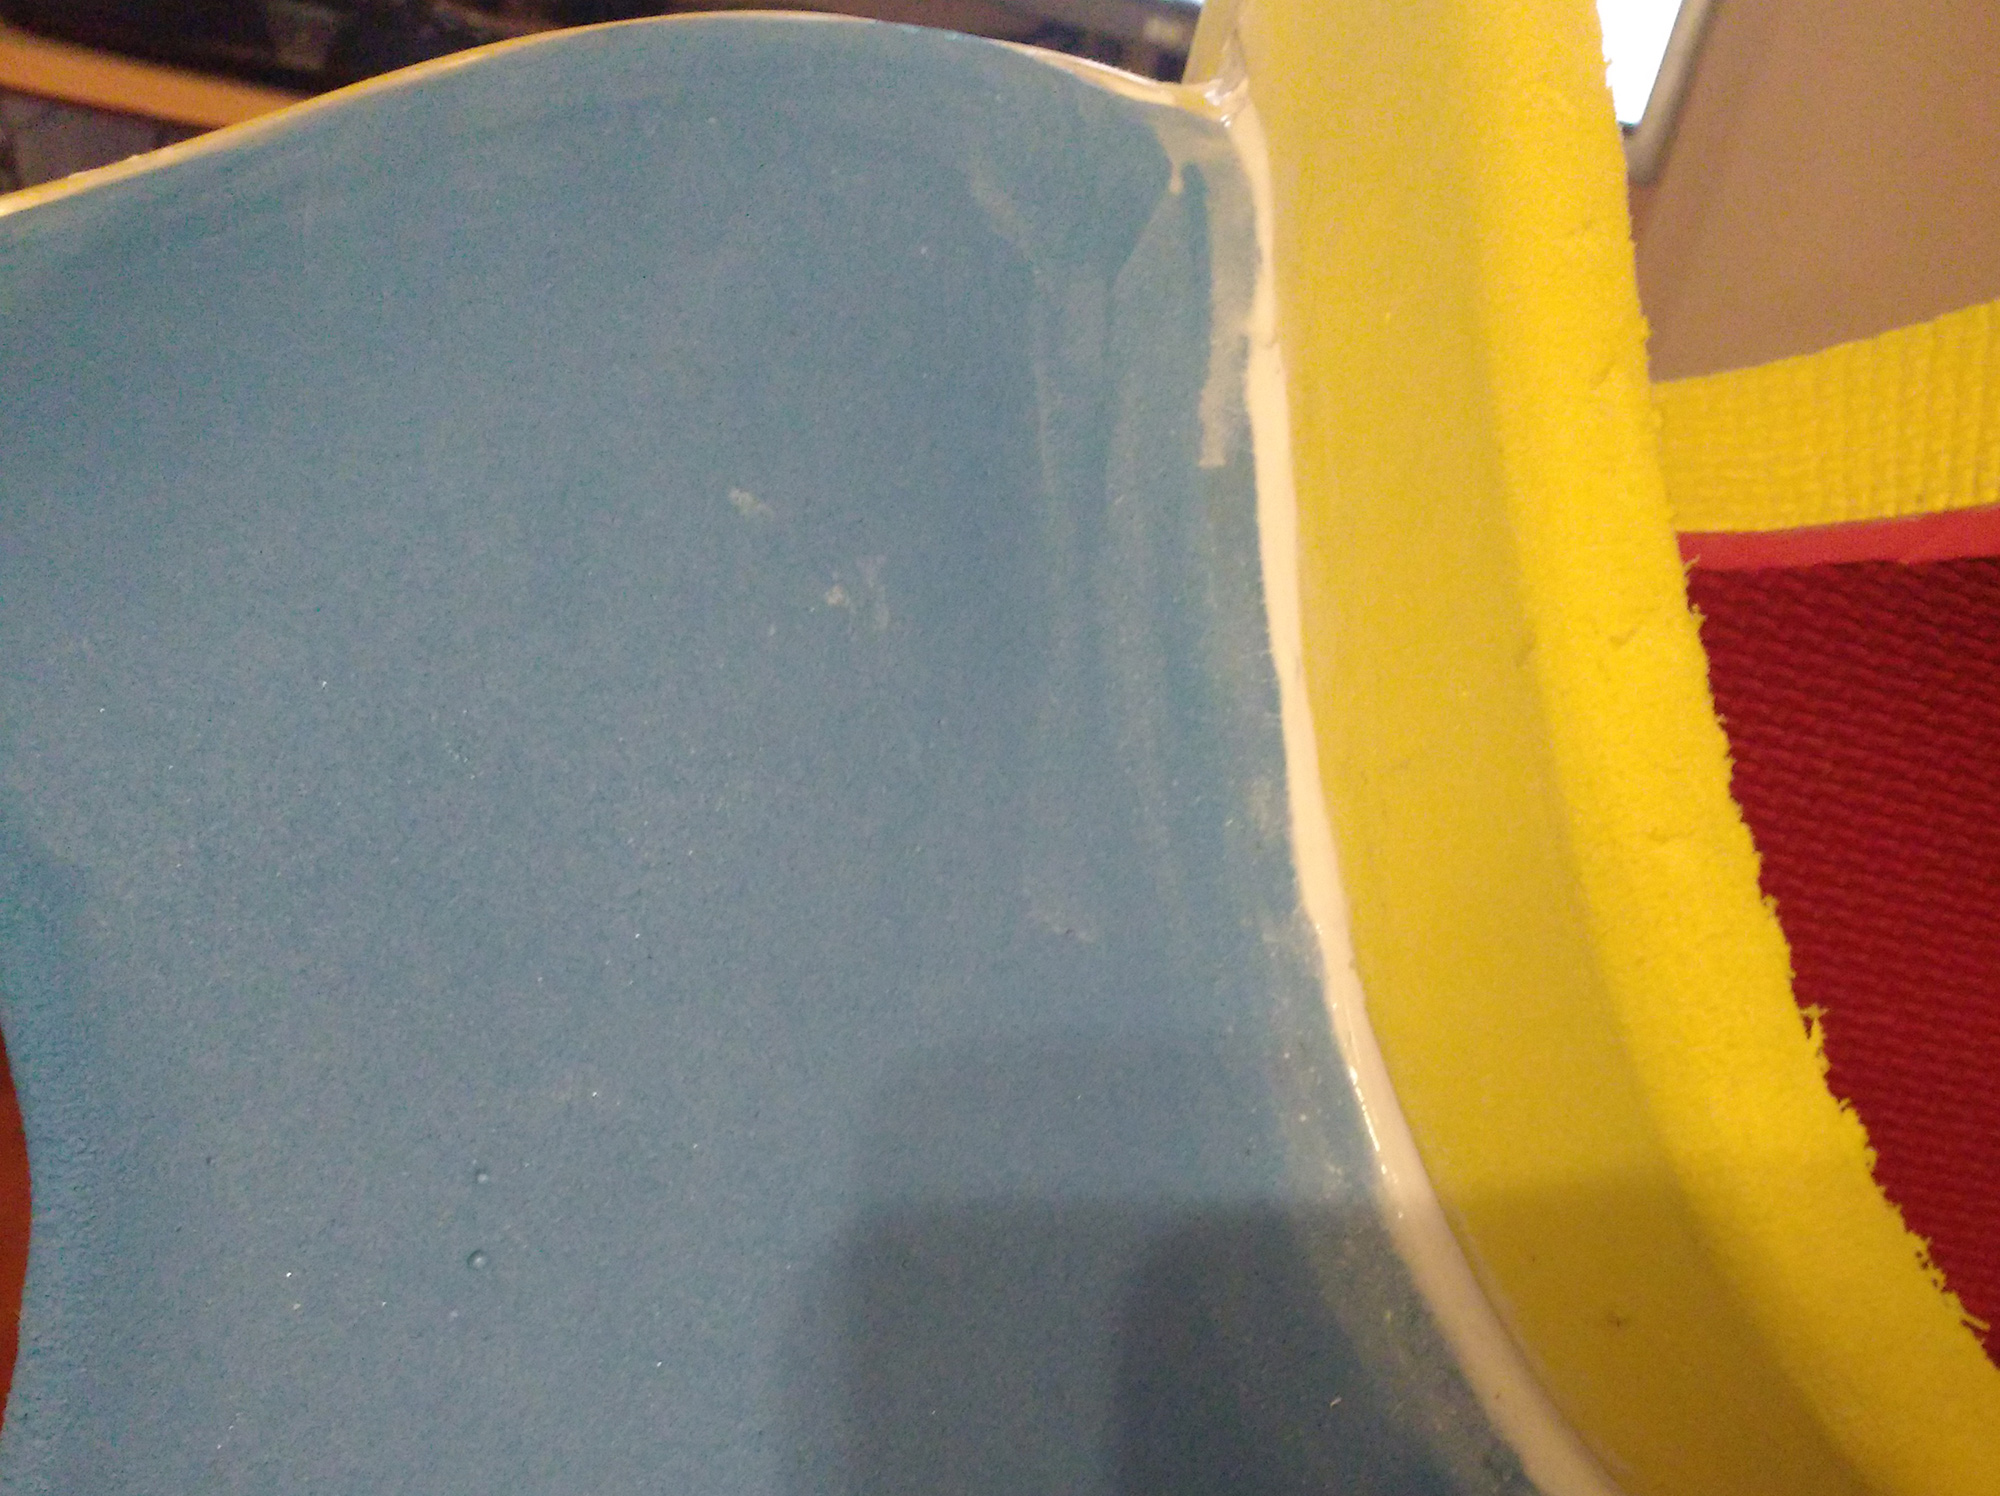
Once I had the pattern, I pinned the pieces to the foam, traced them with a sharpie, and then cut the foam with a box cutter. I re-sharpened the box cutter after each one because man did the foam dull it fast. I also found the foam’s patterned side was the toughest to cut through, so I made sure to trace my patterns onto that side.
You may have noticed a cut along the bottom of the pectoral’s pattern. On the foam, I scooped out some of the foam here with my box cutter, angling the sides like a triangle. This would allow me to bend it easily, getting a nice crease, but no seam on the visible side. I’m kind of proud of how that turned out!
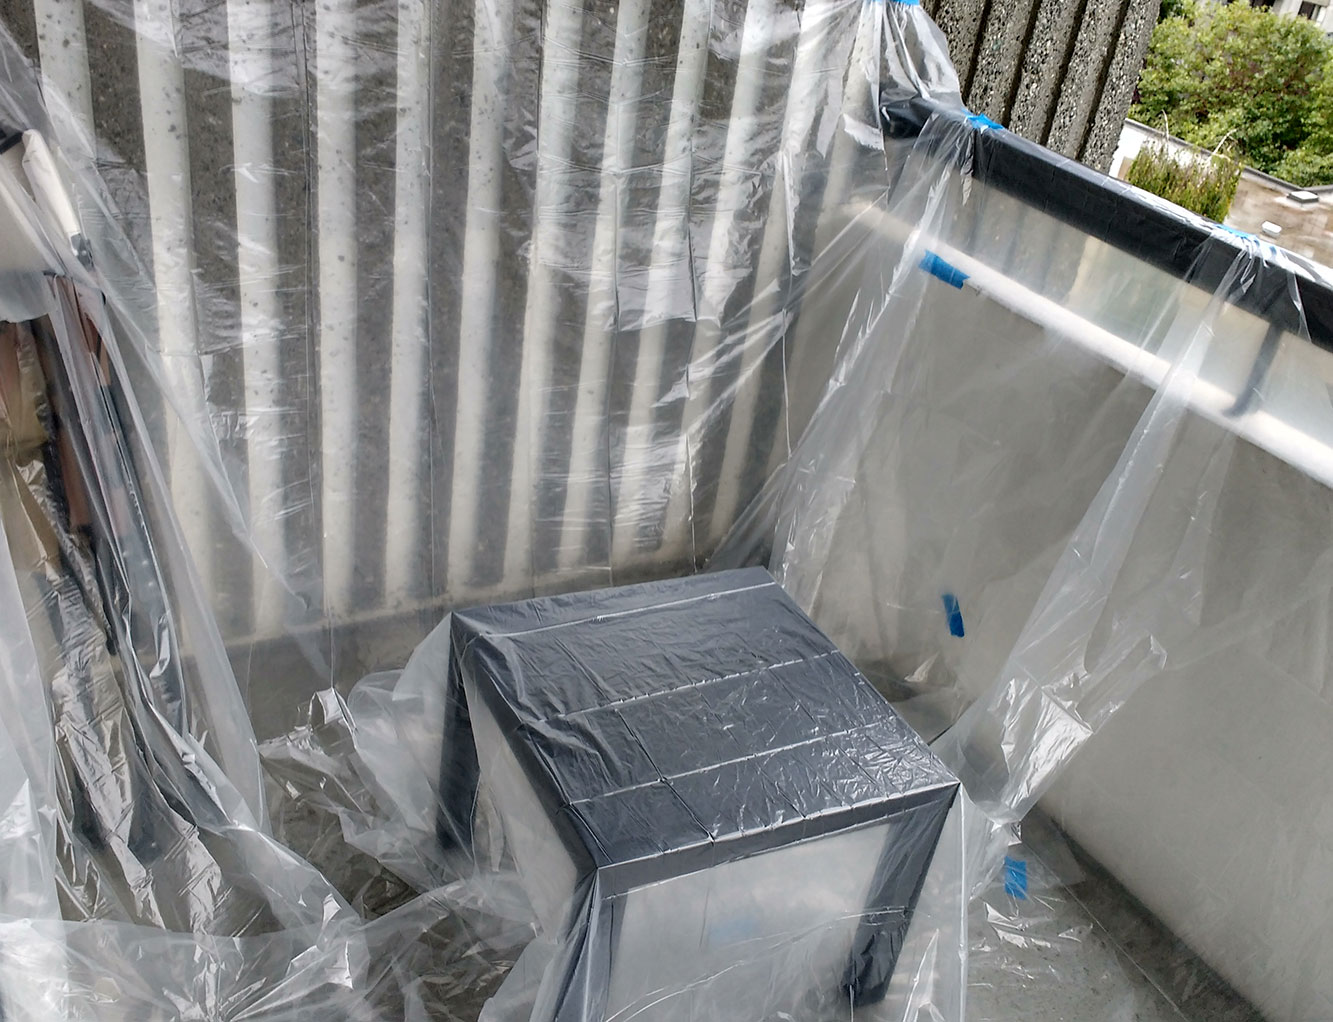
I setup my balcony as a work space (complete with table, camping chair, and extension cord) and covered it in plastic with the assistance of painters tape.
work space
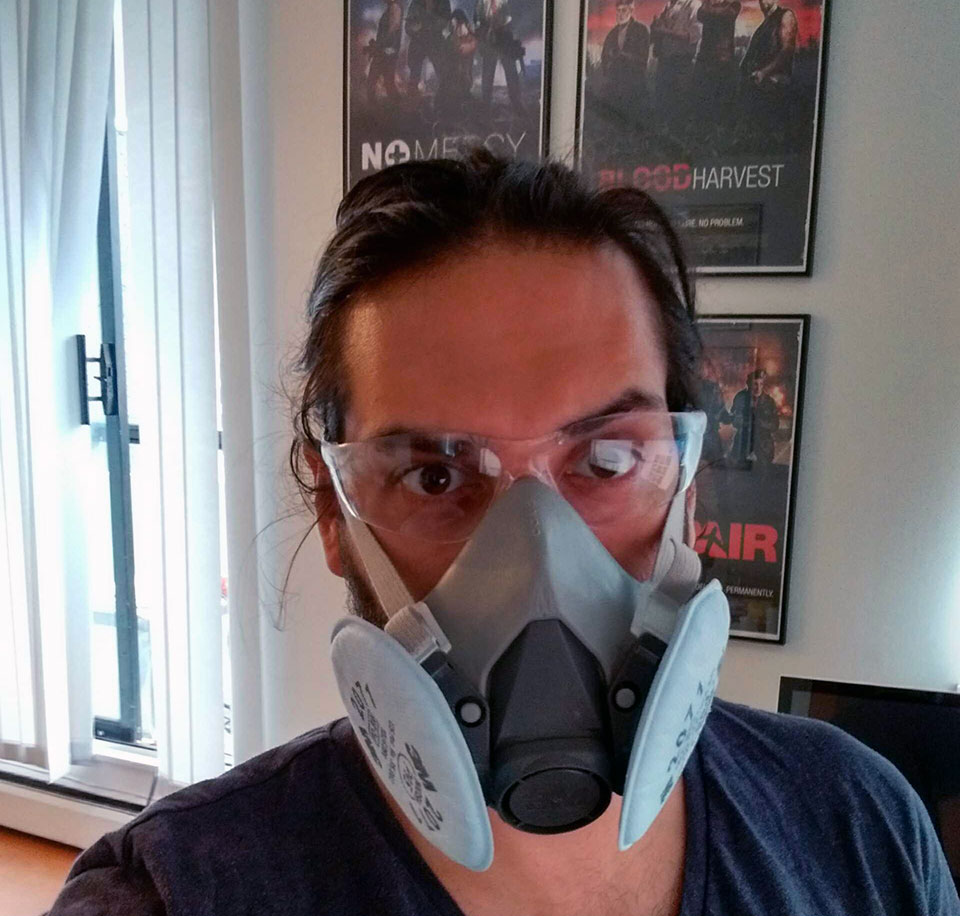
Once the foam was cut, I donned my mask and safety glasses, and used the rotary tool I bought to sand down the rounded edges. Prepare to be covered in foam dust. After that I sanded them with increasingly fine grits (I have 100, 220, and 320).
#safety
Then came the fun part — shaping the foam with the heat gun. I got the best results by really pulling the foam, and holding it in place for a bit while it cooled.
Once I had pieces of foam shaped it was time to join them. I had some trouble getting this to work the way I wanted, but eventually (through the reliable art of trial and error) I stumbled on a technique that seemed to work.
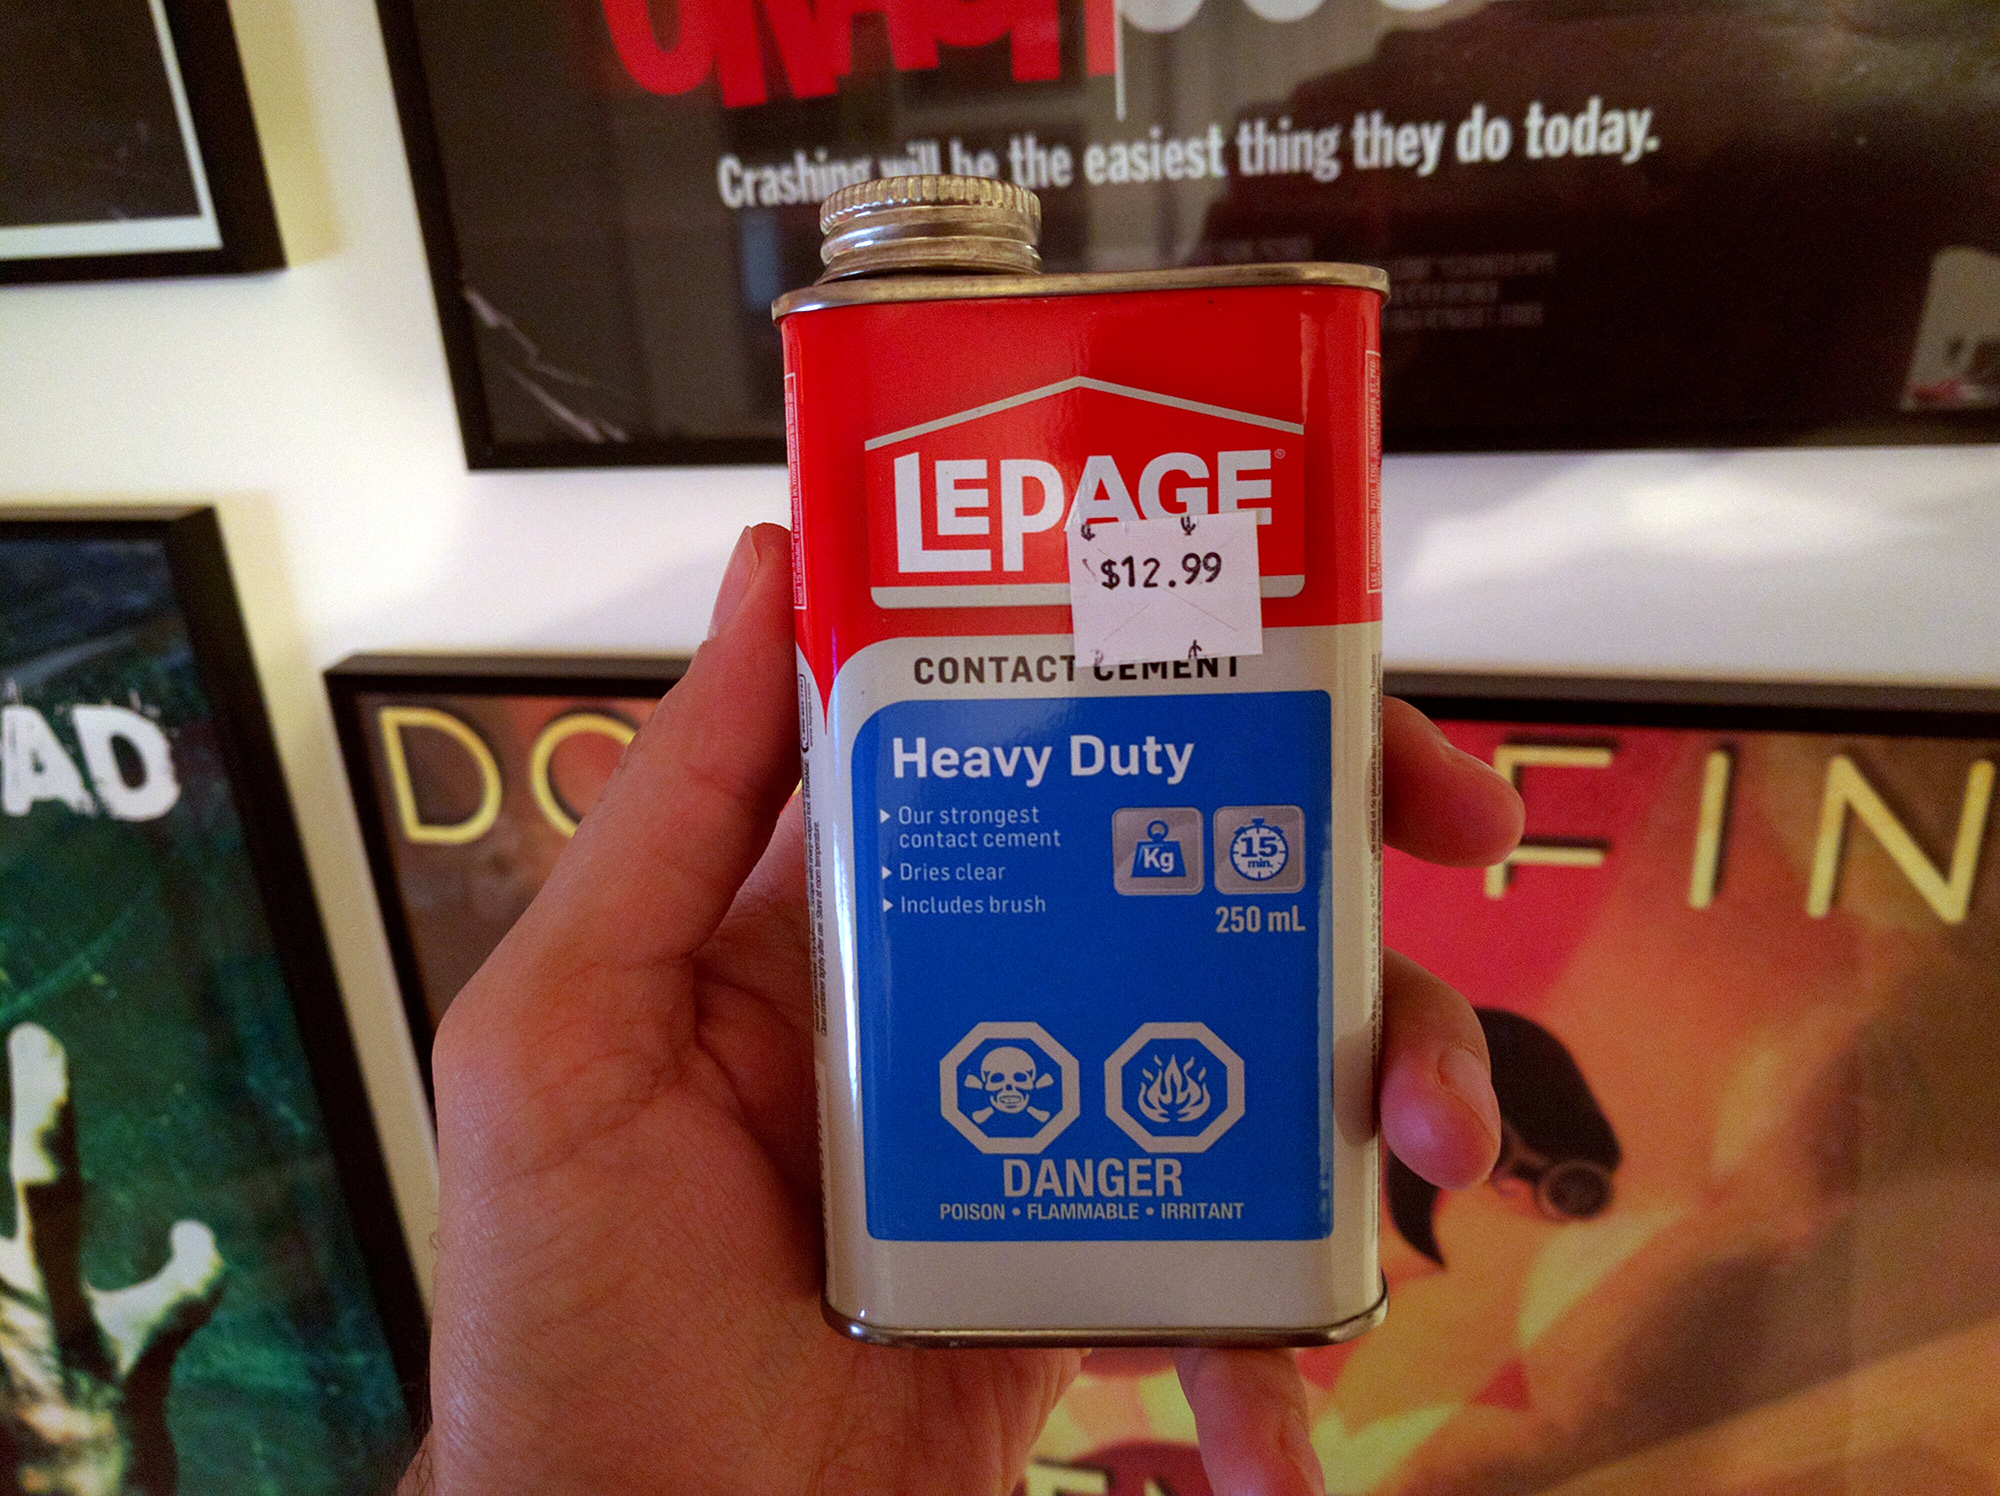
I used LePage contact cement
Sand both surfaces – it’s possible you’ve sealed it while shaping. Use a coarse sandpaper for this.Apply a coat of contact cement to each side – this coat will soak into the foam, taking a firm gripWait 15 minutesApply a second coat of contact cement to each side – this coat will attach to the first. It won’t soak in so you can use it to join the two pieces, but will benefit from the first coat’s grip.Wait 15 minutesPress the two pieces together – and hold them in place for about a minute
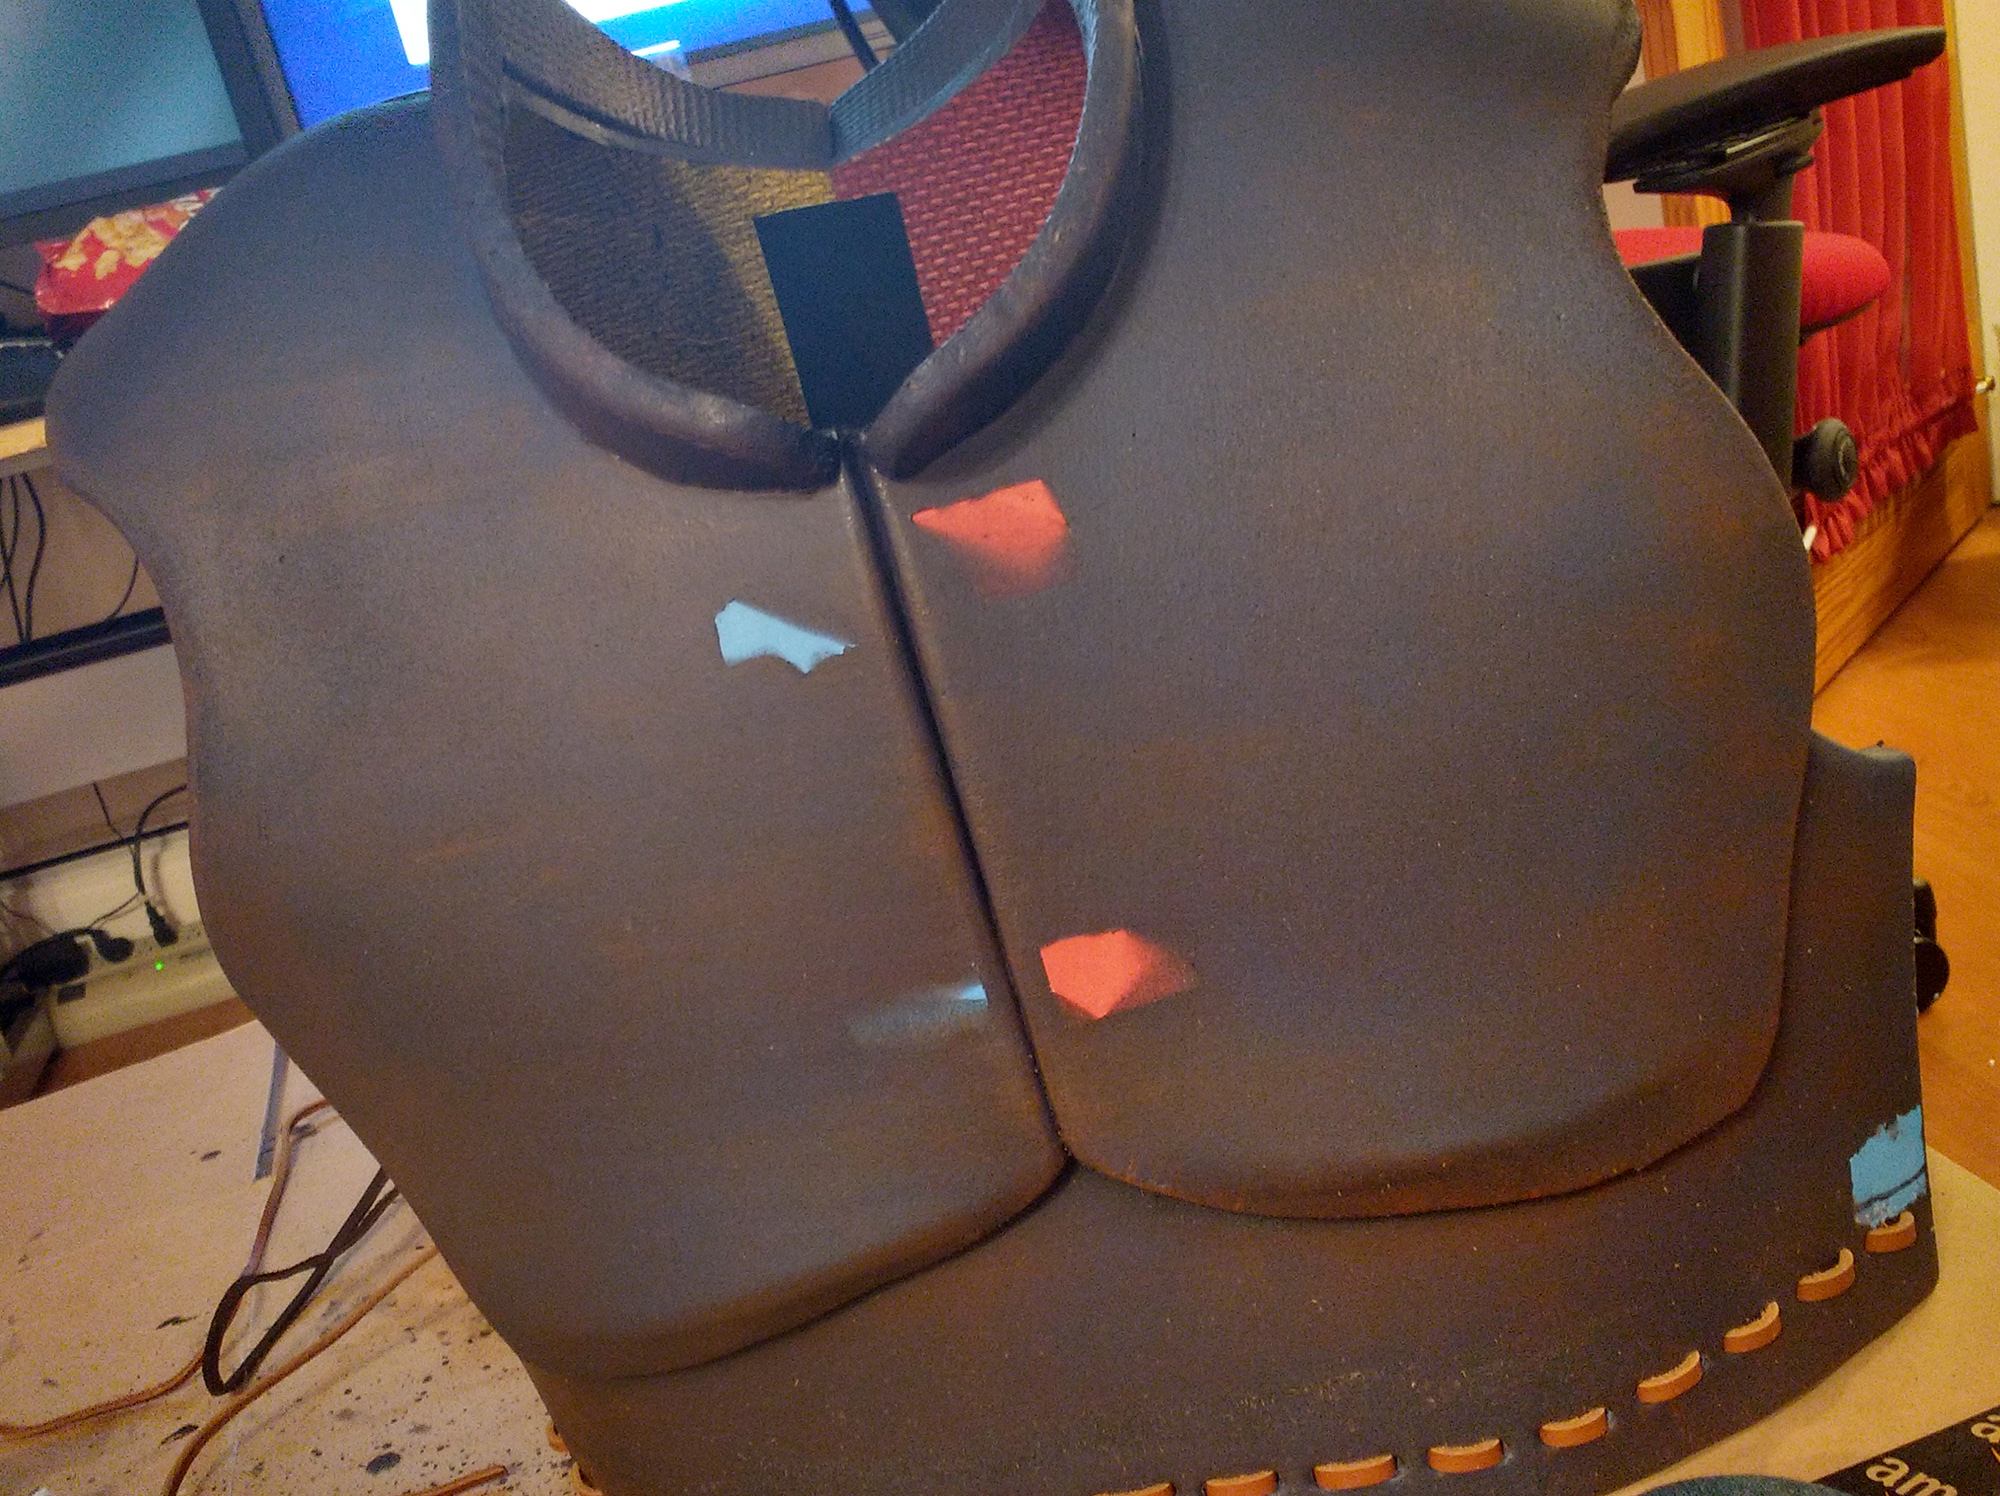
Once this is done, it’s probably best to give it some time to dry. But after that, you should have a nice, strong attachment! I also punched out some holes along the bottom (which you can see somewhere below).
The armour!
Before I painted, I went over the joints with some Kwik Sealk Caulk to smooth them out so as to be less noticeable seams. It wasn’t really necessary, but I figured I’d give it a try.
Caulked, as they say.
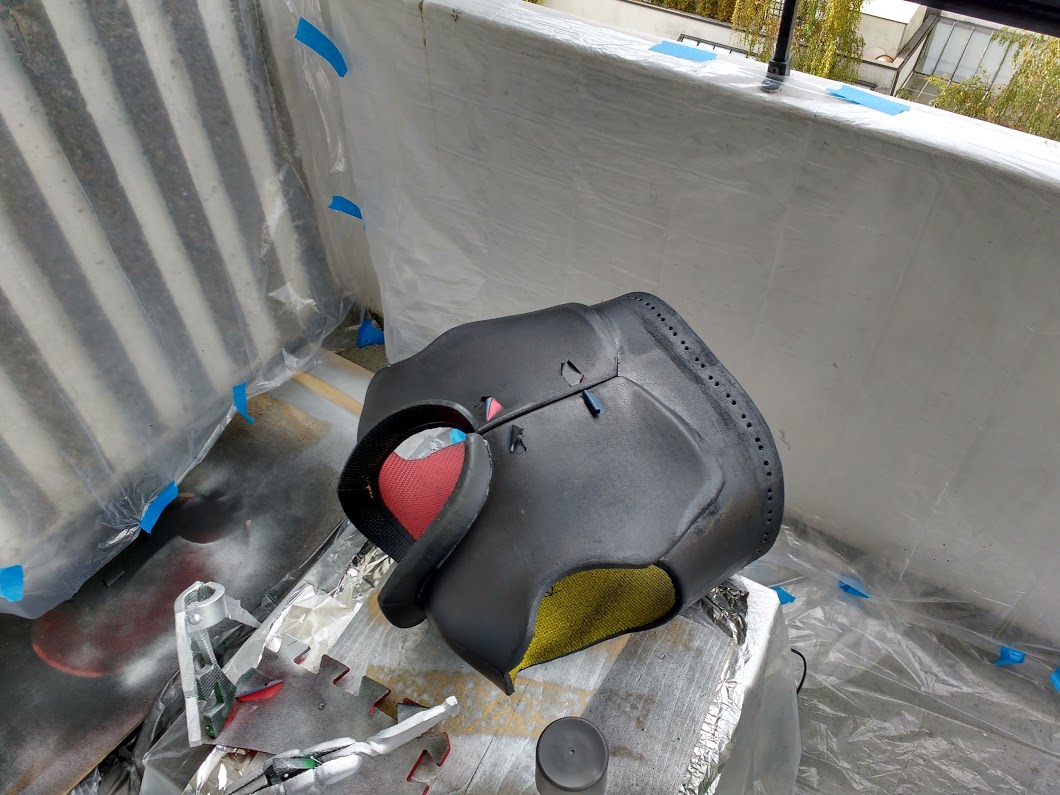
Once the caulk dried, I sprayed on a few coats of Plastidip (so cool!) to give it a nice rubber coating.
coated!
You’re probably wondering what those terrible flaps of painters tape are on the front. I put those there because I was going to glue some leather buckles to the armour. There’s another one on the side that you can’t see.
Once the Plastidip was dry, it was on to the spray painting! I roughed it up a little with watered down black paint and a wet rag, and then dry brushed various browns here and there to give it some texture, wear, and scratches. I also wove some leather through the holes I punched earlier (which I got in a giant bag of scraps from Michaels).
painted!
It turned out one of the chest buckles would be hidden by Geralt’s various straps, so I didn’t bother with that one – but I glued on the buckles. They didn’t hold very well, so I ended up hand sewing through the foam to make them more secure. This worked really well, and was necessary since these buckles were functional. (I’ll talk about making the buckles in a different post.)
“Should I buy a sewing machine? Should I not buy a sewing machine? Should I buy a pizza?” So went the worries repeating in my mind as I stared deep into the computer’s screen, as deadlocked as the handsomest mutex.
Days passed without decision.
Guys I bought a sewing machine. It was around 90 Canadian dollars, and (thanks, in some part I’m sure, to retroactive rationalization) I’m happy with the decision.
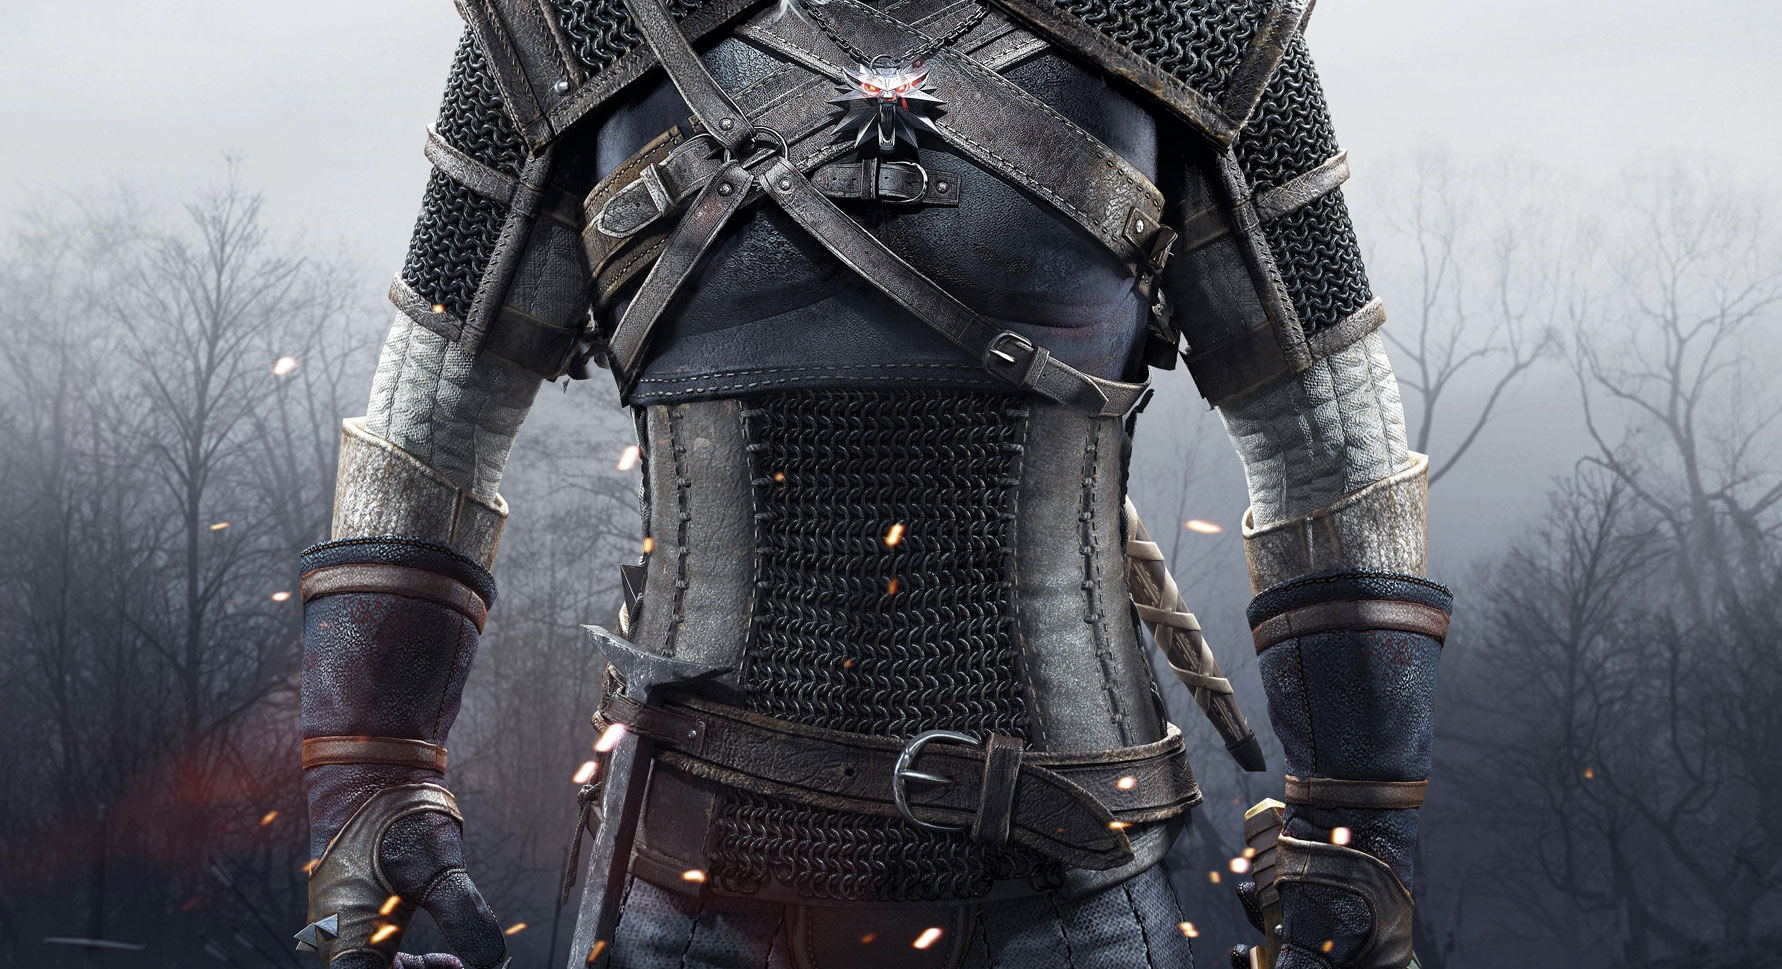
Geralt’s sleeves are made of quilted leather, but I thought they looked more like a a suede or nubuck. Or you know, just a fabric. So I went with that.
Not sure where I got that idea, since they look like leather here.
I ordered some fabric from fabric.com, which turned out pretty well despite their questionable stock count. (Twice they emailed me after I ordered to let me know they didn’t have stock. Twice on the same order, with different fabrics, days apart.)
The most visible parts of the shirt are the sleeves, so I started with those.
I cut a big rectangle with one dimension about the length of my arm, and started on the faux-quilting. By which I mean I folded the fabric and sewed along the fold line.
Like this, but better.
Fast forward like fifteen fold-and-sews later and I felt I had enough quilted fabric to comfortably wrap around two of my arms (individually). Hashtag sleeves.
I cut the fabric, and sewed both sections into tubes. Because what are sleeves but glorified tubes. Right? Right guys?
But now that I had sleeves, how could I hold them up? I decided to build a sort of sleeve harness, or shirt, if you will. I cut out some pieces of fabric that I hoped would roughly correspond to the front and back of a shirt and sewed them to arm-tubes. They didn’t quite fit the sleeves, but oh well the armour would hide that! (Actually, that turned out to be a bonus for pendant reasons.)
Here's me in the shirt, and the work-in-progress armour
There. Shirt done, unless we care about a bare midriff. Which, sigh, I guess Geralt doesn’t go around sporting. What a prude he is.
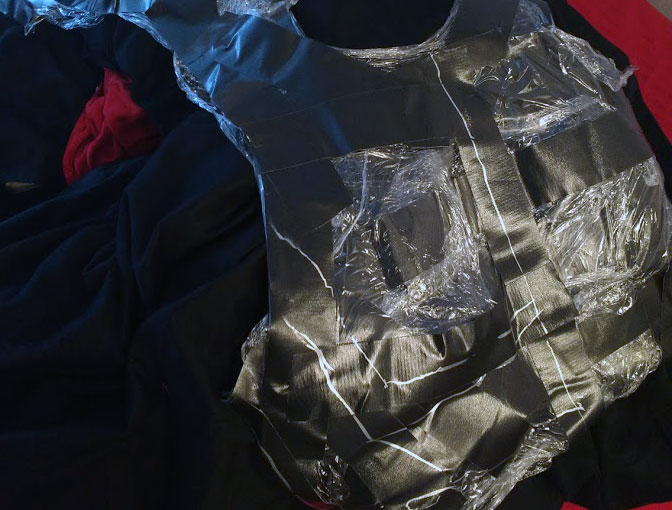
The bottom part of his shirt/armour is made of strips of leather on the sides and chainmail at the front and back. For the sides, I used the same quilting process on some fake leather (I actually meant to order a different, more textured one but I clicked add-to-cart on the wrong product. Because I’m terrible at internet shopping.)
I used larger, unquilted pieces of leather to back the chainmail (which I’ll go into later), and sewed it to the sides. And then sewed the whole thing to the bottom of the shirt.
After which, I absently watched TV as I punched holes (using a hole punch) and threaded the leather strips through.
Here's a picture of the threading in progress
The leather strip were from a bag of remnants from Michaels and were approximately $10. There were way more strips than I needed. I still have a bag full of them.
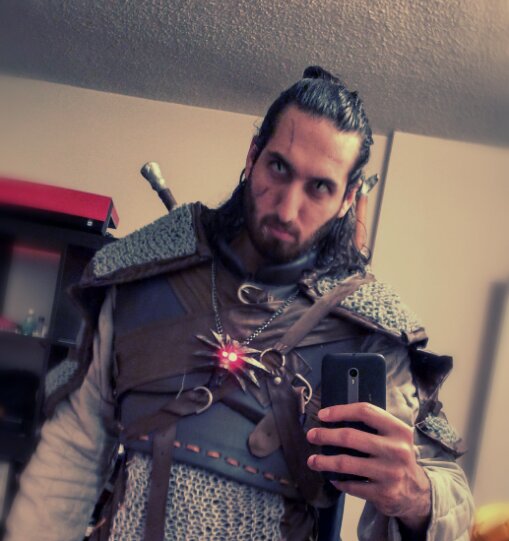
It was Halloween recently, and my months of reclusive toil finally came to fruition.
Perhaps you’ve heard of The Witcher, Geralt of Rivia. It was as he I dressed but with darker hair — my face artificially scarred and my eyes yellowed and cat-slit.
Geralt of Rivia costume
Costume making is bulky work, my apartment is now crowded with recently purchased crafting equipment – a heat gun, a rotary tool, and even a sewing machine; yards of fabric, and metres of interlocking foam; and can after can of sprayable paint.
Since I made the costume, it seems only fitting that I blog a bit about the process.
My Witcher costume includes:
foam armour, imitating wet-molded leather
the shirt, including fake-leather strips and chain